In this post, I will show you the steps to Setup/Connect Epson EcoTank ET-2810 to Windows 10 and Windows 11 PCs using Wi-Fi, Wi-Fi Direct, or USB. You’ll prepare the printer, install the correct Epson drivers or Setup Utility, add the device in Windows Settings, and print a test page to confirm everything works. I have also included basic troubleshooting tips if Windows does not detect the printer or the connection drops.
You also have the option to connect your printer via a USB port. However, the following sections of this blog post will specifically outline the steps for the Wi-Fi method. Let’s proceed with those steps.
Contents
Steps to Connect Epson EcoTank ET-2810
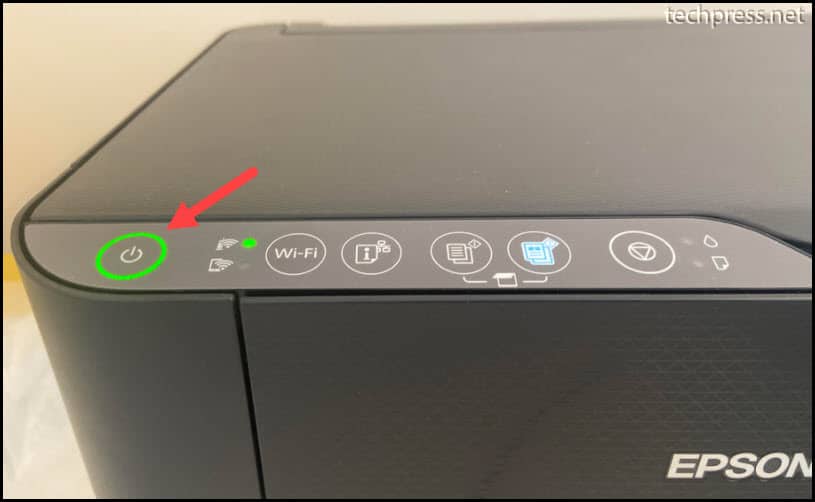
- Ensure that the printer is plugged in, and verify that the Power button light is stable.
- Download the Epson Product Setup software from the Epson EcoTank ET-2810 Support.
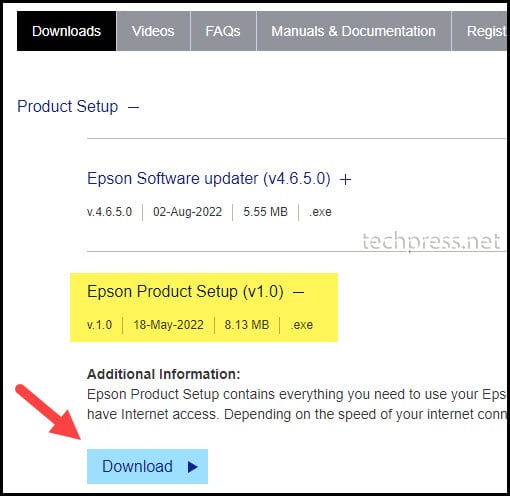
- Once you have downloaded the Epson Product Setup software, double-click on the downloaded file to initiate the setup process. If you cannot locate the setup file, check the C:\users<username>\downloads folder.
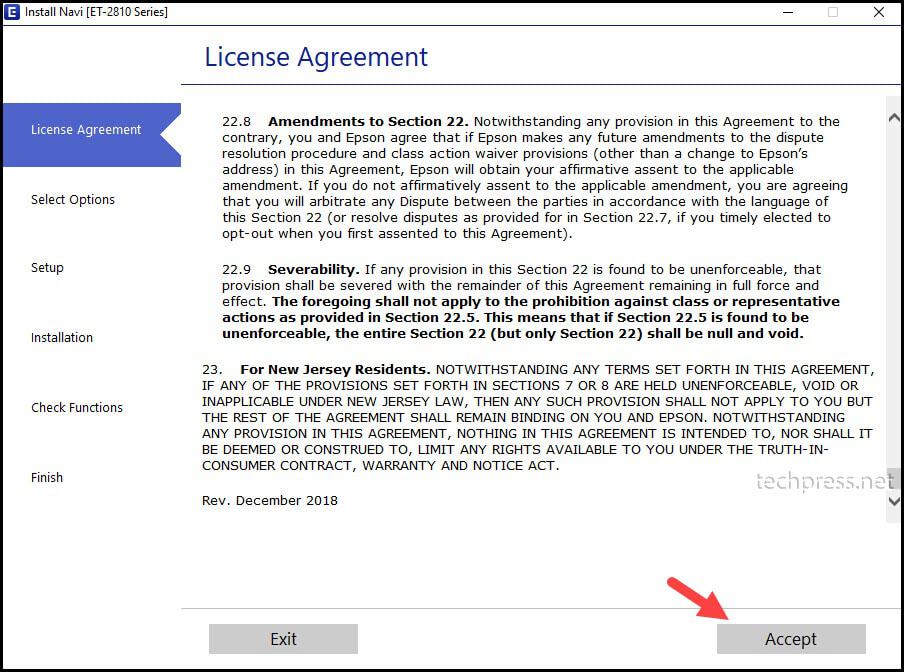
- Click on Accept to accept the License Agreement. Click on Yes if prompted.
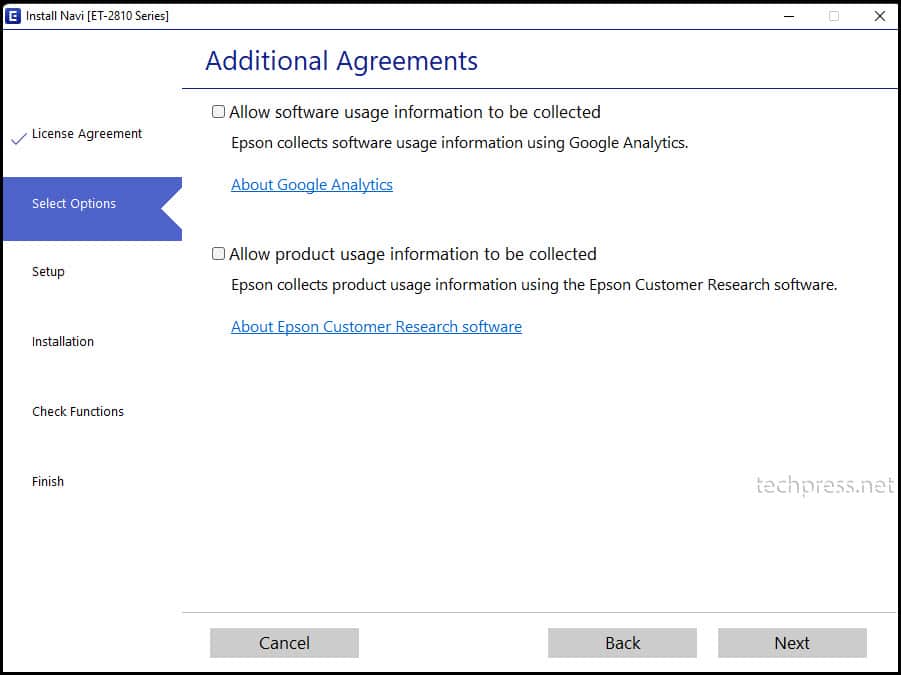
- You can uncheck Allow software usage information to be collected and Allow product usage information to be collected and click on Next.
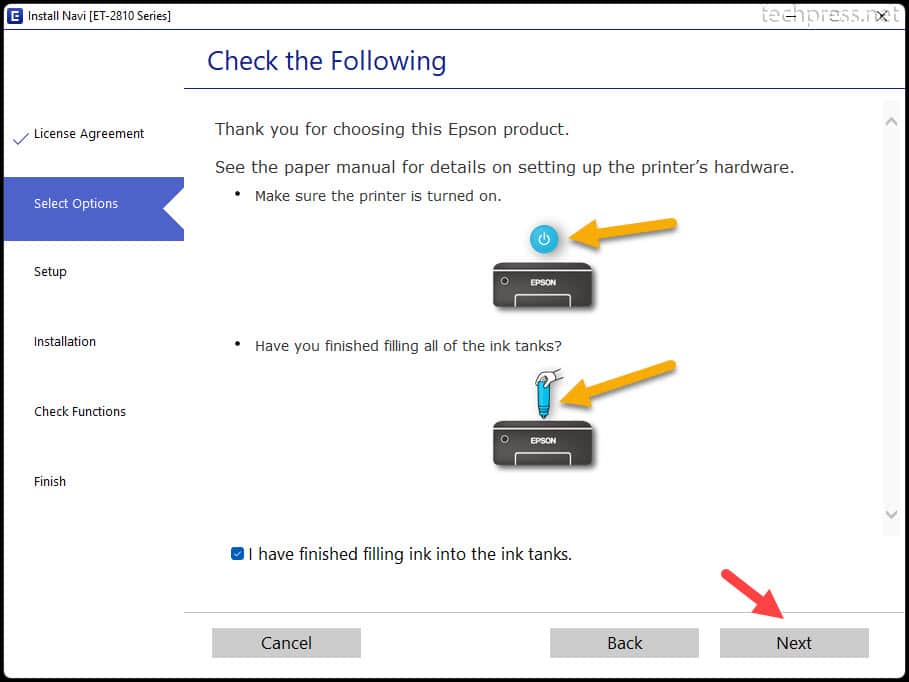
- Make sure the Printer is switched on.
- On the next screen, ensure that the printer is turned on, and the ink tanks are filled. If both conditions are met, select I have finished filling ink into the ink tanks and click on Next to proceed.
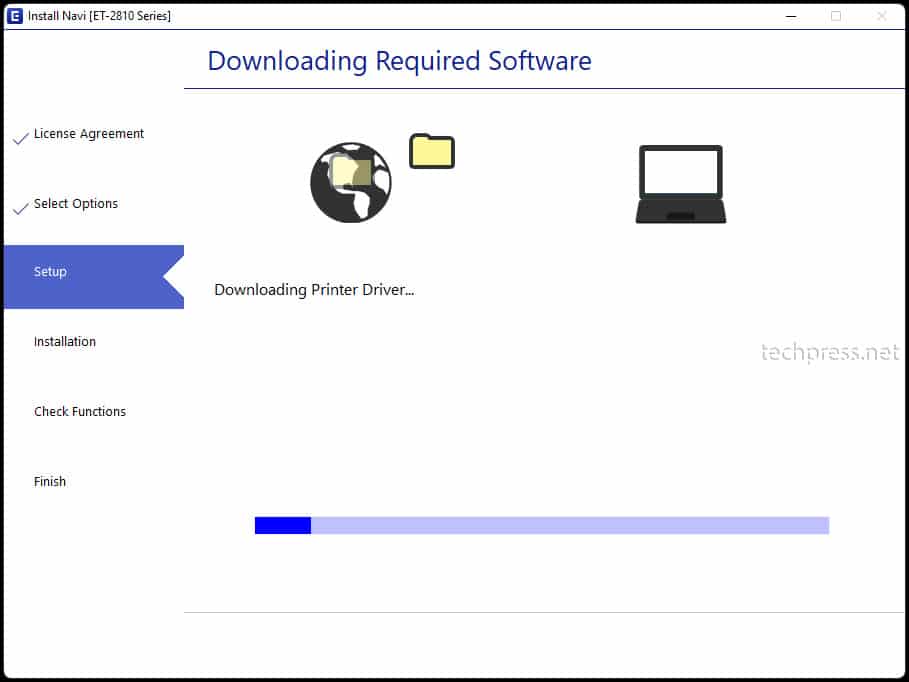
- The setup will continue and download the necessary software, including the printer driver and scan driver. Please allow the process to complete, which should take approximately 4–5 minutes.
- Installing Required Software: Installing Scanner Driver.

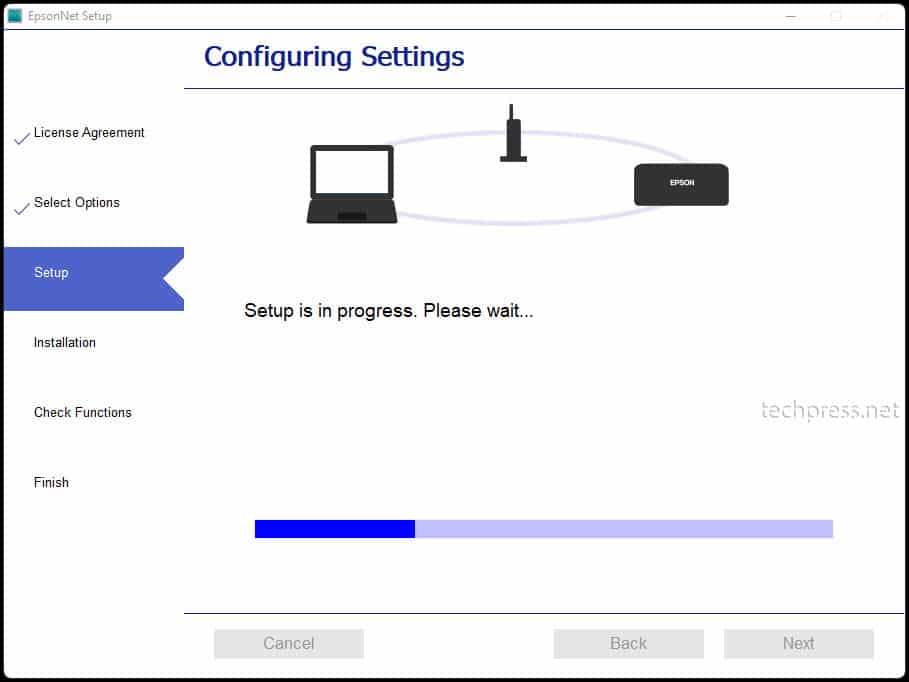
- Setup will scan the printer and try to find it on your network.
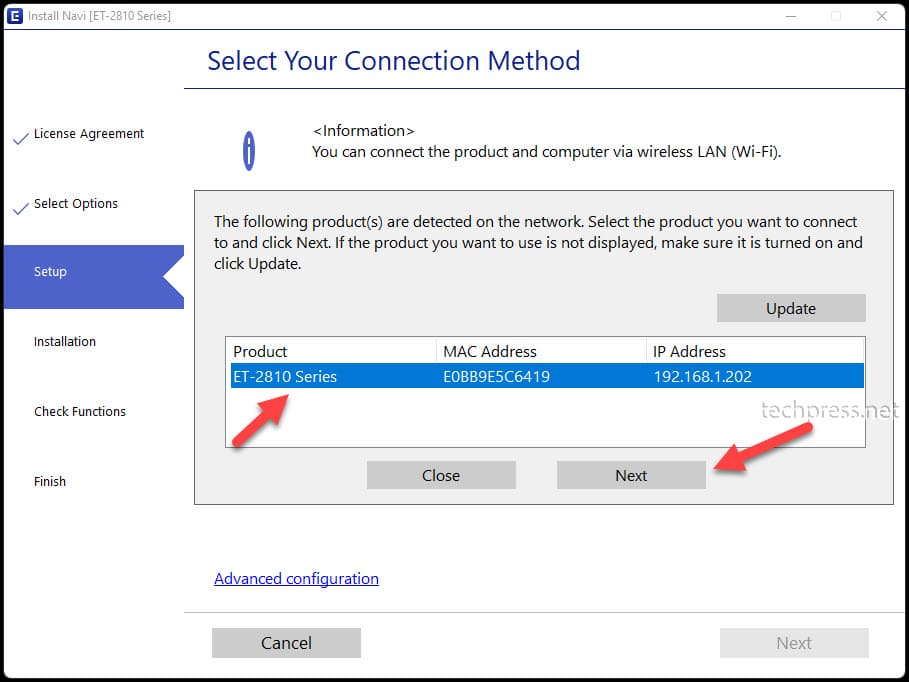
- The setup will scan and locate the new printer on the network. Once the scan is complete, you will see the product. Choose the ET-2810 Series and click on Next to proceed.
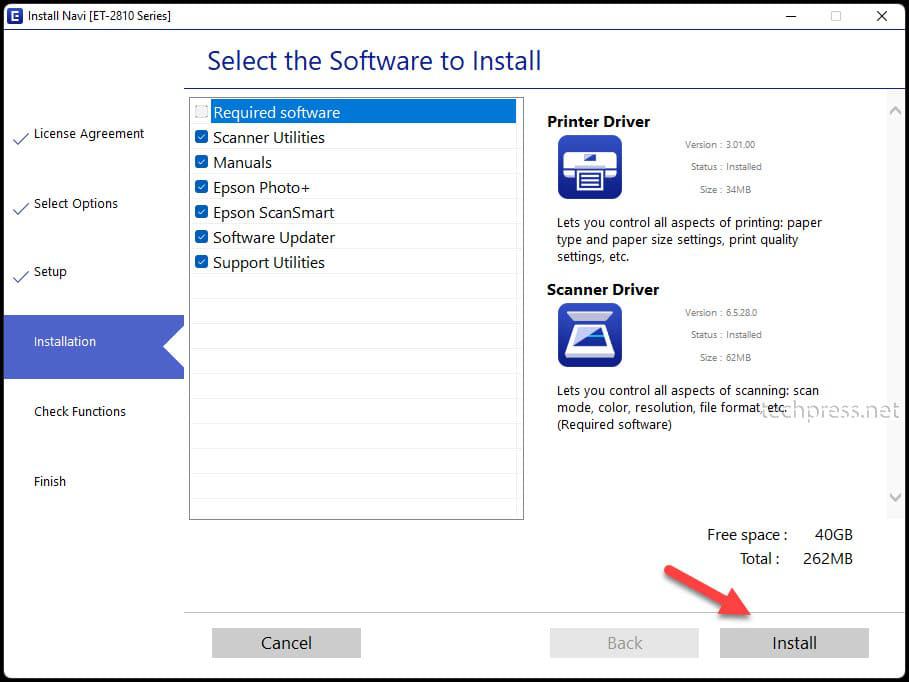
- In the Select the Software to Install step, ensure all options are selected, and then proceed with the installation.
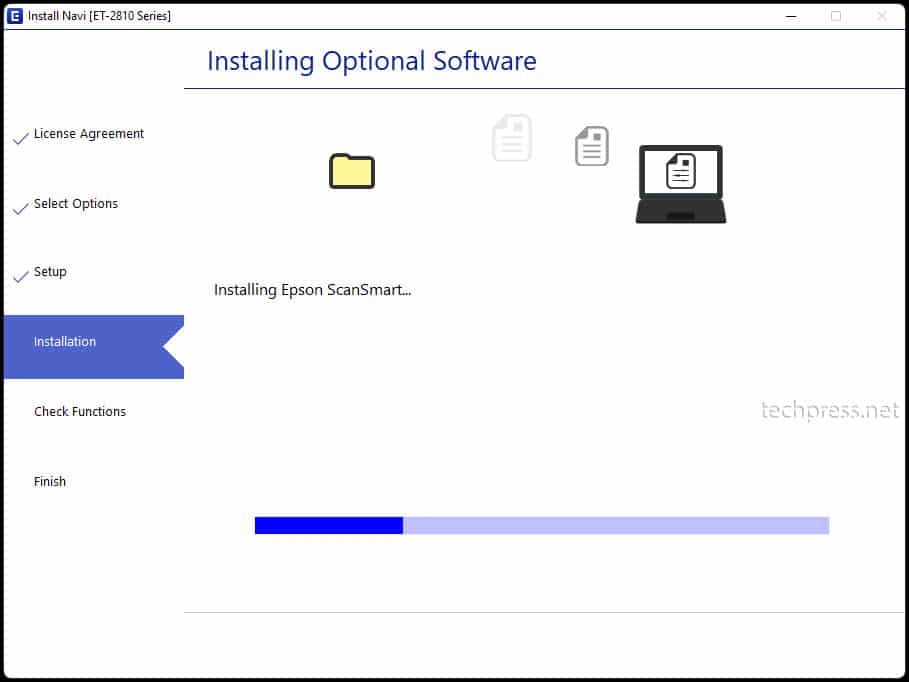
- Installing Optional Software: Setup will install all the selected softwares.
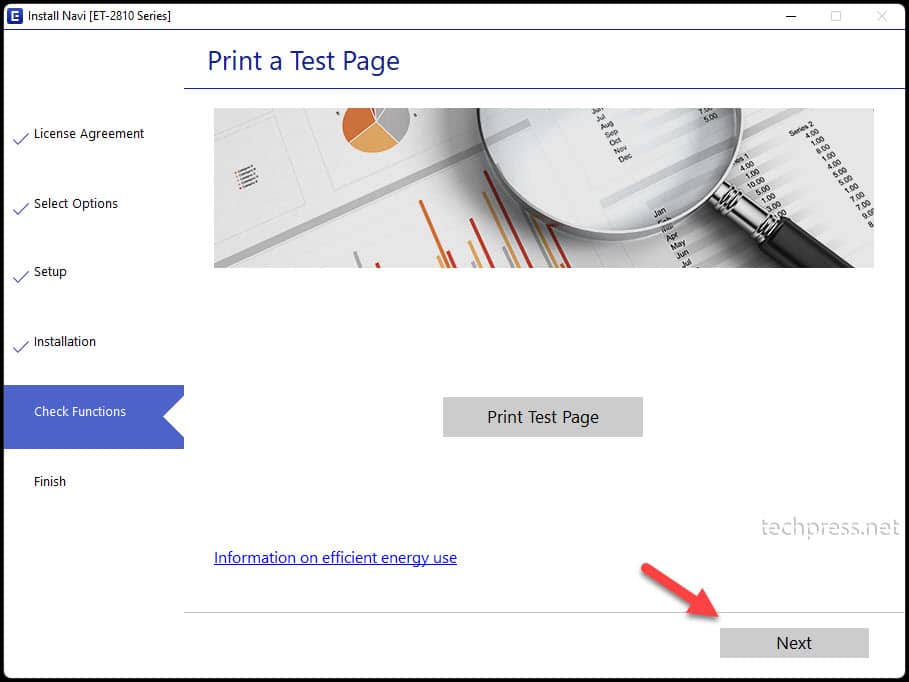
- After the software is installed, you will encounter a screen to print a test page. You can either click on the Print Test Page button or proceed further without printing by clicking on Next.
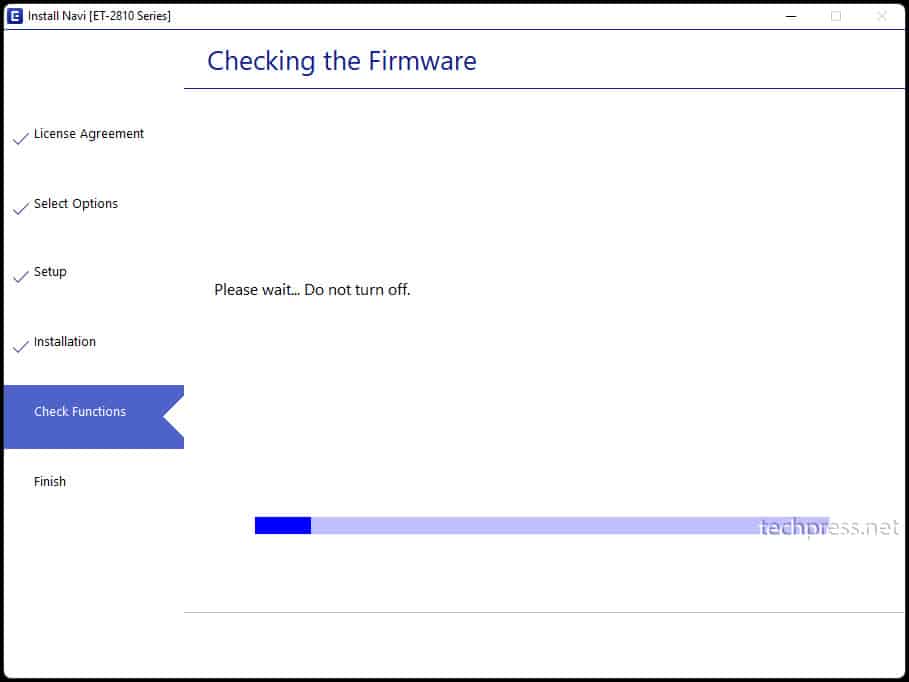
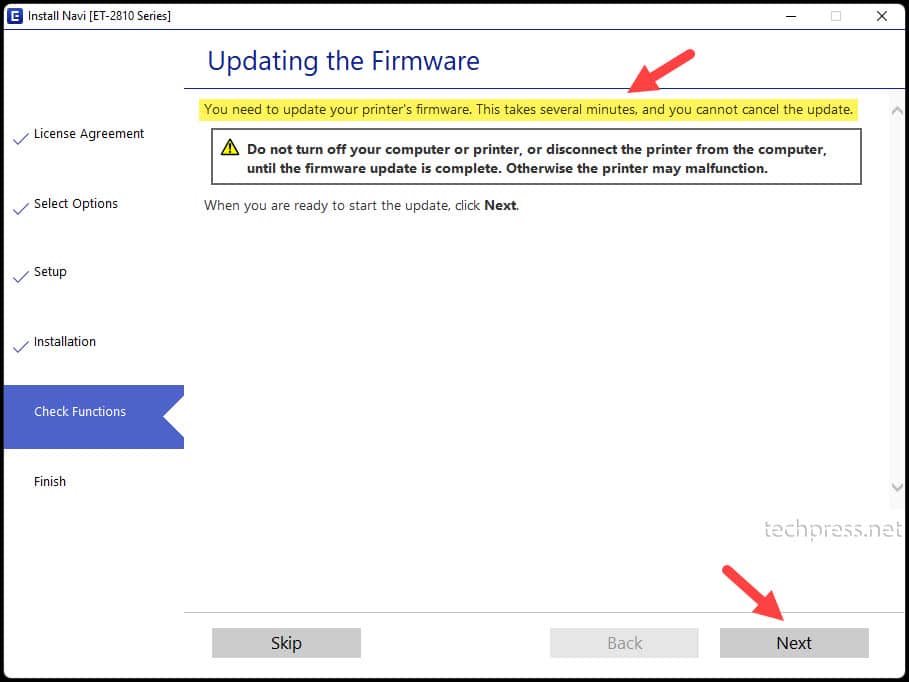
- Checking the Firmware: This screen will verify the installed firmware on the Epson ET-2810 Printer. If an upgrade is necessary, it will be shown on the screen.
- Note that my printer has old firmware installed, as indicated on the screen. Click on Next to proceed with updating the firmware on your printer.
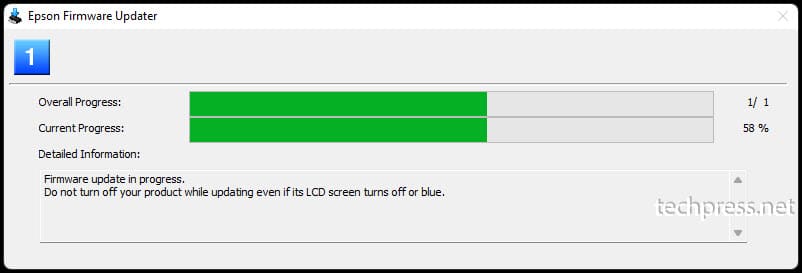
- Once you initiate the firmware installation, the progress will be displayed. Do not power off or restart the printer while the firmware upgrade is in progress to avoid potential issues with the printer software. Let the process complete, as it will automatically restart the printer.
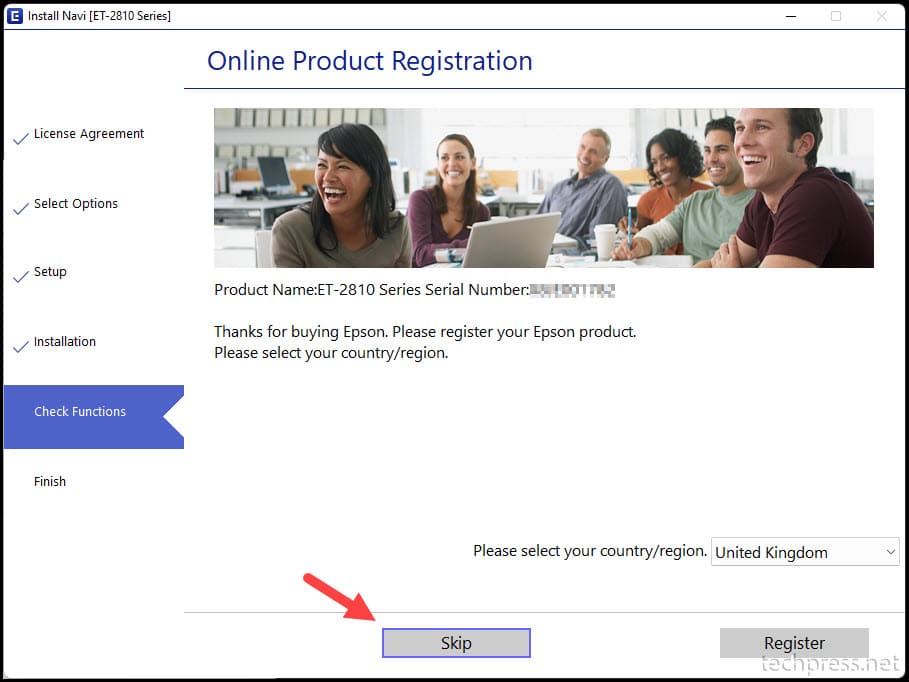
- Online Product Registration: This screen offers an option to register the product. You may choose to register later and click on Skip to proceed further without registration.
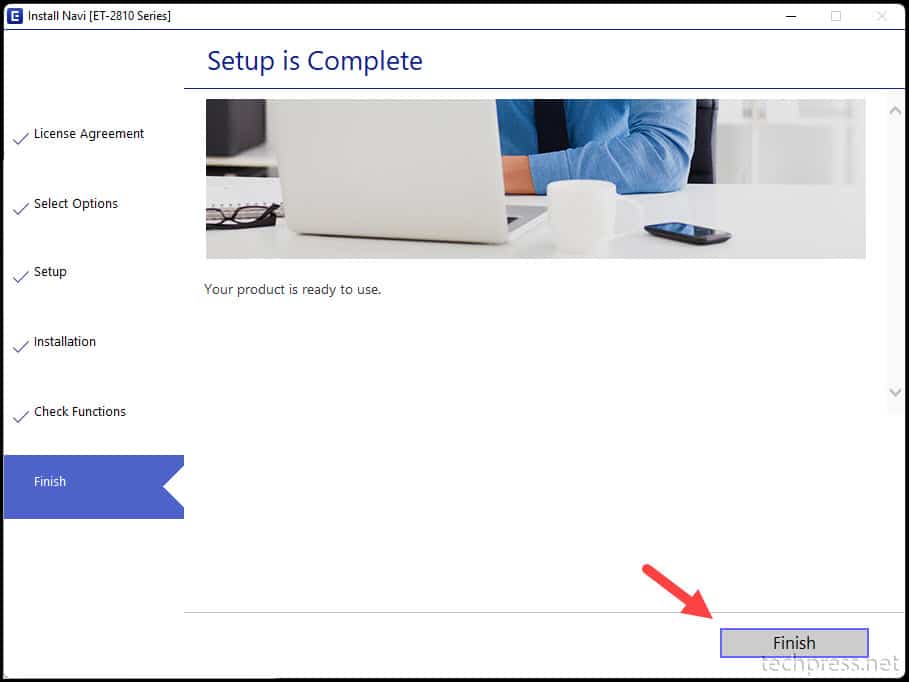
- Setup is complete and your Epson ET-2810 printer is ready to use.
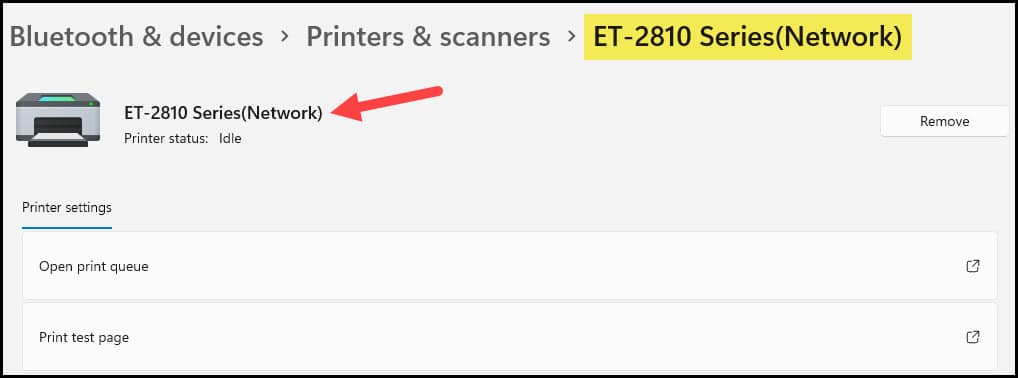
- To Find the Installed Printer on your Windows 10 or Windows 11 device. You can follow below steps:
- Click on Start or Windows Icon.
- Search for Printers which will show Printers & Scanners.
- You will be able to see ET-2810 Series listed in there.
- Click on it to see the Printer Status, Open Print Queue or Print a test page.
Unable to Connect Epson EcoTank ET-2810 to Windows
You may get a Window with the message Network Configuration Interrupted and therefore, will not allow you to complete the setup process.

This error is due to Windows firewall which does not allow EpsonNet setup and therefore, you see this message. To fix this issue, follow the below steps:
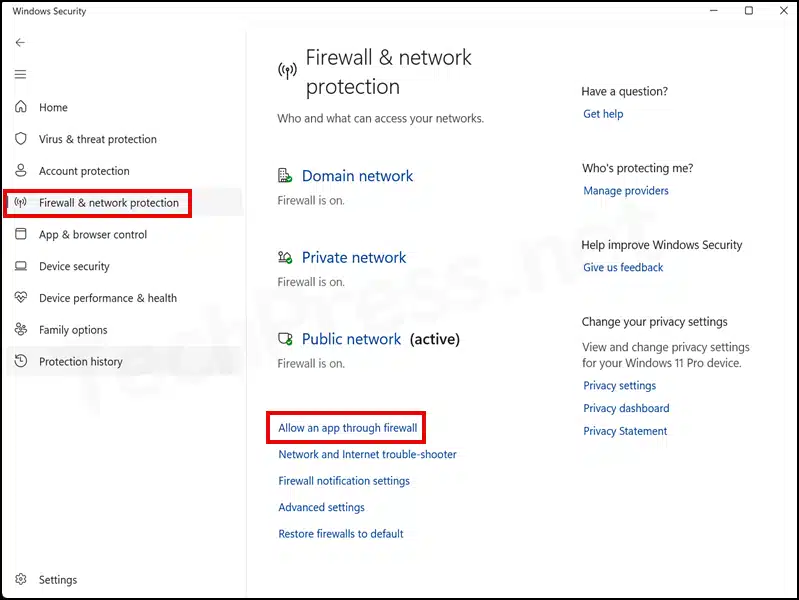
- Go to Start and search for Windows Security.
- Select Firewall & network protection, and click on Allow an app through firewall.
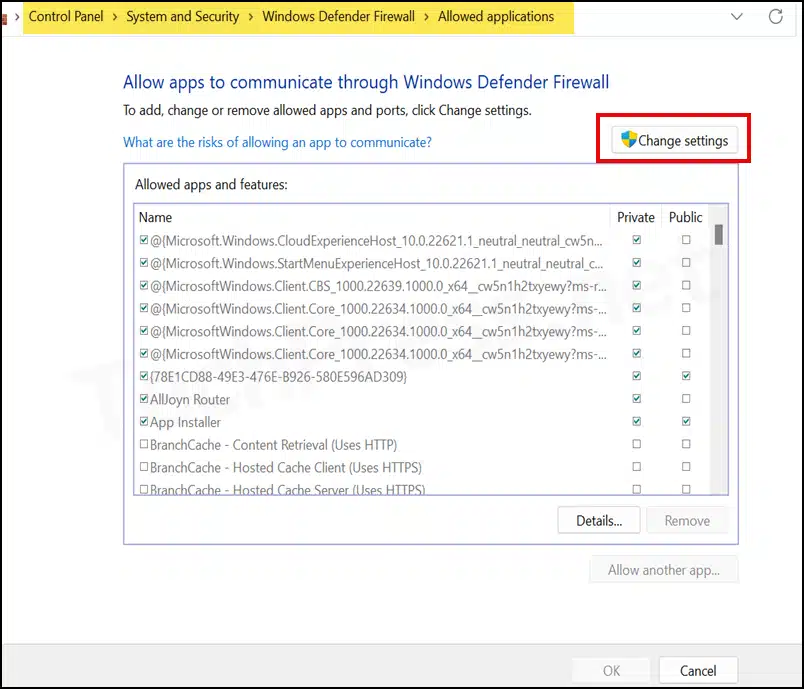
- Click on the Change settings button.
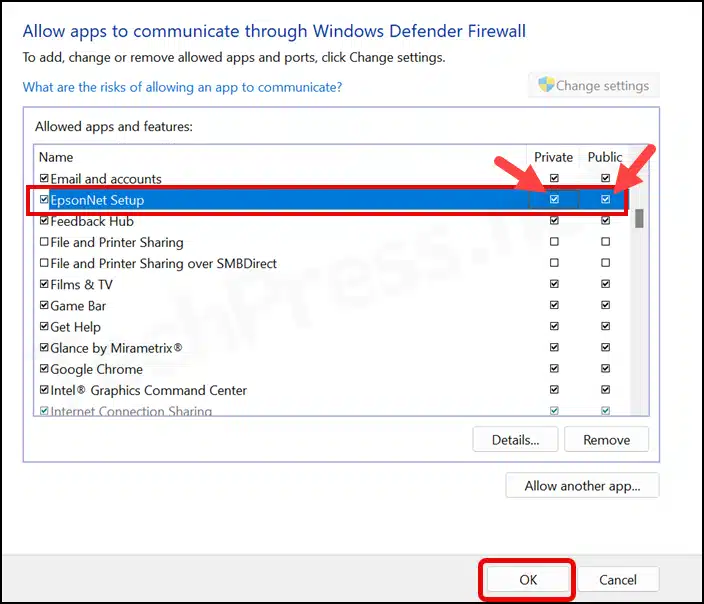
- Search for EpsonNet Setup and on the right-hand side, Check the boxes under Private and Public. Click on OK to save.
Printing a Network Connection Report
If you still encounter difficulties connecting this printer to your Windows device, you can print a network report directly from the printer by pressing the i button on the Printer.
- Load paper.
- Press the i button to print a network connection report.
- Make sure that the below Items are showing as PASS.
- Wireless Network Name (SSID) Check
- Communication Mode check
- Security Mode Check
- MAC Address Filtering Check
- Security Key/Password Check
- IP Address Check
- Detailed IP Setup Check
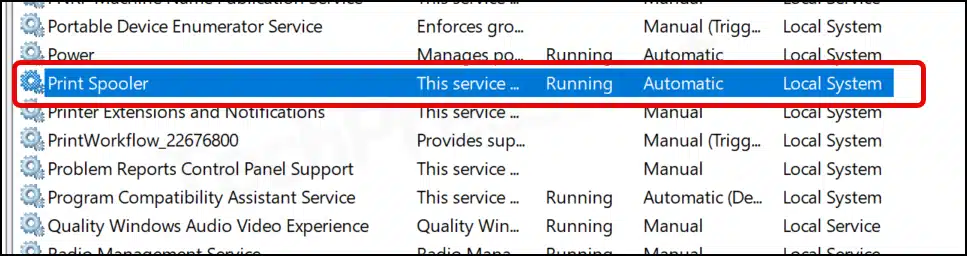
Ensure Print Spooler service is running
If the Print Spooler service is not running on your Windows device, you won’t be able to set up any printer, not just the Epson printer. This service is crucial for print services on your device. Follow the steps below to ensure its status is running.
- Press the Windows key + R to open the Run dialog box.
- Type
services.mscand press Enter to access the Services Management console. - Locate the Print Spooler service and check its status. If it is set to disabled and stopped, change it to Automatic and start the service.
Conclusion
In this blog post, we’ve explored the process of connecting the EPSON ET-2810 Printer to a Windows 10 or Windows 11 device. It’s easy to connect and install the printer using the Epson Product setup software. Alternatively, you can use the CD provided with the printer, which includes the printer setup software. For additional information about this printer, you can visit the Epson EcoTank ET-2810 Support link.
I want an ICON on the desktop. Nowhere can I find how to do that.