In this blog post, I will show you how to add fonts to Microsoft paints app. Microsoft Paint is a simple graphics editor that is installed by default on all editions of Microsoft Windows. The Text tool in the Paint app can be used to add text to images.
To write text in the Paint app, you can utilize the available fonts installed on your device. However, if you have a special custom font that you want to use in the Paint app, you will need to first install it on your device.
Contents
Check Available Fonts in the Paint App
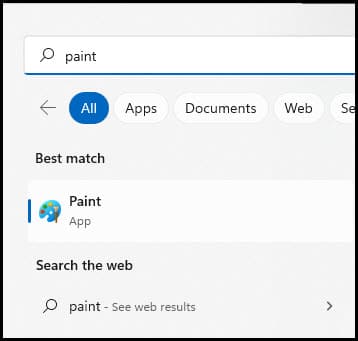
- Click on Start menu and search for Paint App.
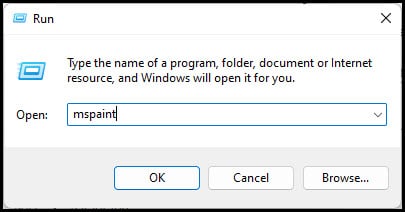
- Alternatively, you can open Paint App by pressing Windows Key + R to open the Run dialog box and type
mspaintand click on OK.
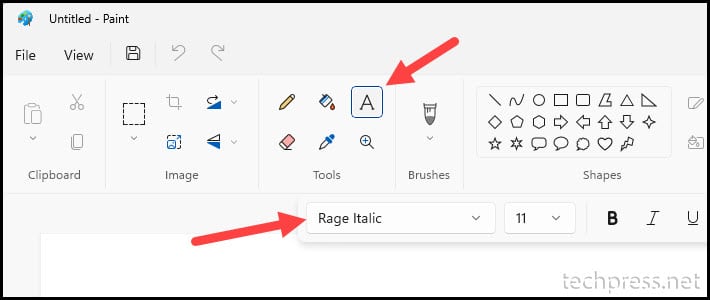
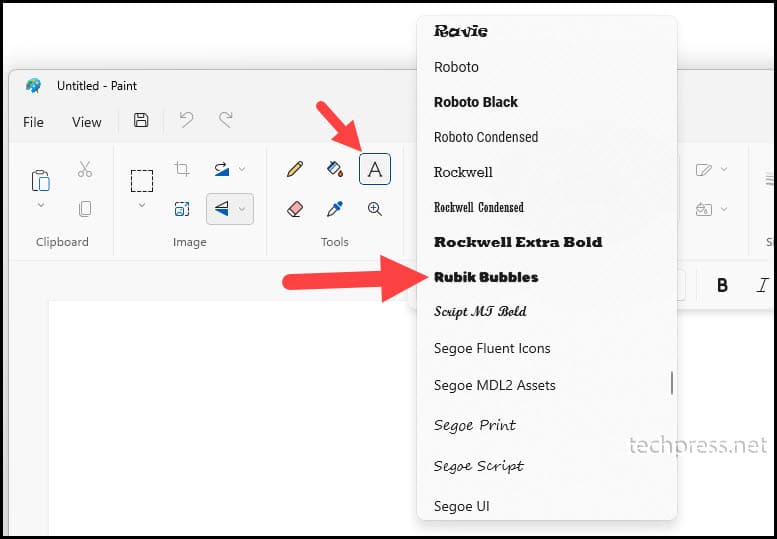
- Click on A Icon and check the available fonts in the app.
Downloading Fonts
First step is to download the font on your device, Many websites offer free fonts. However, some special custom fonts may require a licence for use. Ensure that you review font’s documentation to check and confirm its usage.
One of the free font websites is Google Fonts, which offers open-source fonts available at no cost. You can download these fonts, install them on your device, and use them as you see fit. For further details on the usage of Google Fonts, you can refer to the Google Fonts FAQs page.
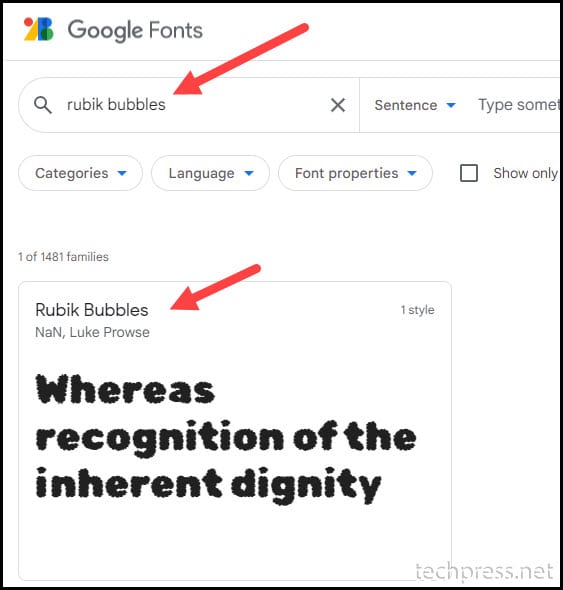
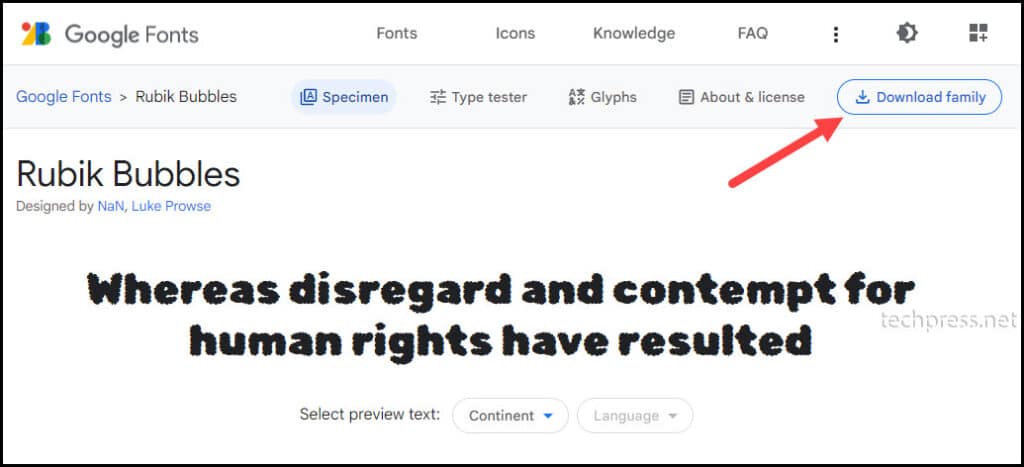
I will be downloading a font from the Google Fonts website called Rubik Bubbles. Let’s check the steps:
- Open Google Fonts website.
- Use the search box to look for the Rubik Bubble font. You can also search for any other font according to your requirements.
- Click on Download Family to initiate the font download.
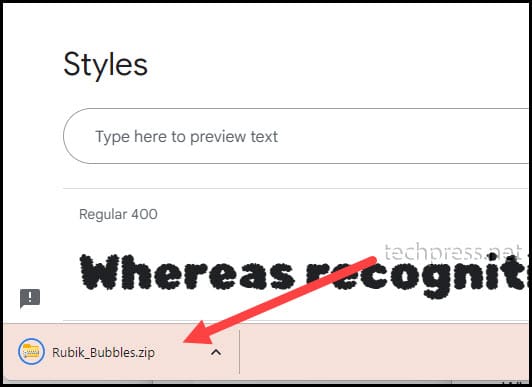
- The font will be downloaded in a zip file.
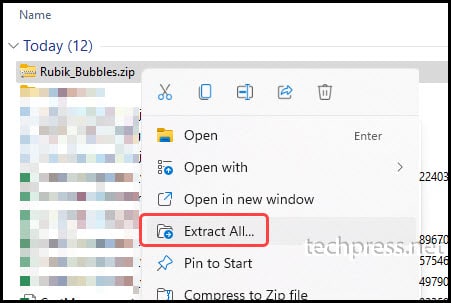
- Right-click on the zip file and then select Extract All. Follow the wizard to extract the contents into a folder.
Installing Fonts to the Paints App
After downloading font files, install it on your device. Once the font is installed on your device, it will be available in the Paint App.
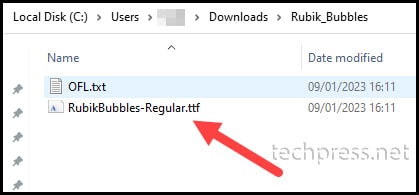
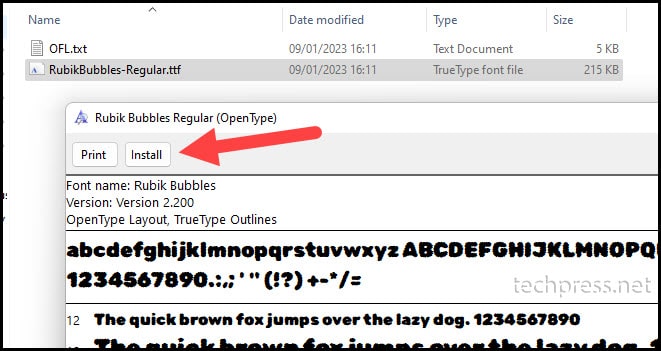
- After extracting the zip file, you will find a file named RubikBubbles-Regular.ttf. This is the font file that needs to be installed.
- Double-click on RubikBubbles-Regular.ttf and then click on Install to install this font. Once the font is installed, it will be saved in the C:\Windows\Fonts directory, making it available to all users and apps on the device.
Verify Font Installation from Microsoft Paint App
To check and confirm if the Font is installed in MS Paint App. Open the app, and click on A Icon. Use the font drop-down to check if the newly installed font is available.
Uninstall/Remove a Font from Paint App
- Close all Open apps or restart your device once to unlock the font file.
- Go to the location C:\Windows\Fonts and delete the font file.
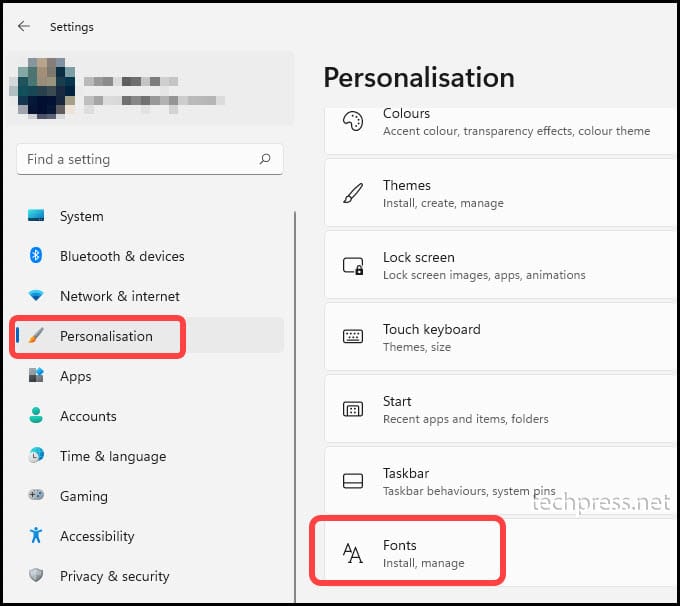
The second option to uninstall the font is by using Settings App.
- Settings ⚙️> Personalisation > Fonts.
- Search for the Rubik Bubbles font or the font you want to uninstall. Click on it to open the Font Information page.

- Click on the Uninstall button to initiate the uninstallation process.

- After clicking the Uninstall button, you will receive a pop-up message to confirm if you are sure you want to delete this font permanently. Click on Uninstall again to complete the uninstallation process.
