In this blog post, I will show you the steps on how to deploy a batch file using Intune. Batch file is a file with an extension of .bat or .cmd. For the deployment and demonstration purpose, I will be using an a batch file which initiates the process of rolling back Microsoft Defender Antivirus definitions to a previous version.
Contents
Create a Batch File
First, prepare a batch file you want to deploy. As an example, I would be using below piece of code and saving it with a .bat or .cmd extension.
MPsignatureupdate.bat
@ECHO OFF
SET MPPATH="C:\Program Files\Windows Defender\"
CD %MPPATH%
START MpCmdRun.exe -RemoveDefinitions
@echo detectioncheck>C:\Windows\Temp\Detectioncheck.txt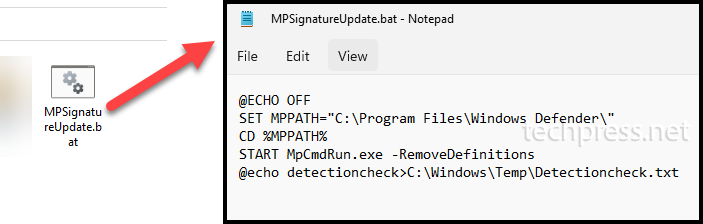
Create an IntuneWin File
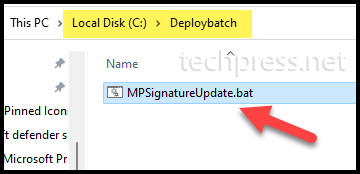
- Create an empty folder called Deploybatch or any other name you prefer, and place the batch file into this folder. We will copy MPsignatureupdate.bat file here.
- Download the Microsoft Win32 Content Prep Tool. It’s a zip file therefore extract its contents into a folder.
- Create an empty folder for example C:\output, or anywhere you like.
- Use the below command to create a .intunewin file. (For detailed guidance on .Intunewin file, refer to this link: How to create an Intunewin file)
- Source Folder: This is the folder where the installation setup files or scripts are stored.
- Source Setup File: Provide the executable file’s name and its extension.
- Output Folder: Provide a path where the .intunewin file will be generated.
IntuneWinAppUtil -c <source_folder> -s <source_setup_file> -o <output_folder>Create IntuneWin File
IntuneWinAppUtil.exe -c "C:\Deploybatch" -s MPSignatureUpdate.bat -o c:\output
Create Win32 App Deployment on Intune
- Sign in to the Intune admin center > Apps > All Apps.
- Click on + Add and select Windows app (Win32) as the app type.
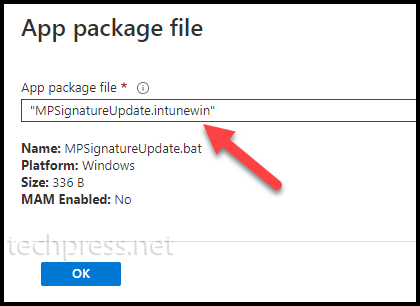
- App Information Tab: Browse to .Intunewin file and click OK.
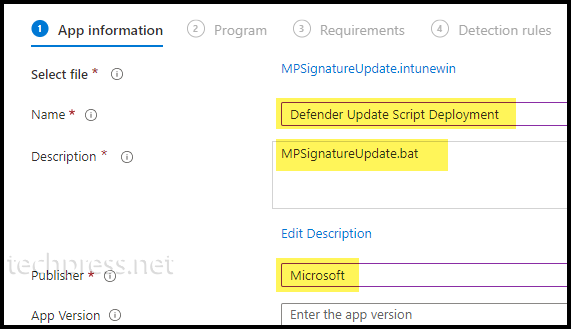
- Provide Name, Description, and Publisher Information.
- Program:
- Install command: MPsignatureupdate.bat
- Uninstall command: MPsignatureupdate.bat
- Installation time required (mins): keep default.
- Install behavior: System
- Device restart behavior: No specific Action

- Requirements Tab: You can specify the requirements that devices must meet in order to deploy the app. If your devices are a mix of 32-bit and 64-bit types, then check both the boxes for 32-bit and 64-bit in the operating system architecture drop-down. Else, just go with 64-bit.
- Operating System Architecture: 64-bit
- Minimum operating system: Windows 10 1607.
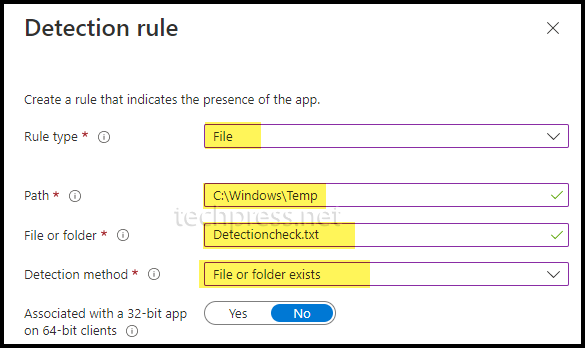
- Detection Rules: Select Manually configure detection rules and click on +Add to add a detection rule.
- Rules Format: Select Manually configure detection rules
- Rule type: File
- Path: C:\Windows\Temp
- File or folder: Detectioncheck.txt
- Detection Method: File or Folder exists.
- Assignments Tab: Click on Add group to add an Entra security group containing uses or devices.
- Review + Create: Review the deployment and click on Create to start the deployment process.
Sync Intune Policies
The device check-in process might not begin immediately. If you’re testing this policy on a test device, you can manually kickstart Intune sync either from the device itself or remotely through the Intune admin center.
Alternatively, you can use PowerShell to force the Intune sync on Windows devices. Another way to trigger the Intune device check-in process is by restarting the device.