In this blog post, we will explore the deployment of fonts on Windows 10 and Windows 11 devices through the Intune admin center. Various methods are available for font deployment using Intune, including PowerShell scripts, Win32 apps, and the Master Packager tool.
To install a font on Windows devices, download the font file. You can download it from many websites, For example: Google Fonts. After you download the font file, Right-click on it, then select the ‘Install‘ option to make it available across the device for use in all applications.
When you install a font on the Windows device, it gets copied into C:\Windows\fonts directory. It will also create a registry entry at HKEY_LOCAL_MACHINE\SOFTWARE\Microsoft\Windows NT\CurrentVersion\Fonts location.
Contents
Ways to Install Fonts on Windows Devices using Intune
There are multiple methods available for installing fonts on Windows devices using the Intune admin center. Let’s explore the various ways in the list below:
- Using Win32App Deployment Method: the Best method for deploying font files on Windows devices involves using the Win32 App deployment method. While this method requires PowerShell scripts, it offers improved deployment reporting, and you can easily uninstall fonts from the user’s devices. For a step-by-step guide on deploying fonts using this method, refer to the following guide: How to deploy fonts using Intune.
- Using Master Packager tool: Using Master Packager tool, you can create and edit MSI files. We will use the community edition of this tool to create an MSI Installer file, which will include our custom Font files. Then, using the Line-of-Business App option, we will deploy this MSI file.
- Using a PowerShell Script: This method involves creating a PowerShell script to deploy font files. The script essentially copies the font file to the C:\Windows\fonts directory. You can then deploy the script using Intune. For a step-by-step guide on deploying a PowerShell script, refer to the following guide: How to deploy a PowerShell script using Intune.
Method 1: Deploy Fonts Using Win32 App Method
The first method we are going to discuss involves using the Win32 App method on the Intune admin center. This approach requires PowerShell scripts to deploy font files on Windows 10 and Windows 11 devices. This is the best option and my recommended method as well.
For detailed guidance on Deployment of Fonts using Win32 App method, Refer to the Step-by-step guide: How to deploy fonts using Intune [Win32 App method].
Method 2: Use Master Packager Tool to Deploy Fonts
The Master Packager Tool is an application packaging tool used to create and edit Microsoft Windows Installer (MSI) files. In the following steps, we will learn how to package custom font files into the .MSI installer file. Subsequently, we can deploy this MSI installer to install our custom font files on both Windows 10 and Windows 11 devices.
This method is ideal if you prefer not to use PowerShell scripts and seek a straightforward way to deploy font files. Additionally, it offers the flexibility to easily edit the MSI file, allowing you to add or remove font files from the package.
1. Download and Install Master Packager Tool
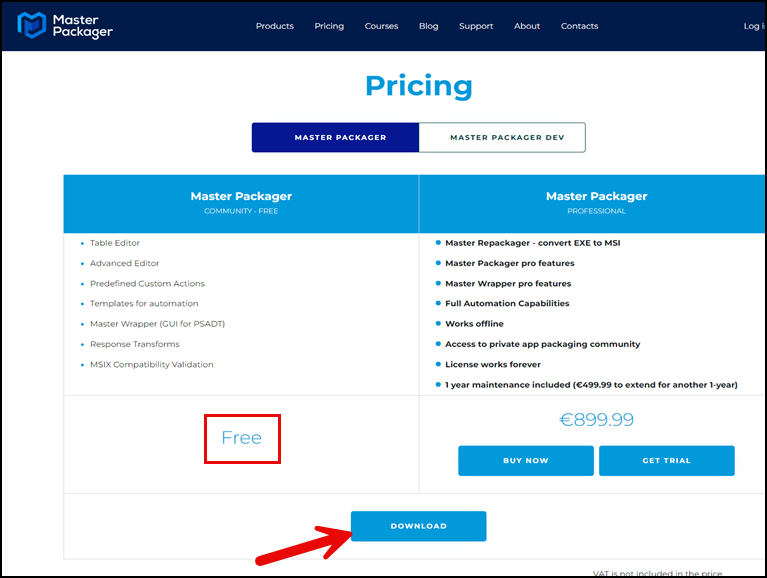
The first step is to download the Master Packager tool from the website: https://www.masterpackager.com/pricing. The Community Edition is free to use; however, there is also a Professional Edition available that provides more advanced features, such as converting EXE to MSI and automation capabilities.
- Once you are on the website, Click on the Download button to begin downloading this tool on your device.
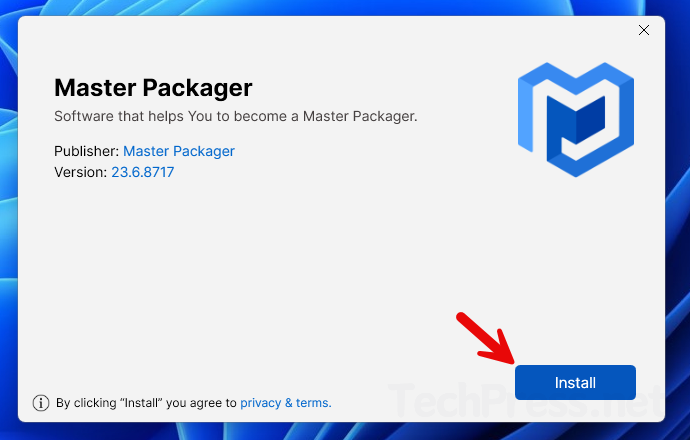
- Double-click on the installer and click the ‘Install‘ button to install the Master Packager tool.
2. Create MSI Package for Fonts
After completing the installation of the Master Packager tool, we will utilize it to build an MSI file that incorporates our custom font files. Once the MSI file is created, we will leverage the Line of Business App (LOB) option in Intune to deploy this MSI, installing the fonts on the target devices.
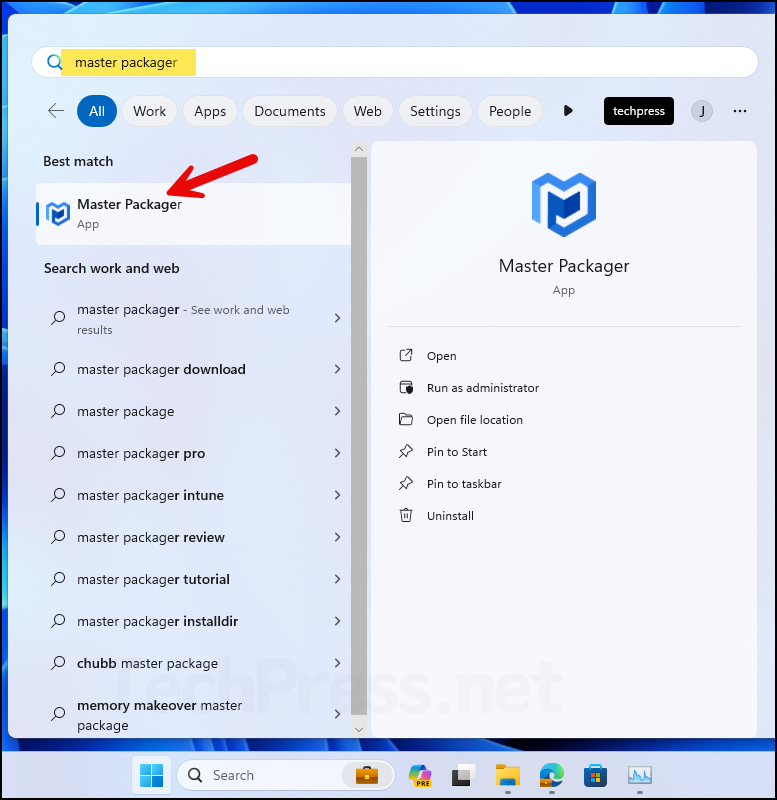
- Search for the Master Packager tool in Start menu and click on it to launch.
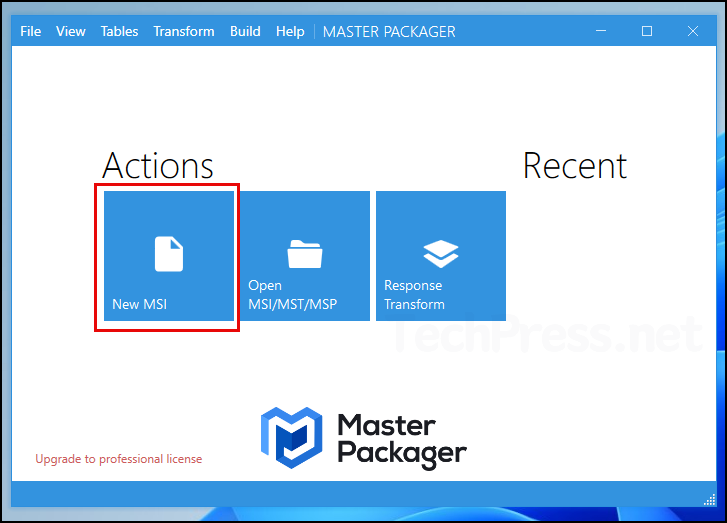
- Click on New MSI.
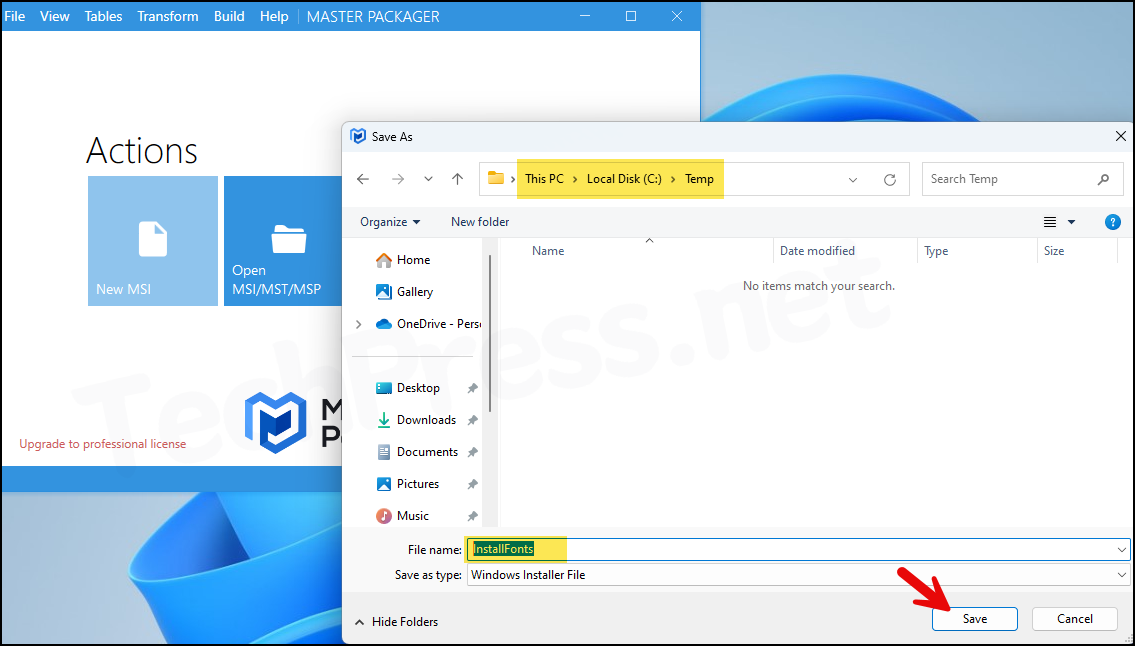
- Navigate to the desired location where you want to save the .MSI installer file. Provide the file name as well. For example, we are going to create the InstallFonts.MSI file at the C:\Temp location. Click Save to proceed.
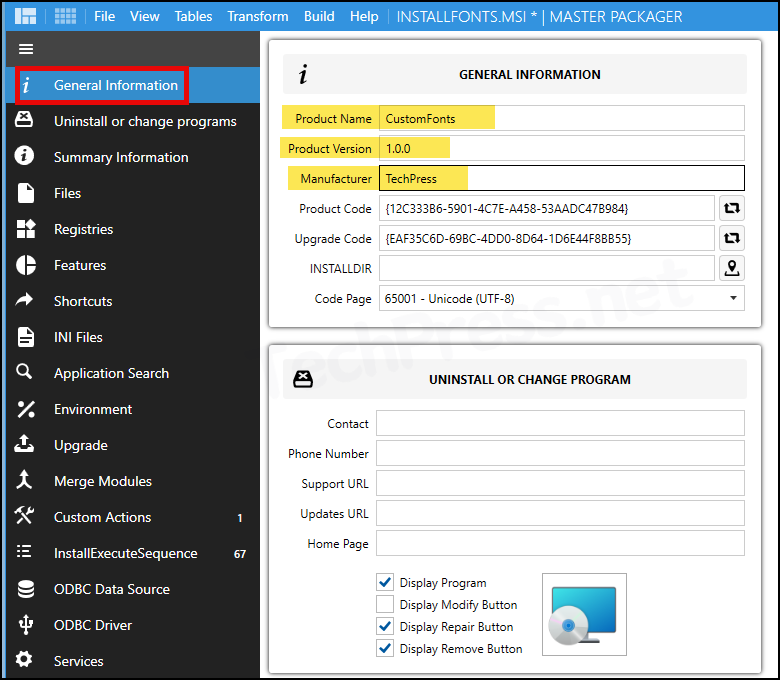
- Click on General Information and provide the product name, product version, and manufacturer details.
- Click on Files on the left-hand side, and then navigate to WindowsFolder > FontsFolder on the right-hand side. Right-click on the empty area and select Add Files.
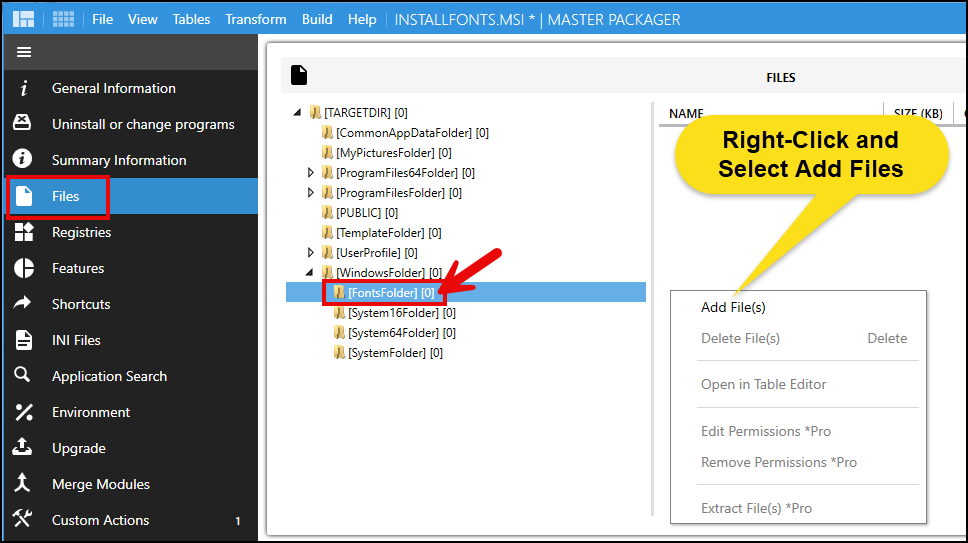
- Select all the font files you want to deploy. If you’ve missed any font file, you can edit the MSI installer later to add or remove font files from it.

- Click on BUILD NOW to add the font files and build the MSI package.

- Now that the MSI installer package build is completed, click on File > Save to save the MSI installer containing our custom font files.
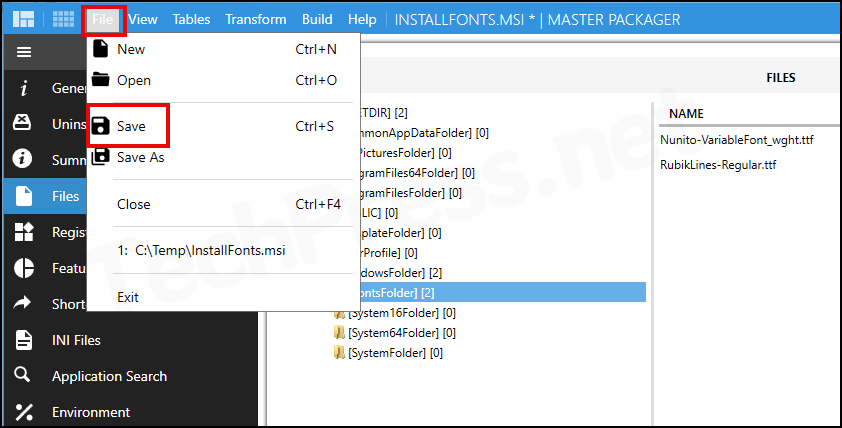
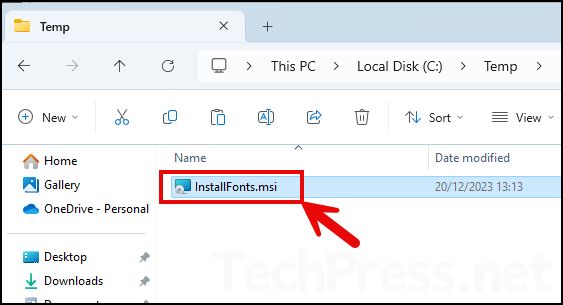
- The screenshot below confirms the successful creation of the InstallFonts.msi file. The next step is to deploy this MSI file using Intune.
3. Deploy InstallFonts.msi File
Having built our InstallFonts.msi file in the previous step, which includes our custom font files, we will now use the Line of Business App deployment method to deploy this MSI.
- Sign in to Microsoft Intune admin center
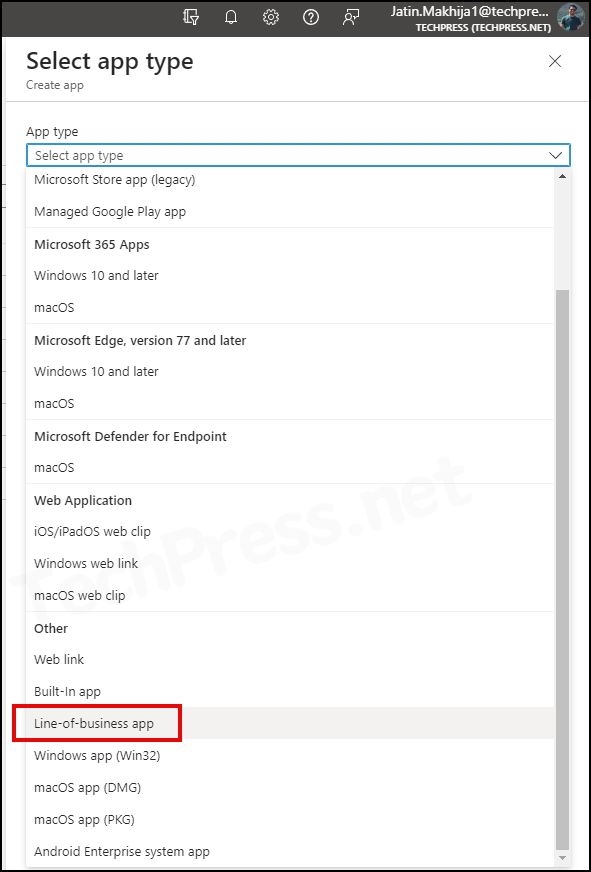
- Go to Apps > All Apps > click on Add.
- Using the App type drop-down, Select Line-of-business app option.
- Browse to the downloaded MSI file by clicking on the folder Icon.
Deploying InstallFonts.msi is similar to deploying any other MSI file using Intune. You can refer to the step-by-step guide on deploying MSI using Intune for detailed instructions. After completing the deployment of InstallFonts.msi, custom font files will be installed on your target Windows devices.
Method 3: Using PowerShell Script to Deploy Fonts
The last method involves deploying font files using a PowerShell script through the Intune admin center. Follow the steps below:
- Download PowerShell script from my GitHub Repo: InstallFonts.ps1
- Modify the script to download the fonts from Internet or a shared location.
- Deploy the PowerShell script using the reference guide: How to deploy a PowerShell script using Intune.
Verify Font Installation on the Target Devices
Utilizing any of the aforementioned methods will install fonts on your target Windows 10 and Windows 11 devices. After the process is complete, you can verify and confirm the successful installation of the font files. There are multiple places to check and confirm this, refer to the section End-user Experience of the blog post to get detailed information about it: Multiple Methods to Verify Fonts Installation.