In this blog post, I will demonstrate the steps on how to reset Outlook profile. An Outlook mail profile gets created automatically when you setup your email account in Microsoft Outlook app. This profile stores email data, contacts, calendar, tasks etc. which also remains available for offline access.
Outlook profile can get corrupted due to Outlook app crash or any misconfiguration in the settings. There could be other reasons of resetting outlook profile:
- Slowness in sending/receiving emails.
- To fix Global address book (GAL) related issues.
- To fix calendar sync issues etc.
Contents
Location of Outlook Profile
Outlook profile is created at %LocalAppData%\Microsoft\Outlook location. Let’s see how to access it and contents of the profile folder.
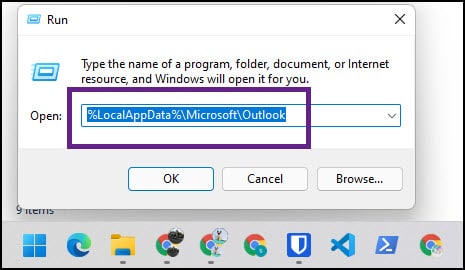
- Press Win + R keys to open the Run dialog box.
- Type %LocalAppData%\Microsoft\Outlook and click OK.
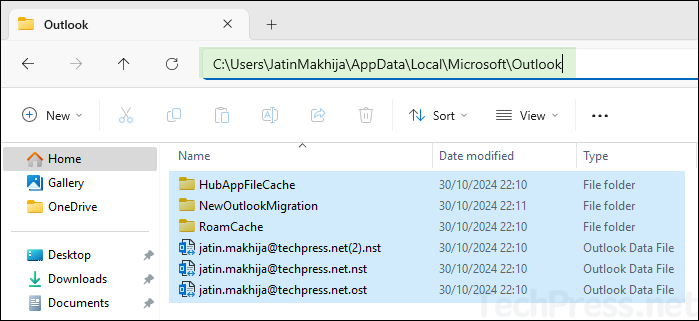
- Below screenshot shows outlook profile folder contents. This includes
.OSTfile, which contains a cached copy of emails downloaded from the mail server.
Steps to Reset/Recreate Outlook Profile
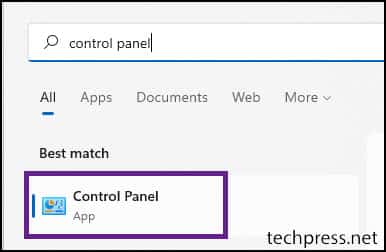
- Click on Start > search for Control Panel and click on it to Open.
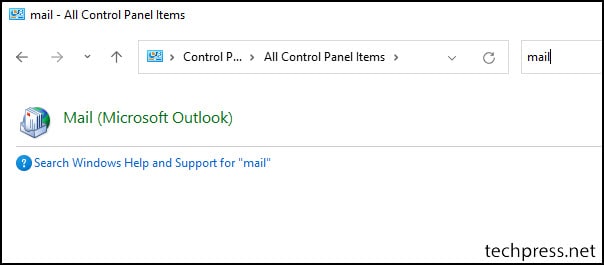
- Search using the word mail and Click on Mail (Microsoft Outlook).
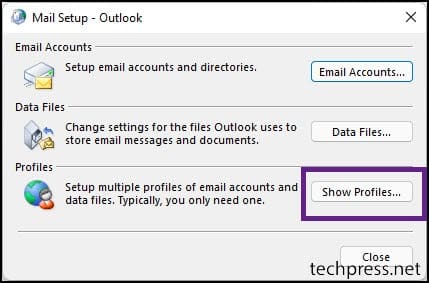
- Click on Show Profiles.
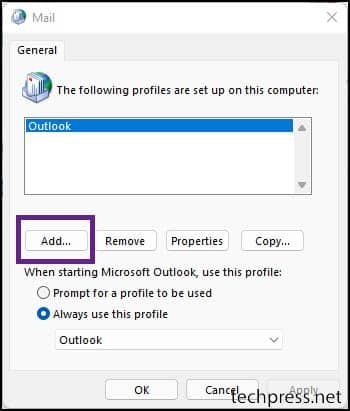
- As you can see from below screenshot, There is one existing Outlook profile called Outlook. We will be creating a new one, Click on Add button.
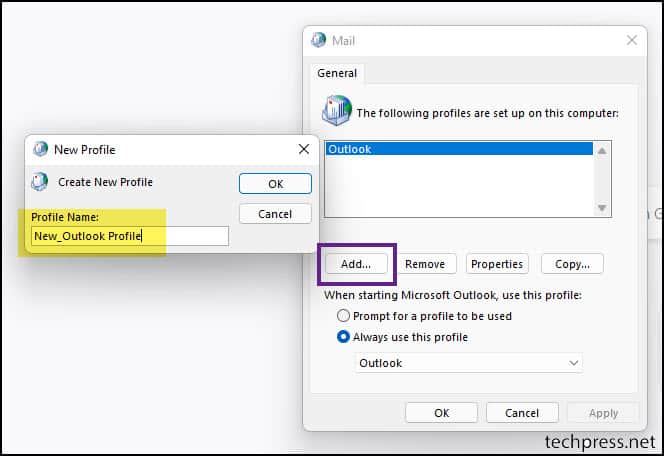
- Provide a name for the new Outlook profile (e.g. New_Outlook_Profile).
- Verify your email address and click on Next.
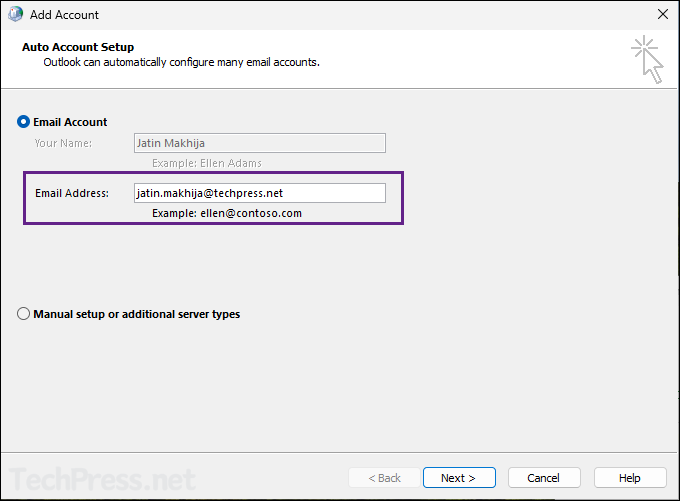
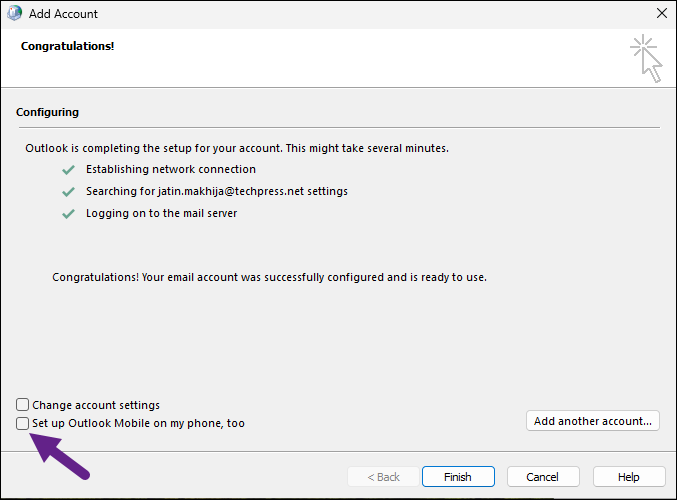
- Outlook profile is now setup. Uncheck, Set up Outlook Mobile on my phone, too. Click Finish.
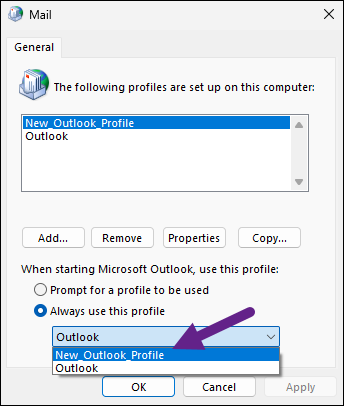
- To use the newly created Outlook profile, select it from the drop-down under Always use this profile and then click the OK.
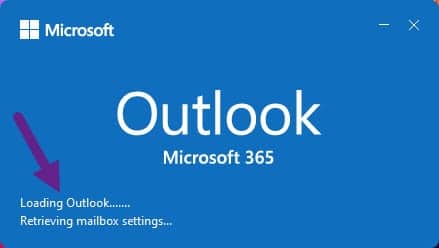
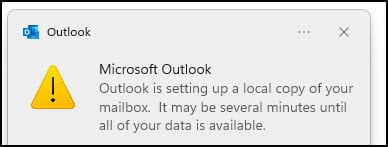
- When you launch Outlook app next time, you will get a message on the screen Retrieving mailbox settings… Additionally, in the system tray, a pop-up will appear, stating Outlook is setting up a local copy of your mailbox. It may take several minutes until all of your data is available.
- Outlook will create a new .OST file at %LocalAppData%\Microsoft\Outlook location and download emails from email server to create a cached copy. Keep Outlook app opened to allow all emails to be downloaded in the background.
| Pro Tip |
|---|
| When you encounter various issues with Outlook app like not being able to send or receive emails, GAL issues, Calendar sync issues. You have tried to troubleshoot it by reseting Outlook mail profile, but the issues are still not fixed. You could rename the Outlook folder itself and let it rebuild everything again from scratch. 1. Close the Outlook application. 2. Rename the Outlook folder located at %LocalAppData%\Microsoft\ path. 3. Relaunch the Outlook application. It will create a new Outlook folder at the same location, containing a fresh copy of your Outlook mail profile and re-downloading emails, Global Address List (Offline address book), etc. This should be considered a last resort to address Outlook email issues, as it is similar to switching to another PC and configuring Outlook from scratch. |
Fine-Tune Your Inbox: Manage the Number of Cached Emails
Outlook enables cached mode by default, downloading of email items on your system. You can easily adjust this setting via Outlook email account settings.
Before making changes to increase the number of emails downloaded, it’s important to note that this will also increase the size of the .ost file, potentially impacting Outlook performance. Additionally, ensure there is enough free space available to accommodate the downloaded emails.
Cached Mode Settings in New Outlook App
Let’s look at how to adjust the Cached mode settings in the New Outlook app, and how to adjust the days of emails to save on the device.
- Launch New Outlook app.
- Click on Settings Icon on the top right-hand side.
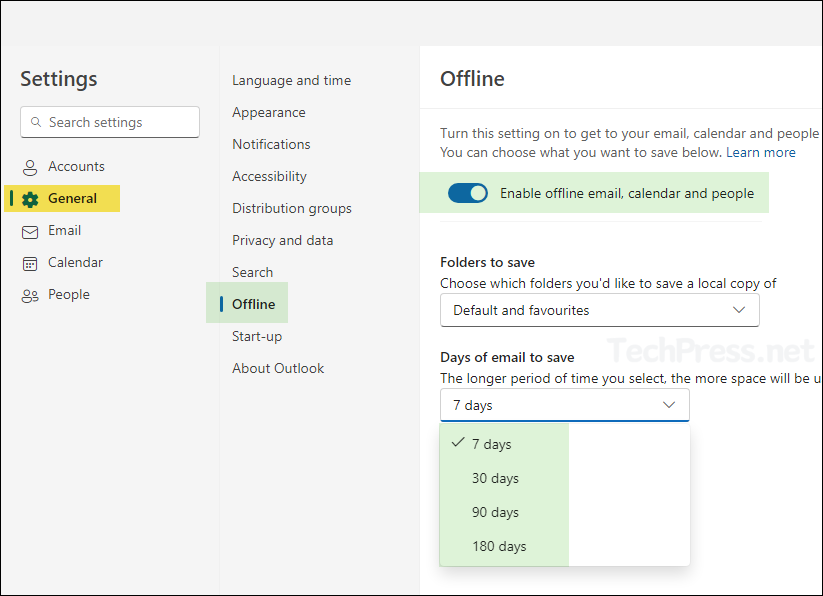
- Go to General > Offline.
- Ensure the toggle switch to Enable offline email, calendar and people is enabled.
- By default it will keep 7 days of emails offline, you can use the drop-down for Days of email to save and cache emails up to 180 days.
Cached Mode Settings in Classic Outlook App
If you are using Classic Outlook app, you can follow below steps to adjust Cached mode settings.
- Launch Classic Outlook App.
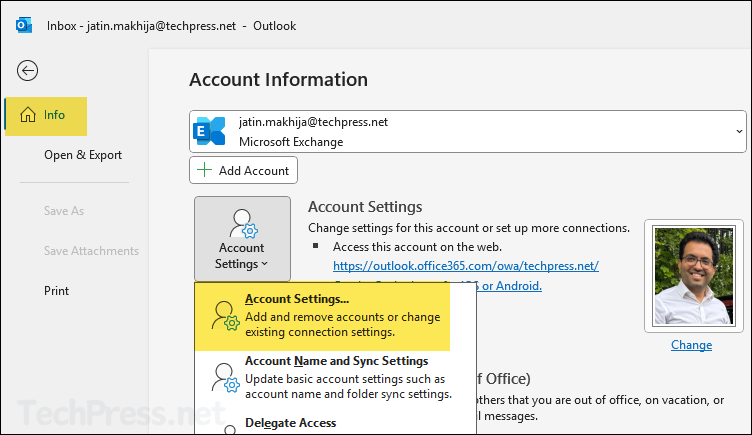
- Click on the File > Info > Account Settings > Account Settings.
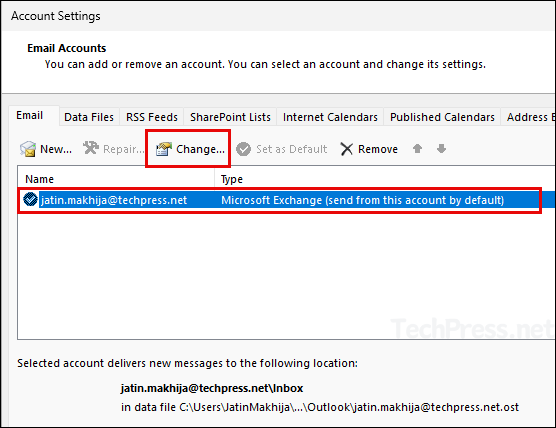
- Select your email account and click Change.
- By default, Cached mode is enabled and last 3 months of emails are downloaded. Use the scroll bar to adjust the number of emails that can be cached on your device.
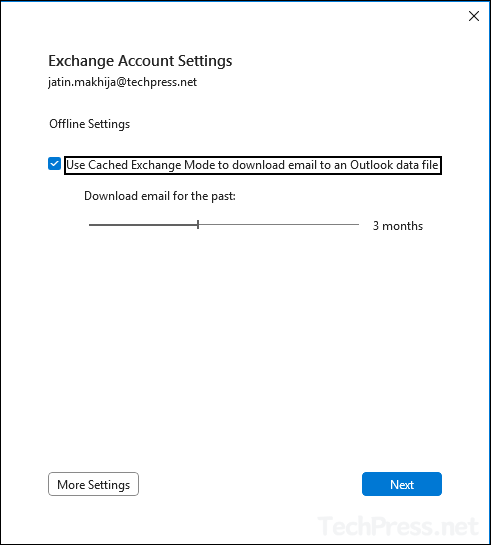
- You can also go up to All option to download and cache all emails on your device. However, if your mailbox is large, it’s not recommended to download all emails, as it could slow down the Outlook app and potentially lead to profile corruption.
- Click Done and Restart Outlook app for these changes to take effect.
