In this blog post, I will demonstrate the steps on how to change RDP Port using PowerShell. Default RDP (Remote desktop protocol) listening port number is 3389, which is used when connecting to any computer using the Remote Desktop Protocol.
If there’s no specific requirement to use this port, consider disabling it or changing the RDP port number to enhance security and make it more difficult for potential attackers to exploit the default RDP port. To know more about Remote desktop protocol, please refer to Microsoft documentation: Understanding the Remote Desktop Protocol (RDP).
In this blog post, we will learn how to change the default RDP port 3389 to any other available port number, for example, 3391. You can make this change manually via Windows registry or simple PowerShell commands.
Contents
Changing RDP Port number Using Registry Editor
RDP Port number configuration is stored in Windows registry. You can change the Port number using the registry editor. Let’s check the steps:
- Press the Windows key + R to open the Run dialog box.
- Type
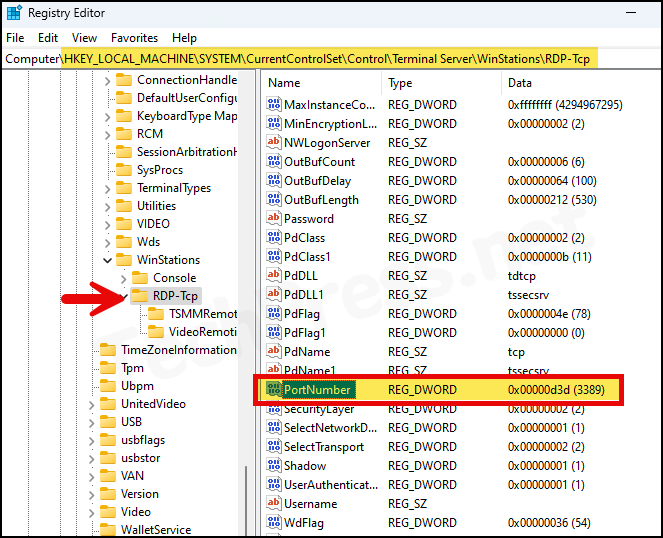
regeditand press Enter. - Navigate to HKEY_LOCAL_MACHINE\System\CurrentControlSet\Control\Terminal Server\WinStations\RDP-Tcp registry key.
- On the right-hand side, locate a registry entry called PortNumber. It is usually set to 3389 on Windows devices, which is the default port number.
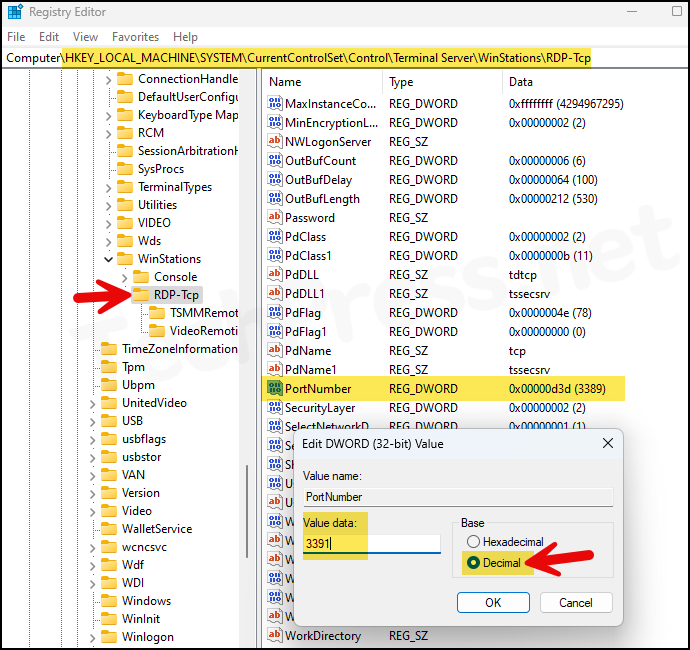
- Double-click on the PortNumber and change the Base to Decimal. Provide the new port number and press OK to save.
- New RDP port number is now configured. Restart your computer to apply this change.
Change RDP Port number using PowerShell
You can also use PowerShell and change the RDP Port number on a Windows device. Let’s check the steps:
1. Determine the Current RDP Port Configured on the Device
- Login on a Windows 10 or Windows 11 device as an administrator.
- Launch the PowerShell console as an administrator and execute the following commands.
Get Currently Configured RDP Port
(Get-ItemProperty -Path 'HKLM:\SYSTEM\CurrentControlSet\Control\Terminal Server\WinStations\RDP-Tcp' -name "PortNumber").portnumber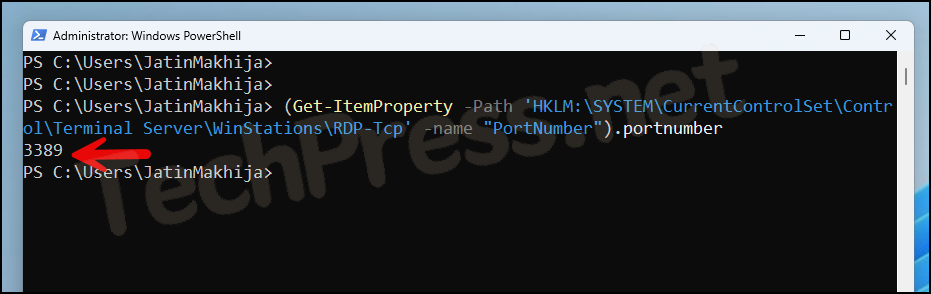
As you can see from the above screenshot, Port number 3389 is returned. This value is fetched from the registry key we saw in the previous section.
2. Change RDP Port Number
Now that we know the RDP port number currently set on the computer, we can change it to any other port number, For example, 3391. Provide the new port number value in the variable $newport and execute Set-ItemProperty command.
ChangeRDPPort.ps1
$newport = 3391

Set-ItemProperty -Path 'HKLM:\SYSTEM\CurrentControlSet\Control\Terminal Server\WinStations\RDP-Tcp' -name "PortNumber" -Value $newport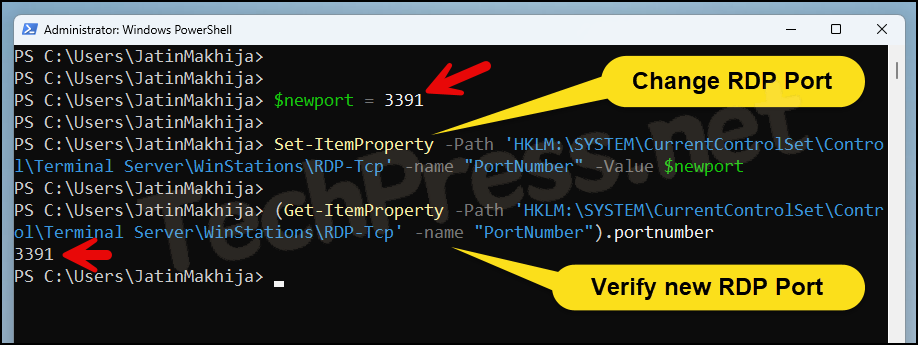
3. Adding Firewall Rules for Custom RDP Port
Simply changing the RDP port number may not be sufficient. You must create the required Inbound rules in the Windows firewall to allow access to the new RDP port number. Let’s go through the steps.
Add Firewall Rules to allow RDP on the custom port
$newport = 3391

New-NetFirewallRule -DisplayName 'Custom RDP PORT TCP-In' -Profile 'Public' -Direction Inbound -Action Allow -Protocol TCP -LocalPort $newport

New-NetFirewallRule -DisplayName 'Custom RDP PORT UDP-In' -Profile 'Public' -Direction Inbound -Action Allow -Protocol UDP -LocalPort $newport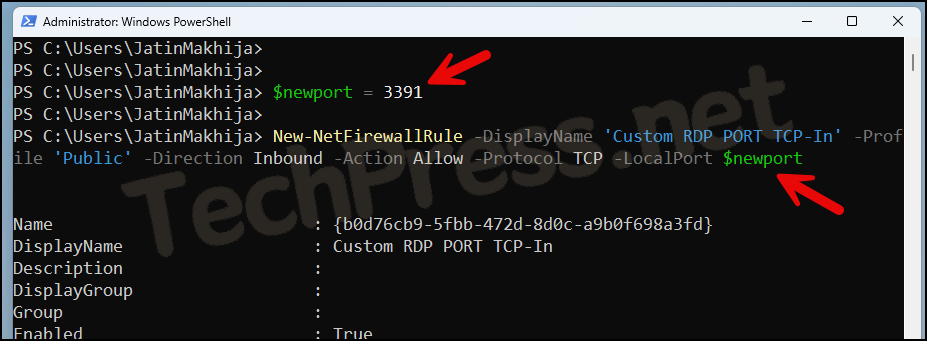
- Press Win + R to open the Run dialog box.
- Type
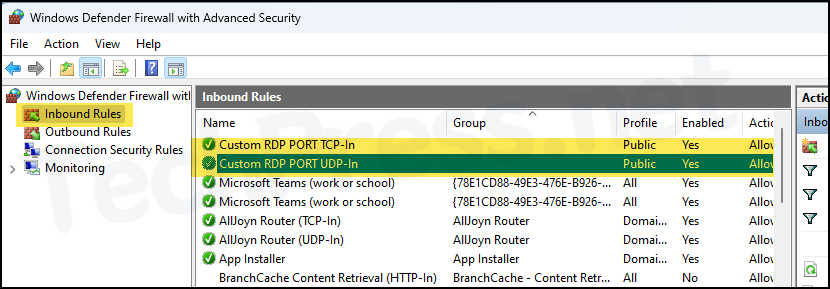
wf.mscand press Enter to open Windows Defender Firewall with Advanced Security, you will find two new inbound rules that we created using PowerShell commands. These rules allow users to connect to this PC using the new custom RDP port.
4. Restart Remote Desktop Services
To apply the changes to the RDP port number on your device, you have two options: restart the Remote Desktop Services service or reboot the computer. Let’s restart RDP service using below PowerShell command.
Restart RDP Service
Restart-Service TermService -Force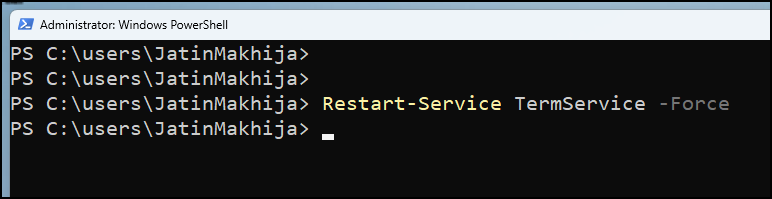
Verify Custom RDP Port Number
Now that we’ve restarted the RDP service, let’s verify if the RDP port is configured and ready for use. You can use either the Windows Registry Editor or PowerShell to check and confirm this.
1. Using Windows Registry Editor
- Press the Windows key + R to open the Run dialog box.
- Type
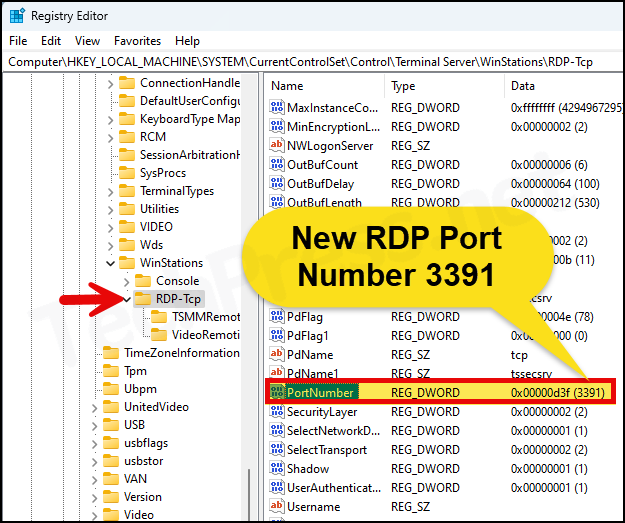
regeditand press Enter to open the Windows registry editor. - Navigate to HKEY_LOCAL_MACHINE\System\CurrentControlSet\Control\Terminal Server\WinStations\RDP-Tcp registry key.
- On the right-hand side, locate a registry entry called PortNumber. The decimal value of this port should be set to 3391, which is our custom RDP port number on this device.
2. Using PowerShell Commands
Confirm Custom RDP Port number
(Get-ItemProperty -Path 'HKLM:\SYSTEM\CurrentControlSet\Control\Terminal Server\WinStations\RDP-Tcp' -name "PortNumber").portnumberConnect using Custom RDP Port number
Typically, when connecting to a remote computer using Remote Desktop Connection (mstsc), there is no need to specify the port number as it automatically uses the default port number 3389 to establish the connection.
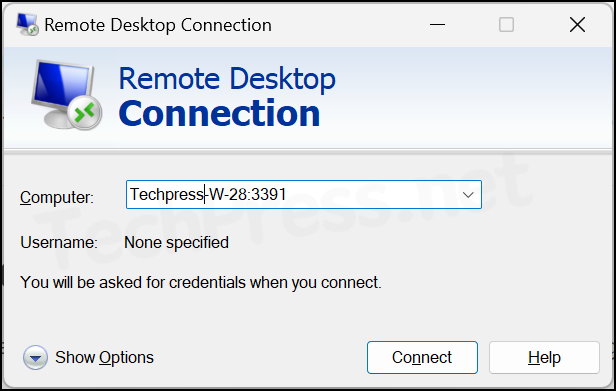
However, after changing the default RDP port number on the device, when you try to connect using the RDP protocol, you must specify the port number. To specify the port number, you can use the format: ComputerName:RDPPortnumber or IPAddress:RDPPortNumber.
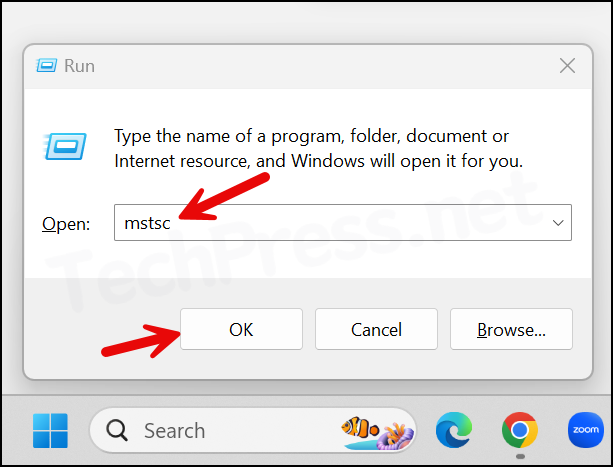
- Press Windows + R to open the Run dialog box.
- Type
mstscand press Enter to open Remote Desktop Connection.
- This will open the Remote Desktop Connection. Type the computer name and the new custom RDP port number, separated by a colon, and click the Connect button.