In this blog post, we will explore the steps to deploy a simple MSI application using Intune. The best method to deploy MSI files using Intune is line-of-business app method.
However, If your app deployment is complex and requires executing pre and post installation scripts for app configuration, assigning license to the application etc., then you can also deploy MSI files using Windows app (Win32) method. Line-of-business (LOB) app method supports .msi, .appx, and .appxbundle file extensions.
Contents
Download MSI Installer file
Download MSI Installer file from software vendor’s website. For demonstration purpose, I will be using an app called RingCentral which I have already downloaded it on my computer.
- Sign in to Intune admin center.
- Go to Apps > All Apps > click on Add.
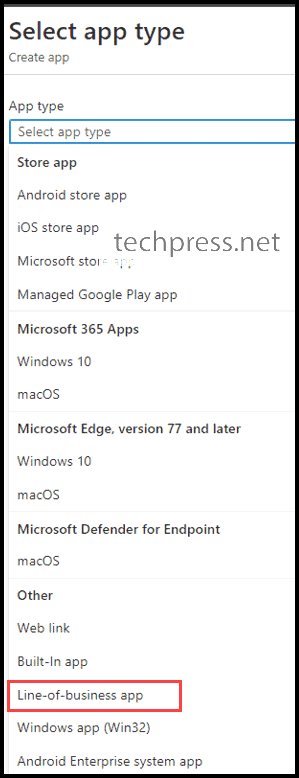
- Using the App type drop-down, Select Line-of-business app option.
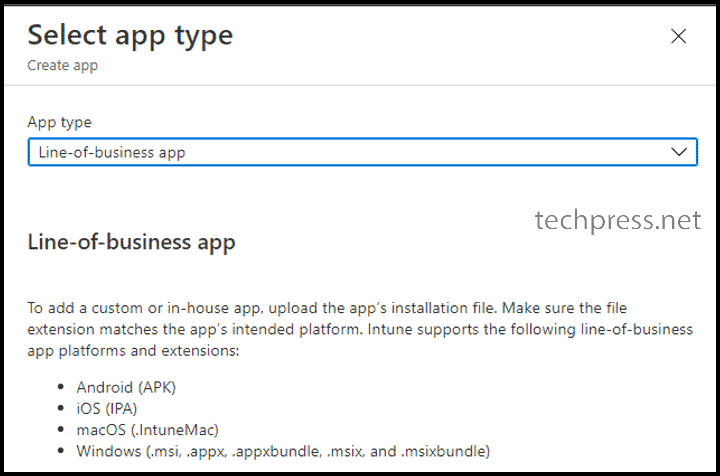
- Line-of-business app selected.
- Click on Select app package file.
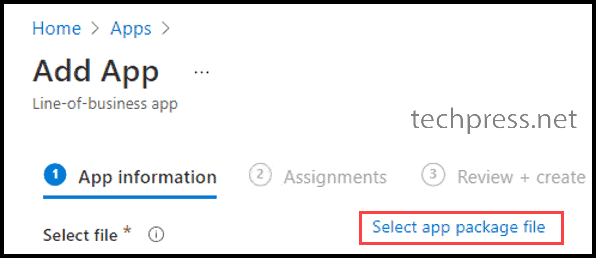
- Browse to the downloaded MSI Installer file for the app.

App Information
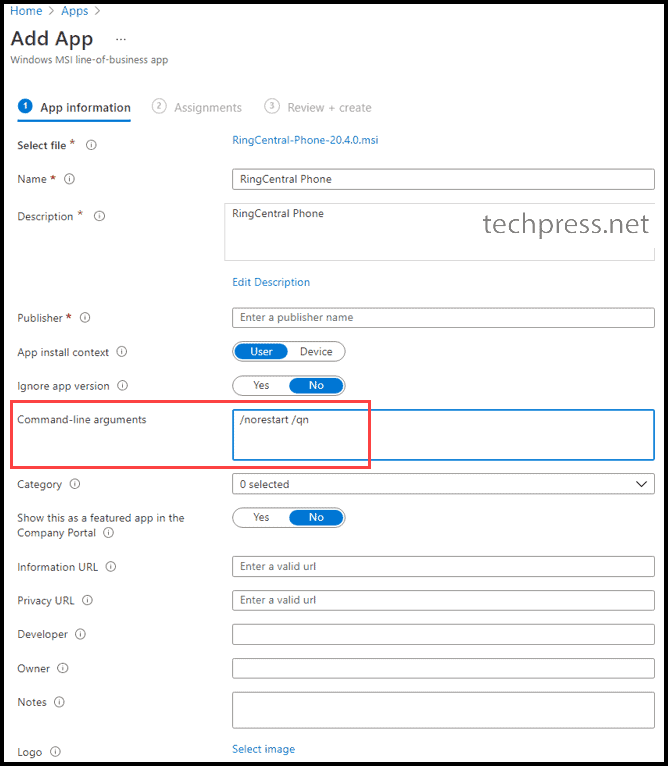
- Provide Name, Description, and Publisher Information.
- Select App Install Context to either User or Device. If you want to deploy this application in User context, that means to assign/install this app only for selected users, then go with this option. If you want to deploy this app for all users using the device, then go with Device option.
- Ignore App version: Select Ignore app version to Yes or No based on the below criteria.
- Select Ignore app version Yes, if you want the app installed when it’s not found on the target device. If the app is already there, but the version number is different, it will be ignored, and the app will not be deployed.
- Select Ignore app version No if you want the app installed even if it’s not found on the target device or if the app version you are deploying differs from the one already installed on the target device.
- Command-line arguments: Provide the command-line switches for the app installation. For example, when installing the RingCentral application, you can use the switches
/norestartand/qn. This ensures that the device is not restarted after the application is installed, and the installation process runs silently.
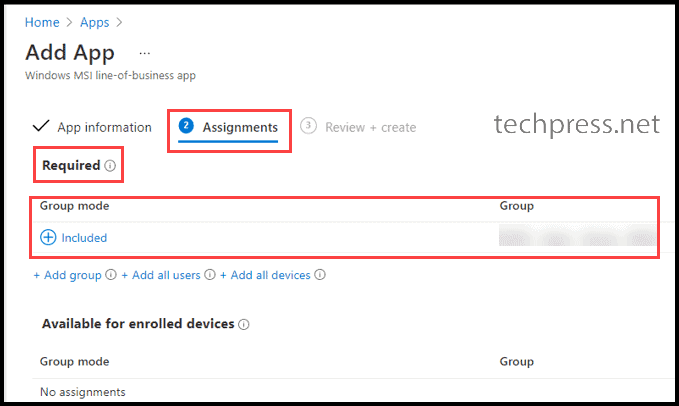
- Assignments Tab – Add an Entra security group containing users or devices to deploy this app.
- Review + Create – Review the app deployment summary and click on Create.
Sync Intune Policies
The device check-in process might not begin immediately. If you’re testing this policy on a test device, you can manually kickstart Intune sync either from the device itself or remotely through the Intune admin center.
Alternatively, you can use PowerShell to force the Intune sync on Windows devices. Another way to trigger the Intune device check-in process is by restarting the device.
Monitoring MSI App Deployment Progress
- Sign in to the Intune admin center > Apps > All apps.
- Click on the app deployment and check the Overview tab to find the deployment status.
- Click on Device install status and User install status under monitor to get the status of app deployment per device and user.
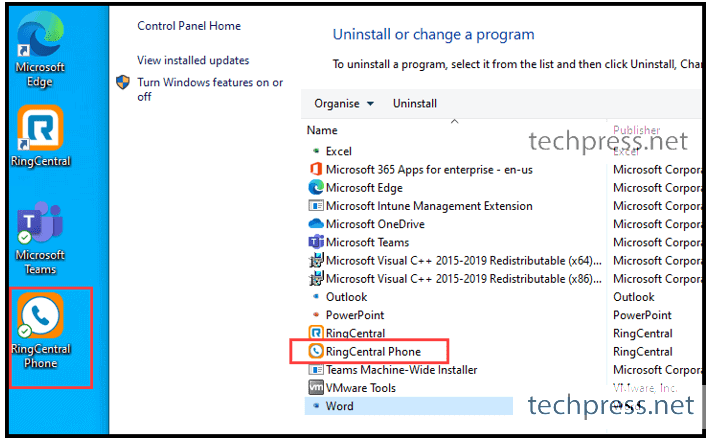
End User Experience
Once the application is deployed successfully, it will list in programs and features on target Windows 10/11 device.
Find MSI Installer Command Line Switches
While deploying RingCentral app using Intune, we used command line switches as /norestart and /qn. That will work with any MSI file. However, there are more switches available if you want to use them.
To find all the switches which are offered by the MSI Installer.
- Download the MSI file from Software vendor’s website.
- Open command prompt or PowerShell console.
- Change the directory location to where you have downloaded the MSI Installer file.
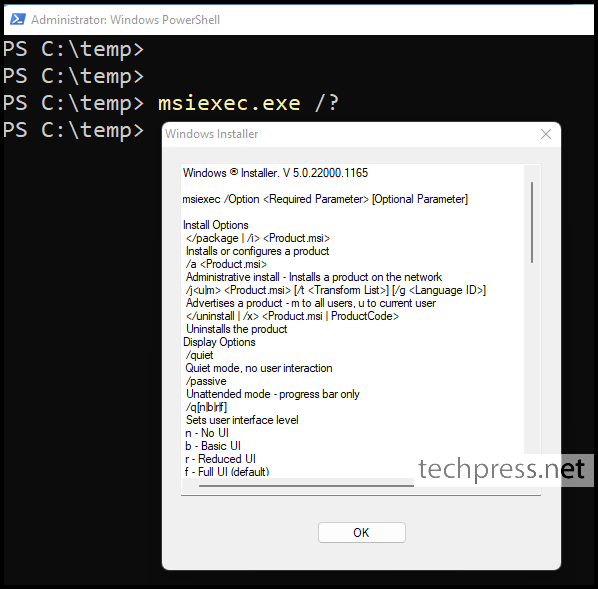
- Run the file with /? Switch and press Enter. You will see a pop-up message with all available Windows Installer switches.
Example:
.\ZoomInstallerFull.msi /?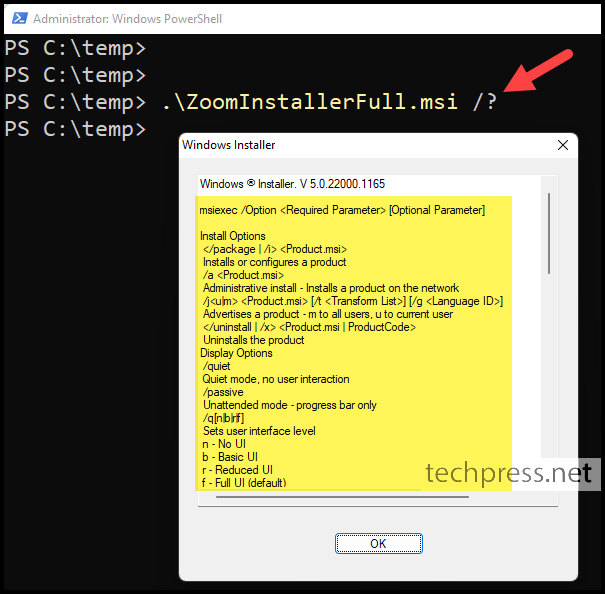
Another way to check MSI Installer switches
msiexec.exe /?