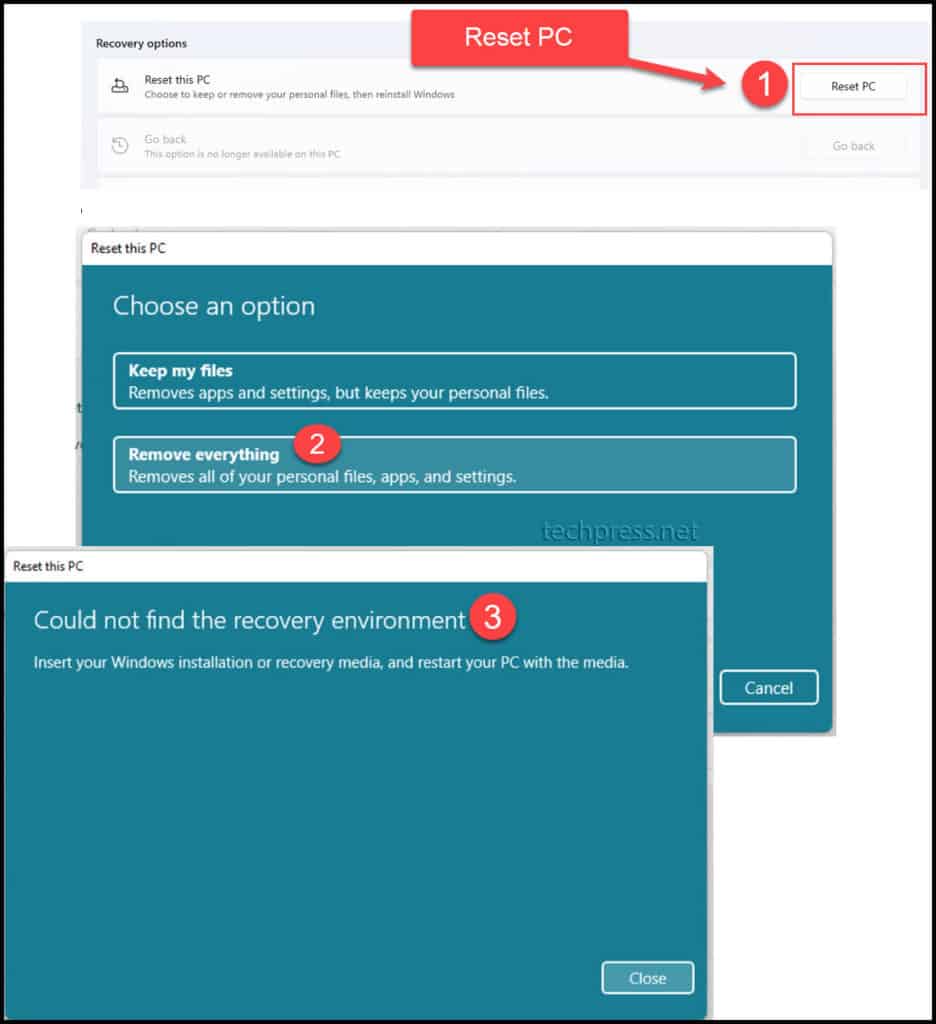
When I tried to reset a Windows 10/11 computer by going to Settings > System > Recovery > Reset PC and clicked on Remove everything option, I have got below error message:
Could not find the recovery environment. Insert your Windows installation or recovery media, and restart your PC with the media.
Contents
Reasons For Could Not Find The Recovery Environment Error
This error could be caused due to many reasons. I have listed a few of them below:
- Windows recovery environment is disabled.
- This error could occur if BitLocker is Enabled.
- Corrupted
Winre.wim(Windows Recovery Environment windows image file). - Issues with Windows Installation.
1. Enable Windows Recovery Environment
REAgentC.exe is a built-in tool in windows which can be used to check and configure Windows Recovery Environment (WinRE). We will first check WinRE status. If it’s disabled, we will use reagentc /enable to enable it and fix Could Not Find The Recovery Environment issue.
- Right-click on command prompt and select Run as administrator.
- Type
reagentc /infoto check the status of Windows Recovery Environment. - Below screenshot shows that the Windows RE status is disabled.
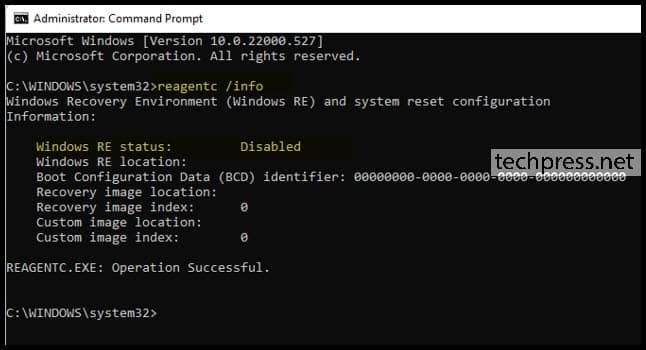
- Use
reagentc /enablecommand to enable Windows Recovery Environment.
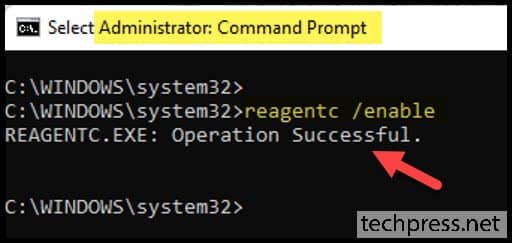
- After enabling it, run the command
reagentc /infoto check and confirm if Windows RE status is Enabled. Additionally, you’ll see the Windows RE location and Boot Configuration Data (BCD).
- You can retry Windows reset and if it’s still not fixed, reboot your computer once and try again.

2. Temporarily Disable BitLocker
When you are not able to enable Windows recovery environment using reagentc /enable command and getting errors. You can try to disable BitLocker on your computer temporarily and enable Win RE. Once the issue is fixed, you can re-enable BitLocker.
- Right-click on command prompt and select Run as administrator.
- Execute below commands to disable BitLocker.
Check the status of BitLocker
manage-bde -statusDisable BitLocker
manage-bde -off <OS Drive Letter>:
Example: manage-bde -off C:
Alternatively, Seach for BitLocker in Start menu and click on Manage Bitlocker. Click Turn BitLocker off for the drive where operating system is installed.
- Use
reagentc /enableto enable WinRE. - Enable BitLocker using
manage-bde -on C:command (assuming C: is the drive letter of where the OS is installed, if it’s different in your case, then use that drive letter in the command). Alternatively, Seach for BitLocker in Start menu and click on Manage Bitlocker. Click Turn BitLocker on for OS drive.
3. Fix Corrupted Winre.wim file
If Winre.wim file is corrupted, you can get a fresh copy of this file either from another working computer or get it from installation media files and fix it using regentc command.
- Right-click on the Windows ISO file and click on Mount.
- Extract Install.esd file from Installation media and Copy Winre.wim and ReAgent.xml files.
- Paste it in C:\Recovery\WindowsRE.
- Use reagentc.exe /setreimage /path C:\Recovery\WindowsRE.
- Run
reagentc /enable. - Run
reagentc /infoto check and confirm if the issue is resolved.
4. Create a Recovery Drive
If you are still getting issues resetting your PC, then you can create a Windows installation recovery drive, plug it in and restart the computer from the recovery drive. Then try resetting the PC from there.
Note that the reinstallation of the Windows OS will delete all data on your OS drive, including installed applications. Ensure to back the files before reinstalling the OS.
You can create a recovery drive using below steps:
- Go to Start and search for Recovery Drive.
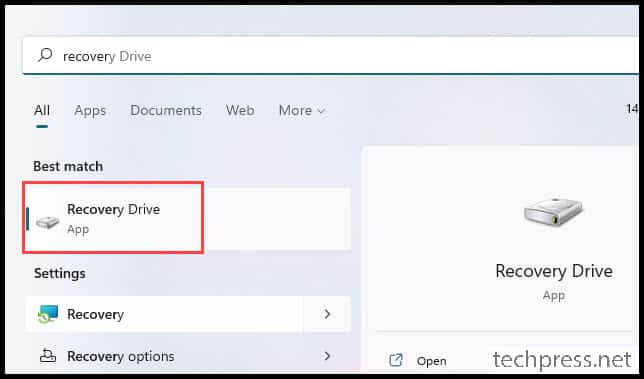
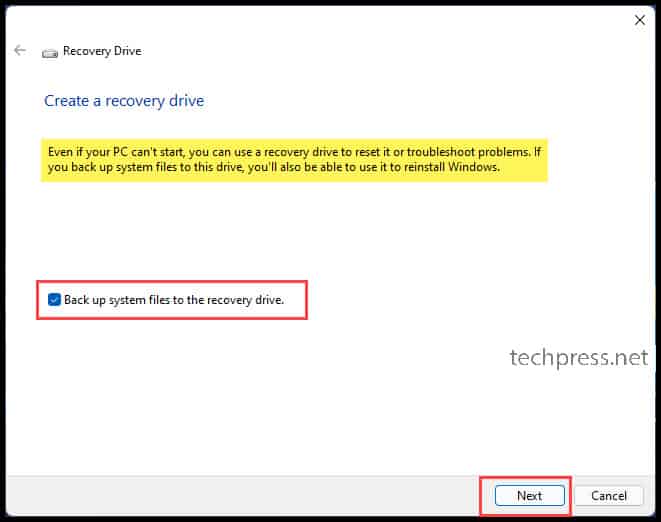
- After clicking on Recovery drive a wizard will guide you through creating a recovery drive. Plug in an empty USB drive (recommended size is at least 16 GB; I used an 8 GB USB without any issues) and keep the option Back up system files to the recovery drive selected. Click Next to proceed.
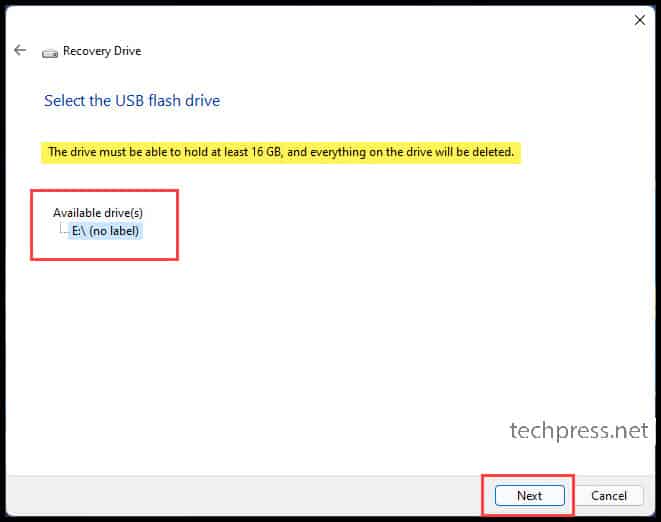
- Ensure that the USB drive does not contain any important data, as this process will format the USB to create a recovery drive. Check the drive letter to confirm the USB drive and click Next.
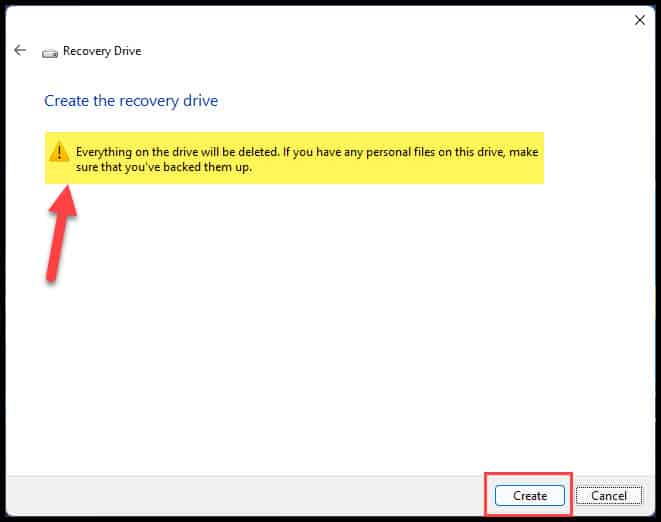
- Everything on the Inserted USB drive will be deleted. If there are any important files, you can take a backup first and then click Create.
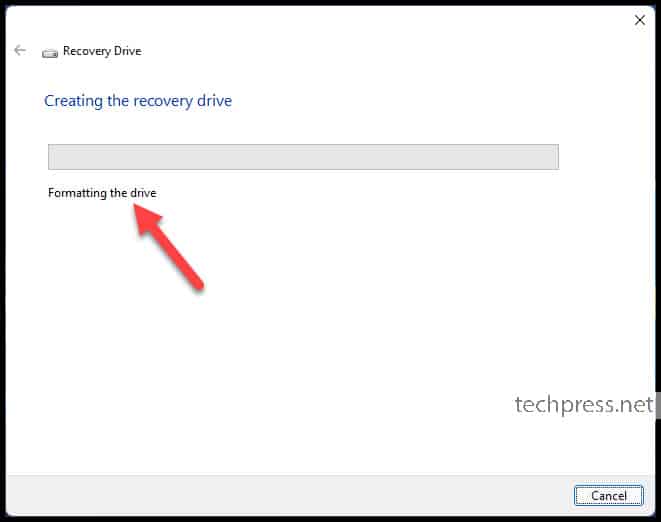
- Formatting the USB drive.
- System files are being copied to USB drive. The entire process of creating the recovery drive may take up to 2 hours. Once the recovery drive is created, restart your PC and boot it using this recovery USB drive. When you boot the system using recovery drive, you will find the option to reinstall/reset Windows.
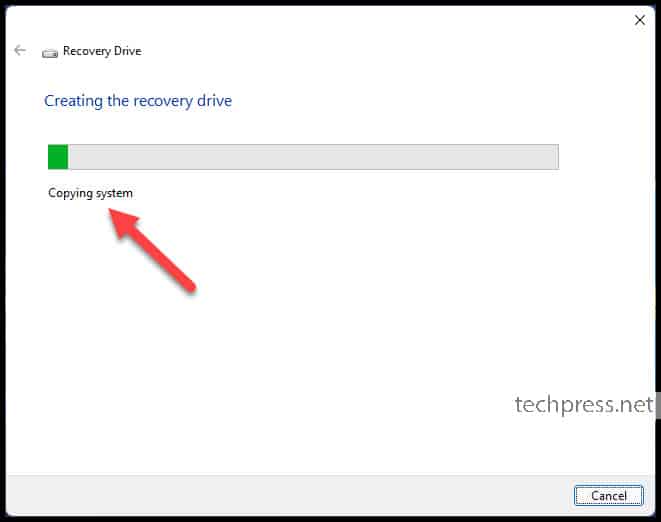
- Recovery drive creation took approximately 1 hour for me. When recovery drive is ready. Click on Finish.
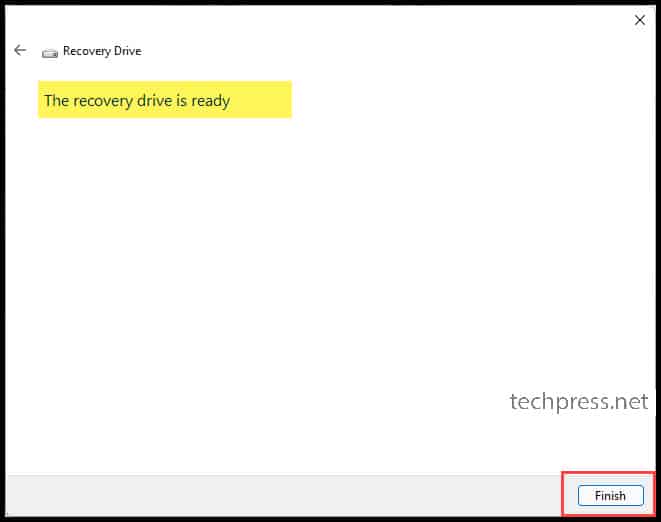
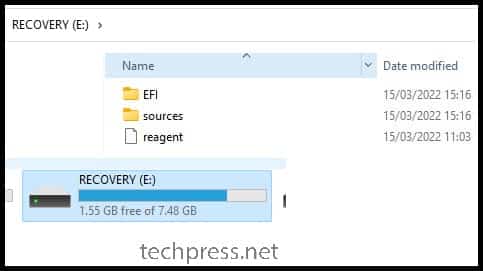
- Recovery drive created successfully. Use it to troubleshoot Windows Installation Issues, including resetting your PC.
5. Reinstall the Windows OS from Scratch
If you are still experiencing issues with resetting your computer, this could be an issue which may require complete reinstallation of Windows OS via a USB.
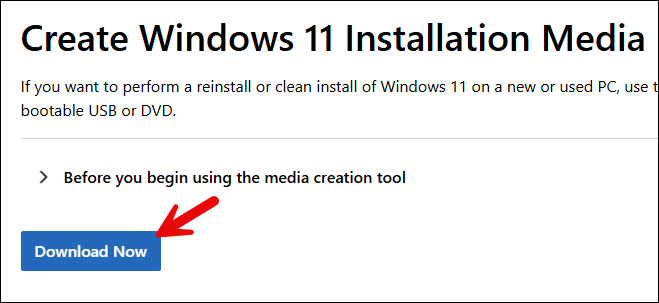
- Use the mediacreationtool.exe to create a bootable USB drive and use it to reinstall the OS.
