B2B direct connect in Entra ID can be used to create mutual trust relationship with another Entra organization. This feature currently only works with Microsoft Teams shared channels.
For using this feature, B2B direct connect needs to be configured on both the participating Entra ID organizations to establish a trust. Once the trust is established, users can access resources in external tenant’s teams shared channel using Single sign on (SSO).
Contents
Configure B2B Direct Connect
- Log in to the Entra Admin Center > Identities > External Identities > Cross-tenant access settings.
- Click on Organizational Settings, then click + Add Organization.
- Add domain name or Tenant ID of External organization.
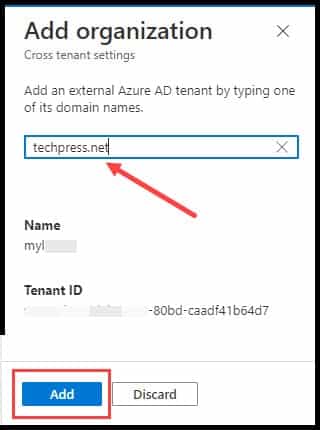
- After adding the organization, proceed to configure both Inbound access settings and Outbound access settings.
Inbound access settings determine whether users from external organizations can access resources in your organization. You can restrict access to your organization’s resources by specifying users, groups, or applications from the external organization that are allowed to access resources within your organization.
Outbound access settings govern whether your users can access resources in an external organization. You can customize these settings for a specific user, or group, or allow access for the entire organization.
Configure Inbound Access Settings
Inbound access settings determine whether users from external Entra ID organizations can access resources in your tenant without being added to your tenant as guests. By selecting Allow access, you’re permitting users and groups from other organizations to connect with you.
- Sign in to the Entra Admin Center > Identities > External Identities > Cross-tenant access settings.
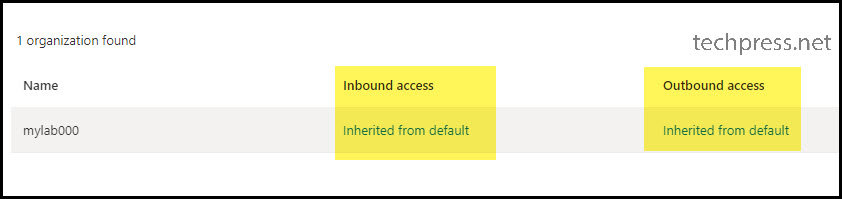
- Click on Organizational Settings.
- Click on Inherited from default link under Inbound access.
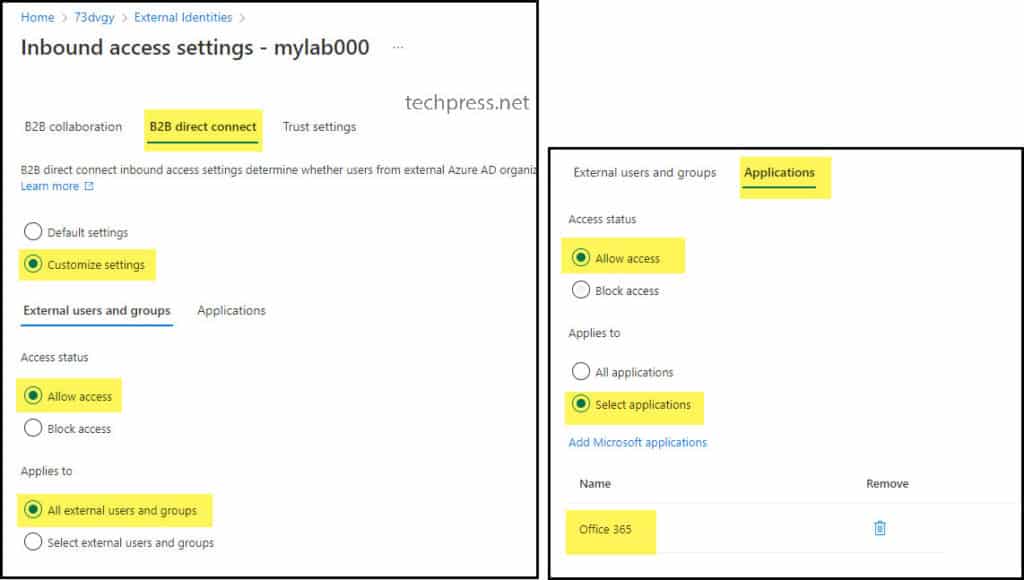
- Click on the B2B Direct Connect tab, and then select Customize settings.
- External users and groups > Allow access.
- Applies to > All external users and groups
- Applications tab, set Access status to Allow access and select Applies to as either All Applications or select specific applications, such as Office 365.
Configure Trust Settings
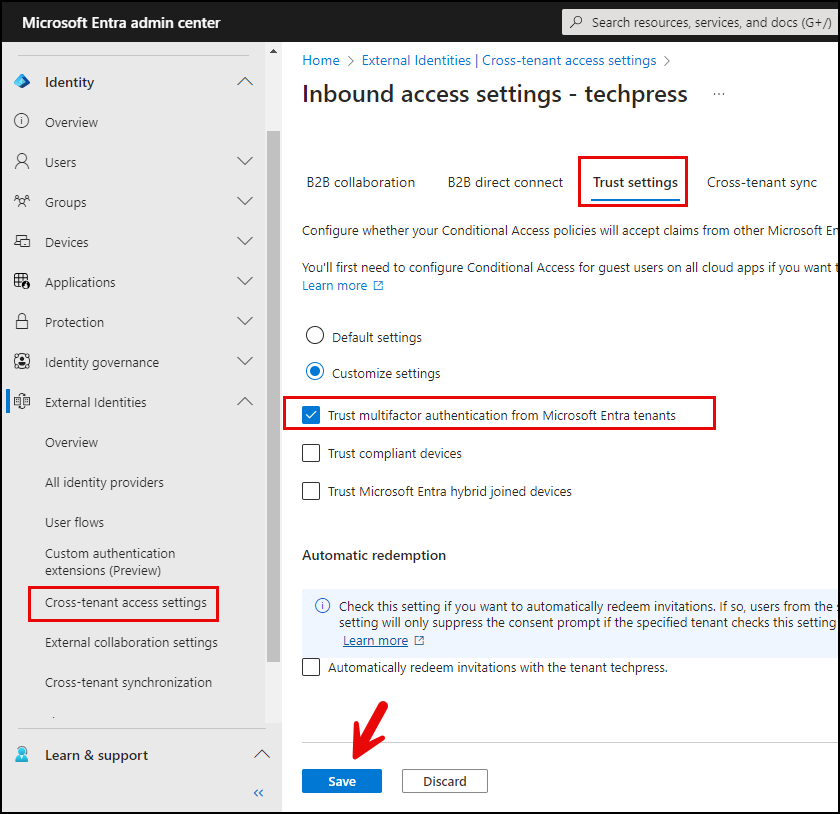
Configure whether Conditional Access policies of your organization will accept claims from other Microsoft Entra tenants when external users access your resources. Click on Customize settings and select the options as per your requirement.
- Trust multifactor authentication from Microsoft Entra tenants: You can select this option to allow conditional access policies of your organization to trust MFA claims from external organizations.
- Trust compliant devices: You can select this option to allow conditional access policies of your organization to trust compliant device claims from an external organization.
- Trust Microsoft Entra Hybrid joined devices: You can select this option to allow conditional access policies of your organization to trust Entra hybrid join device claims from an external organization.
Configure Outbound Access Settings
Outbound access settings control whether users in your organization can access resources outside the organization. You can also specify which users, groups, or apps are allowed to access external resources. Let’s explore how to configure B2B Outbound access settings.
- Log in to the Entra Admin Center > Identities > External Identities > Cross-tenant access settings.
- Click on Organizational Settings.
- Click on Inherited from default link under Outbound access.
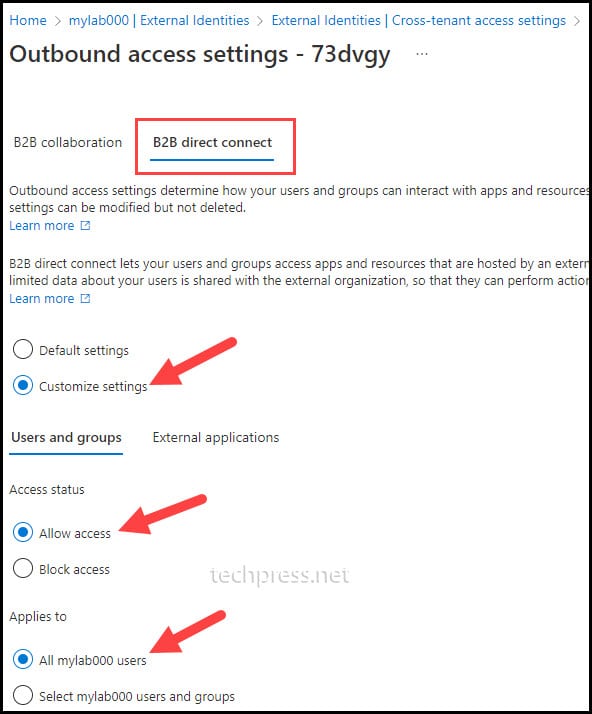
- Click on the B2B Direct Connect tab, and then select Customize settings.
- External users and groups > Allow access.
- Applies to > All <org> users. (You can also go with Select <org> users and groups to only allow specific users for B2B direct connect)
- External Applications tab, set Access status to Allow access and select Applies to as either All Applications or select specific applications, such as Office 365.
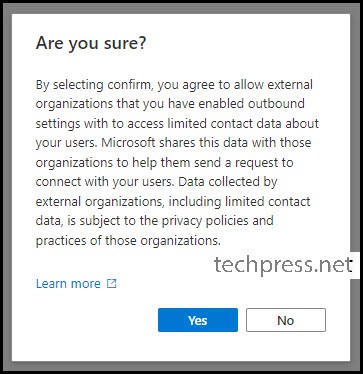
- When you try to save Outbound access settings, below pop-up will show. Click on Yes to proceed.
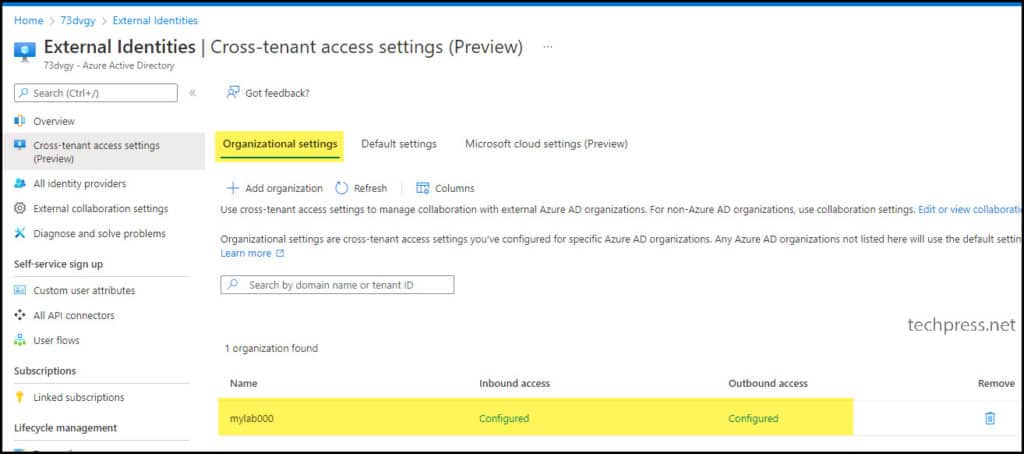
- Inbound and Outbound access settings are now configured. If required, you can modify these settings later. For example, if you want to stop Inbound access in the future, you can go back to Entra ID > Cross-tenant access settings > Organization Settings > Find the configured organization and reconfigure Inbound or Outbound access settings.
Inbound and Outbound access settings needs to be configured in External tenant as well to establish a trust between both organizations.
Note
End User Experience
Let’s check the end user experience to understand a bit more on how it works. B2B direct connect feature as we know only works with Microsoft Teams shared channels.
When B2B direct connect is configured correctly between two tenants, Users from both organizations can collaborate with each other using their home credentials while using a shared channel in teams.
Create a Teams Shared Channel
- Open Microsoft Teams app
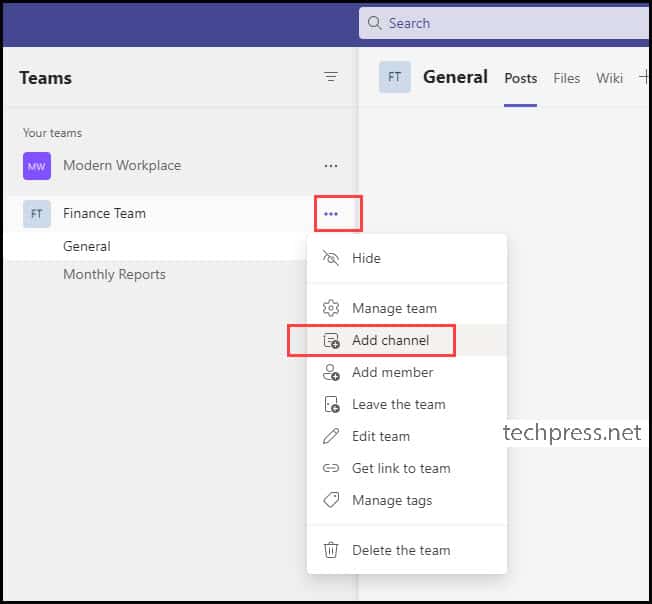
- Locate the team in which you want to create a shared channel.
- Click on the three dots next to the team and select Add Channel.
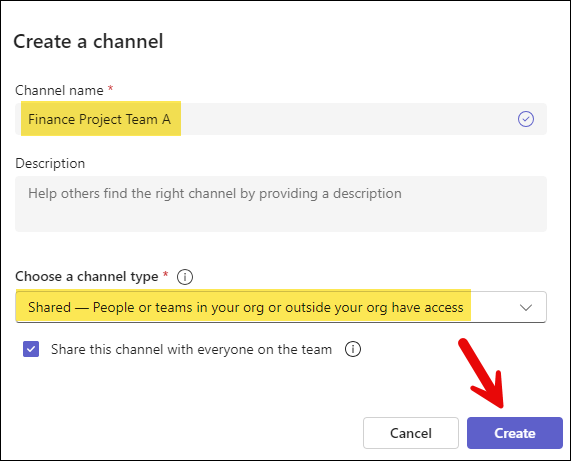
- Provide Channel name and choose a channel type as Shared.
Add External Users to the Teams Shared Channel
When you click on Create button to create a Shared channel, you will get a screen to add people in the channel, you can either add people now or later by clicking on skip button.
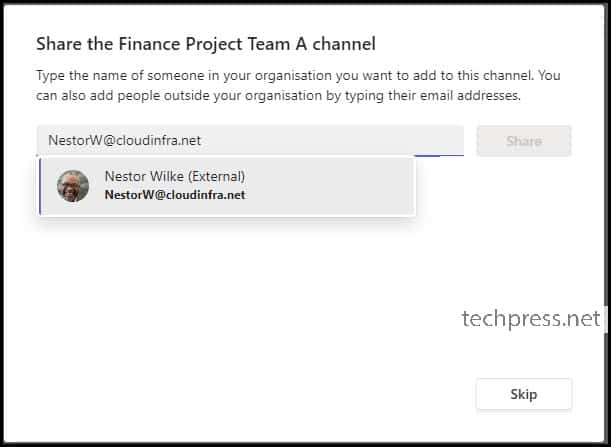
To add people into the shared channel later, you can go to the Shared channel > Click on three dots next to it > Share channel > Share with people.
As we have configured B2B direct connect, we are able to search for users in the trusted External organization (as shown in below screenshot).
Notice the External tag with the user name which indicates that this user is from an external organization. You can continue to add more users and click on Done when finished.
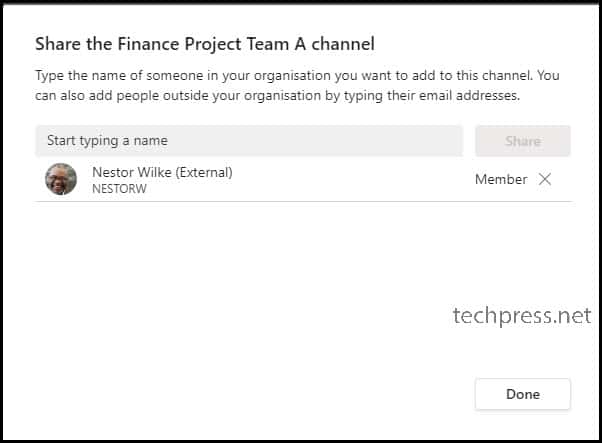
You will also notice the Icon next to the Shared channel to highlight that this is a Shared channel.

Key Points about Shared Channels
- Inviting External Users: Shared channels enable the invitation of people from outside your organization through Entra B2B Direct Connect.
- Default Activation: Shared channels are enabled by default but can be disabled by editing Teams policies from Teams admin center.
- Limitation on Guest Accounts: Guest accounts cannot be added to shared channels.
- Conversion Limitation: Shared channels cannot be converted to standard channels.