It’s a best practice to lock your computer when you step away from your desk, even if it’s just for a short time, by pressing Win + L. However, not everyone follows this practice, which can leave your computer unprotected.
To address this, you can create a Group policy object in active directory that will automatically lock your workstation after a specified period of inactivity, anywhere from 1 second to a maximum of 86,400 seconds (24 hours). Let’s see the steps on how to configure this.
Contents
Option 1: Create a Screen Saver GPO to Lock Computer Screen
We will be creating a GPO using screen saver settings available under User configuration node. Therefore, once this GPO is created, you can link it to an OU containing users. However, If you want to link this GPO to an OU containing computers, then you need to enable loopback processing mode and set it to merge in the same policy.
- Login to a Domain controller and Open Server Manager.
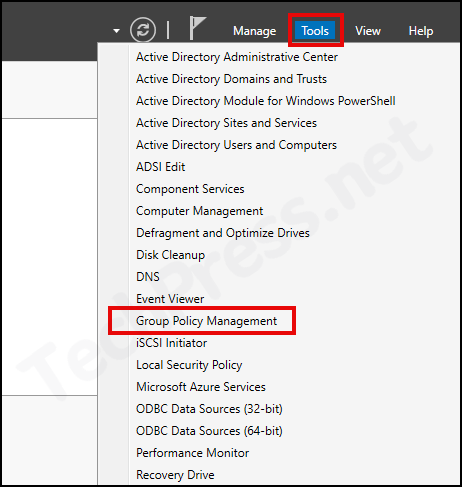
- Click on Tools and click on Group Policy Management [
gpmc.msc].
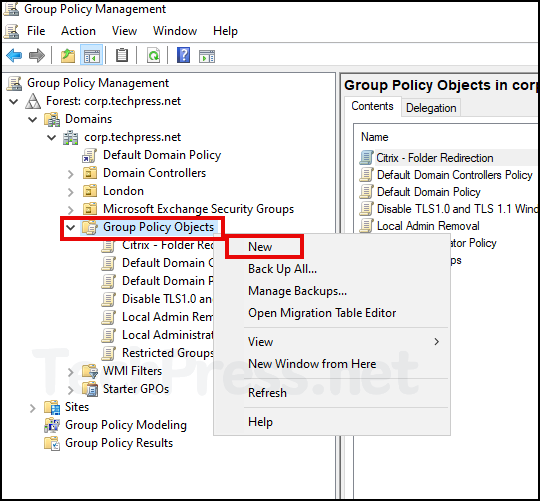
- Right-click on Group Policy Objects > Click on New.
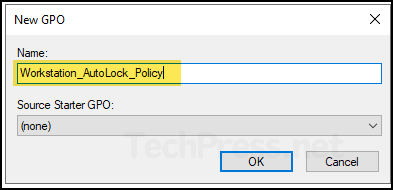
- Provide a Name of the GPO. For Example Workstation_AutoLock_Policy. Click on OK.
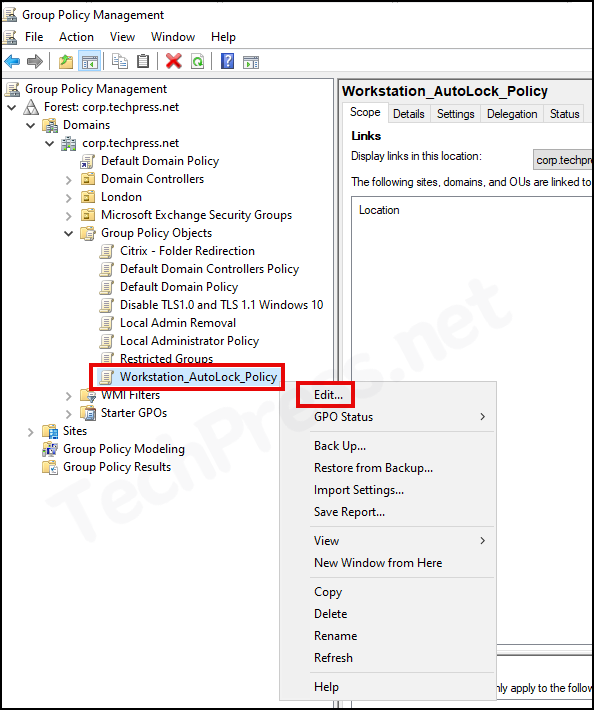
- Right-click on Workstation_AutoLock_Policy and click on Edit.
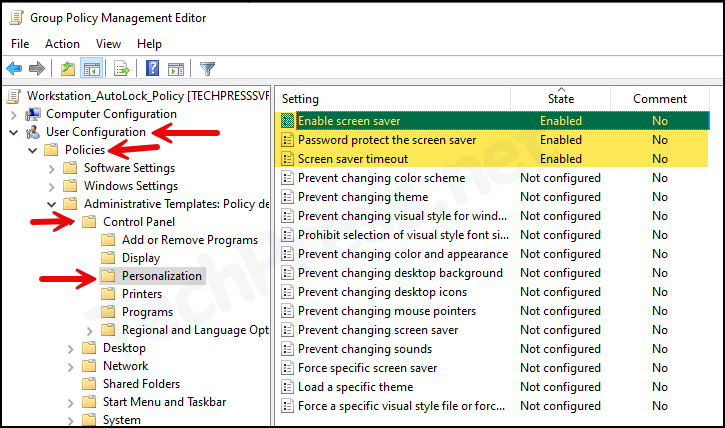
- Navigate to User Configuration > Policies > Administrative Templates > Control Panel > Personalization and Enable below settings:
- Enable Screen Saver: Enabled
- Password Protect the screen saver: Enabled
- Screen Saver timeout: Enabled (Provide the timeout value in seconds. For Example: To activate the lock screen after 20 minutes of Idle time, provide a value of 1200).
Registry key on target computer for screen saver configuration settings: HKEY_CURRENT_USER\Software\Policies\Microsoft\Windows\Control Panel\Desktop
- Please note that we have configured the settings in User Configuration node of the group policy. Therefore, you can simply link this GPO to an OU containing users and that will work fine. However, If you want to link this GPO to an OU containing workstations, then you will need to configure loopback processing mode in the same GPO and set it to Merge.
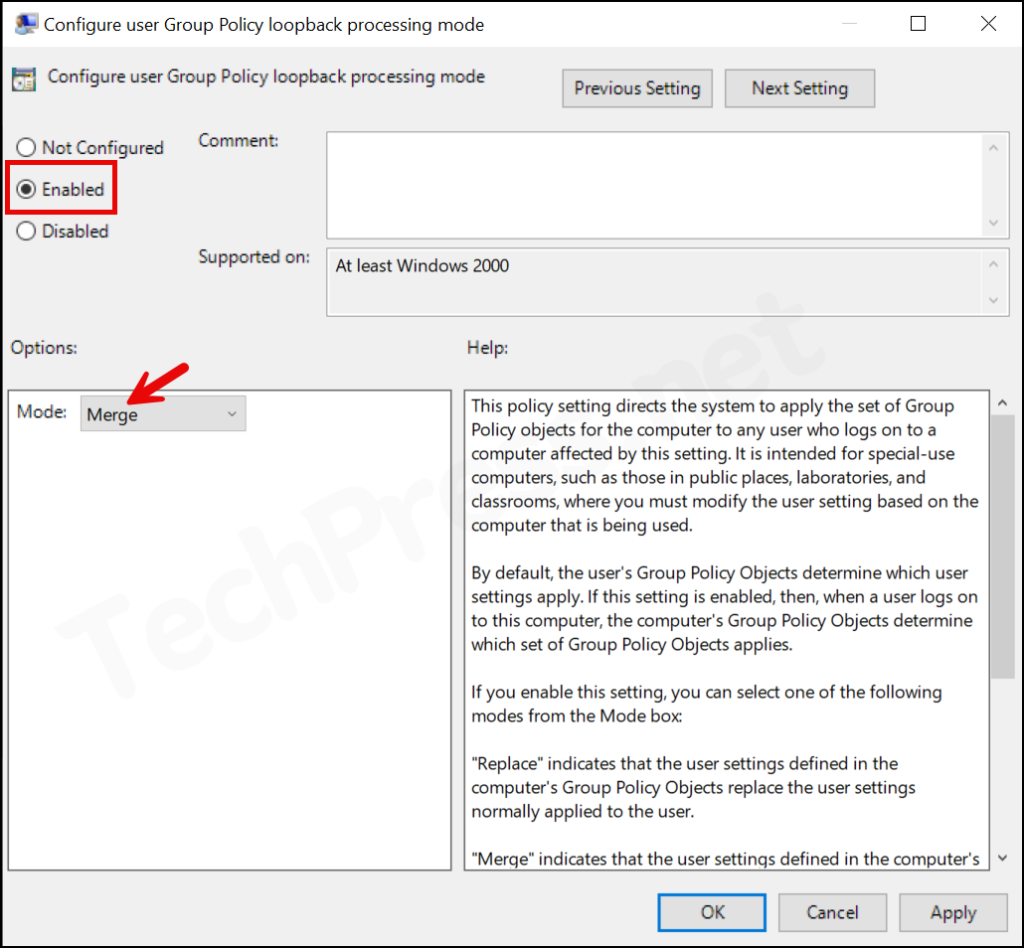
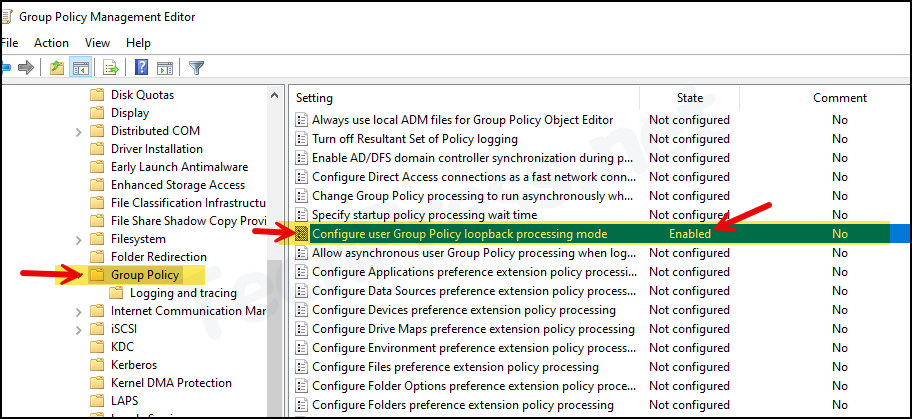
- To configure loopback processing mode, Go to Computer Configuration > Policies > Administrative Templates > System > Group Policy > Configure user Group Policy loopback processing mode: Enabled, Mode: Merge.
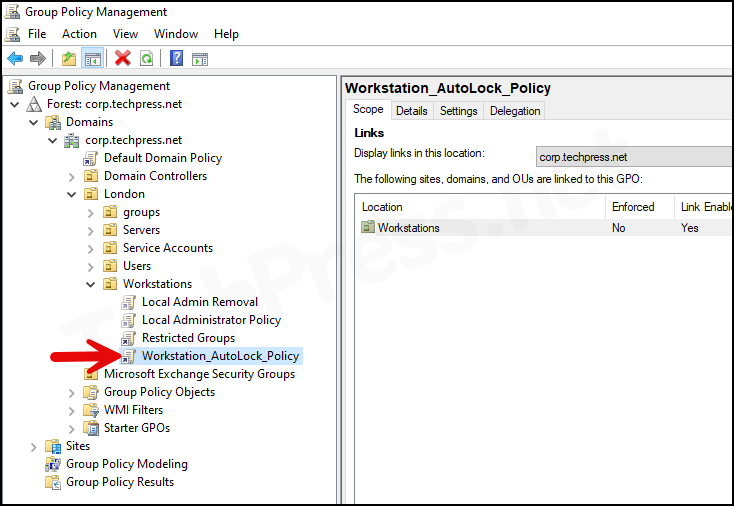
- We will be linking this GPO to Workstations OU. Right-click on the OU and then select Link an Existing GPO.

- Select the Workstation_AutoLock_Policy and click on OK.
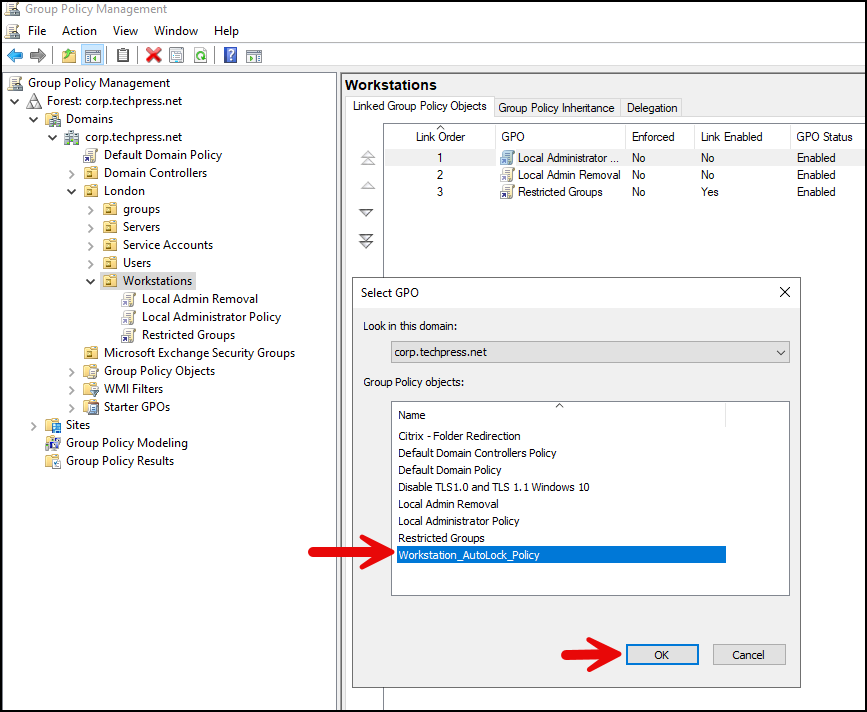
- Workstation_AutoLock_Policy is now linked to the workstations OU.
Option 2: Interactive Logon GPO to Lock Computer Screen
There is another option to lock computer screen by using a group policy. This time we will be using a setting called Interactive logon: Machine inactivity limit which is available in the Computer configuration node. Therefore, once the GPO is created, you need to link it to an OU containing computers. A reboot of the target computers will be required to apply this policy.
Initial steps for creating a GPO will remain the same, we will use the same naming convention to create a GPO for demonstration purpose. You can refer to the above screenshots for guidance on creation of a GPO.
- Login to a Domain controller and Open Server Manager.
- Click on Tools and click on Group Policy Management (
gpmc.msc). - Right-click on Group Policy Objects > Click on New.
- Provide a Name of the GPO. For Example Workstation_AutoLock_Policy. Click on OK.
- Right-click on Workstation_AutoLock_Policy and click on Edit.
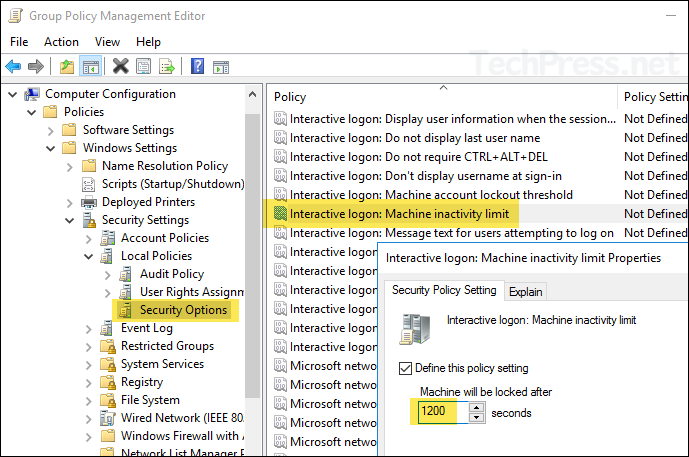
- Navigate to Computer Configuration > Policies > Windows Settings > Security Settings > Local Policies > Security Options.
- Configure the policy setting Interactive logon: Machine inactivity limit and provide the value of Idle time or Inactivity after which the machine will be locked. The value is in seconds, therefore for automatically locking the machine after 20 minutes, I have provided 1200 seconds.
- Link this GPO to an OU containing Computers and restart the target computers for applying this policy.
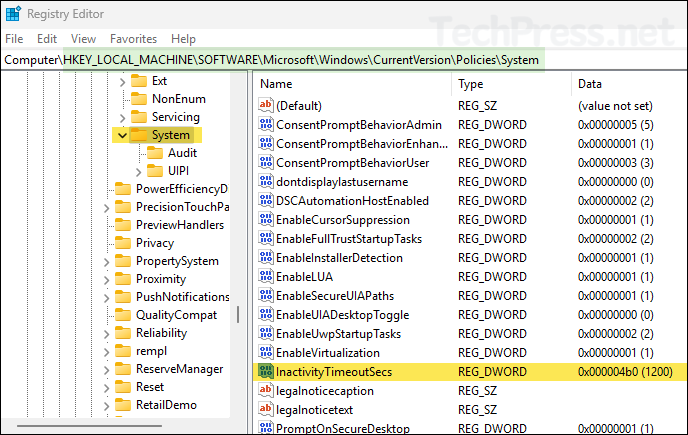
After this policy is applied, it will create a registry entry under HKEY_LOCAL_MACHINE\SOFTWARE\Microsoft\Windows\CurrentVersion\Policies\System named
InactivityTimeoutSecswith the value configured in the GPO. If this registry entry is set to 0, system will not be locked out.Note
Deny Lock Computer Screen Policy to Some Users
When you link the GPO to an OU, it will apply to all objects in that OU. For example, If you link the GPO to an OU containing users, then lock screen policy will apply to all users in that OU.
You can exclude certain users from this policy. The best way to do it is by creating an AD security group specifically for excluding users from this GPO (e.g. exclude_lock_screen_policy) and Deny permission in the GPO. Let’s check the steps:
- Create a Global security group in AD called exclude_lock_screen_policy and add users or computers which you want to exclude from this policy.
It’s recommended to add computers into this group if the GPO is created using computer configuration node and linked to Workstations OU. Add users into this group, If you have created a GPO based on user configuration settings and linked to an OU containing users.
- Select the GPO (e.g., Workstation_Autolock_Policy) > Delegation > Advanced.
- Add the AD security group, select the group and set its permission to Deny. Click on OK to save (refer to below screenshot).

End User Experience
To apply the GPO, a reboot of the target device is recommended. After successful implementation, users will see a lock screen when the idle time reaches as per the duration specified in the Screen Saver timeout setting or Machine inactivity limit value.
If you encounter any issues with the GPO, you can resolve it by opening a command prompt with administrator privileges and running the gpupdate /force command. You can also check if the group policy has been applied on the device by using resultant set of policy (rsop.msc).
- Press Win + R keys to open the Run dialog box.
- In the Run box, type rsop.msc and press Enter.
- Navigate to the same folder as configured in the GPO to find the configured setting on the device.