It’s a best practice to apply tags on azure resources at the time of its creation. As it’s optional to add tags when you create a resource, you can easily skip it. To ensure that tags are applied whenever a resource is created, you can create an azure policy to require a tag.
If there are azure resources provisioned before creating azure policy to enforce tags, you can use a PowerShell script to update tags on those resources. Any future resource creation will require adding tags. Below is a step-by-step process on how to create an Azure Policy for enforcing resource tags.
Contents
Create an Azure Policy to Enforce Tags
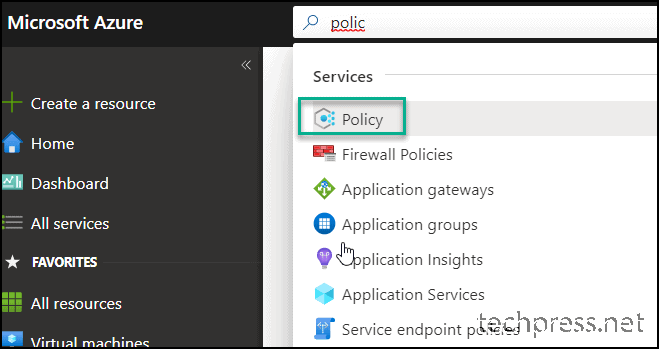
- Login to the Azure portal.
- Search for Policy on the Azure portal and click on it to proceed.
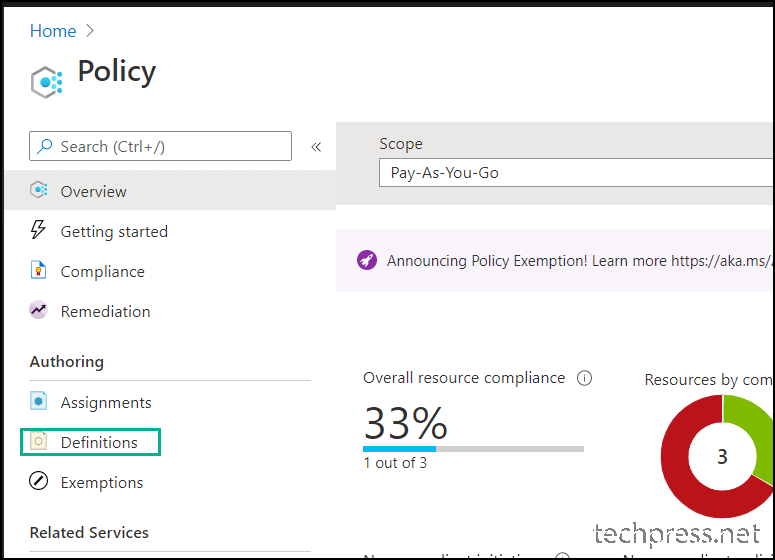
- Click on Definitions to create a Policy definition.
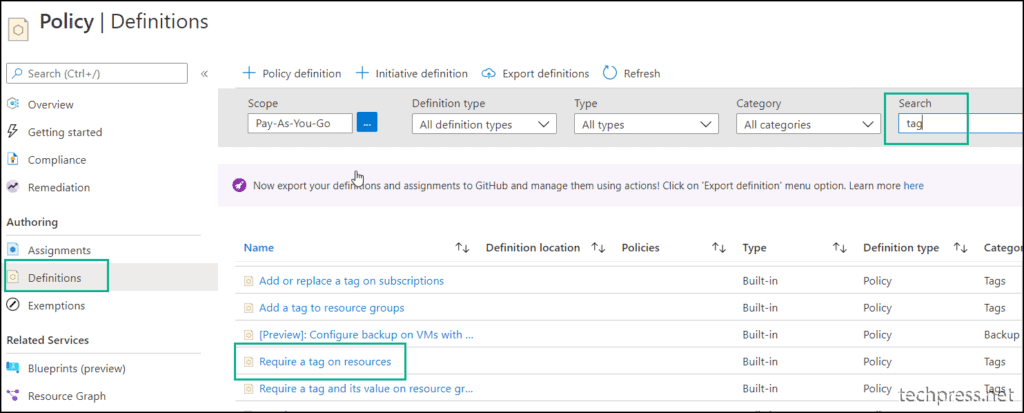
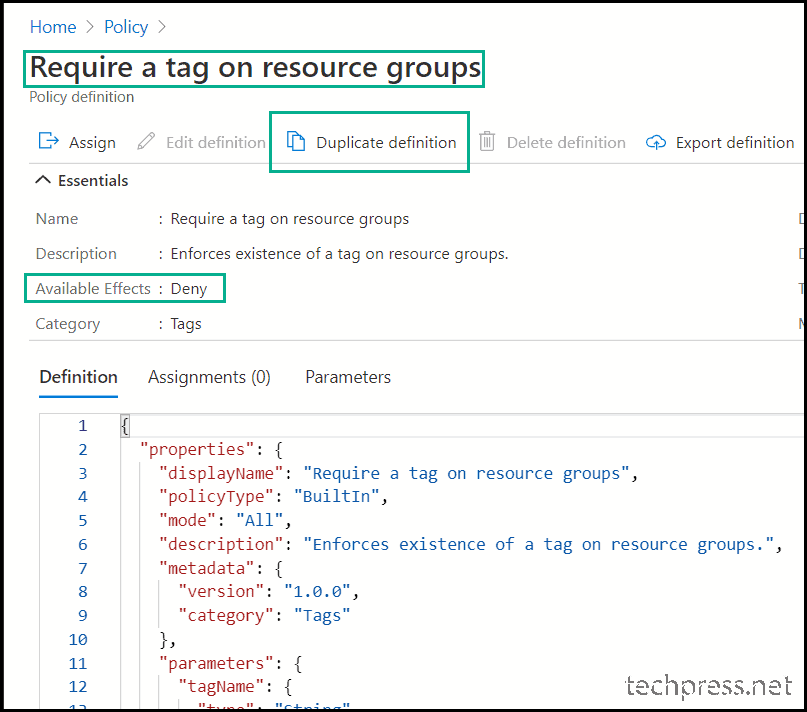
- Search using the word tag in the search box to find all azure policies containing the word tag and click on Require a tag on resources.
- Click on Duplicate definition to clone this policy definition and give it another name.
Please note, the Available Effects is Deny (this will deny the creation of the resource until it complies with this Azure Policy)
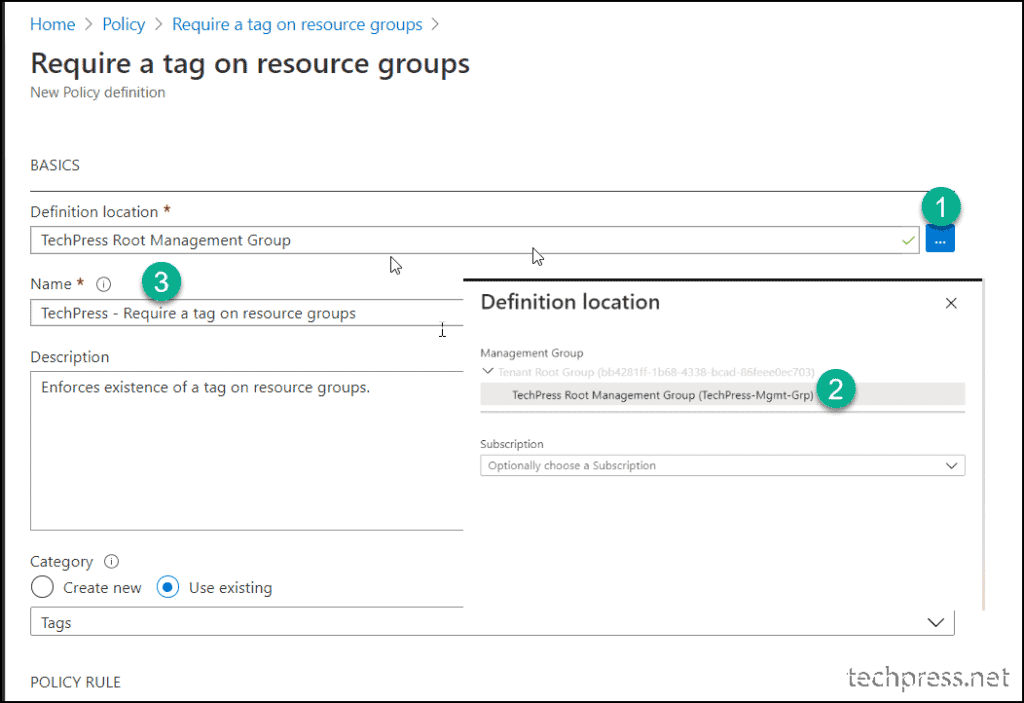
- Provide a name of the policy and select the definition location to root management group. You can also apply it to the subscription level.
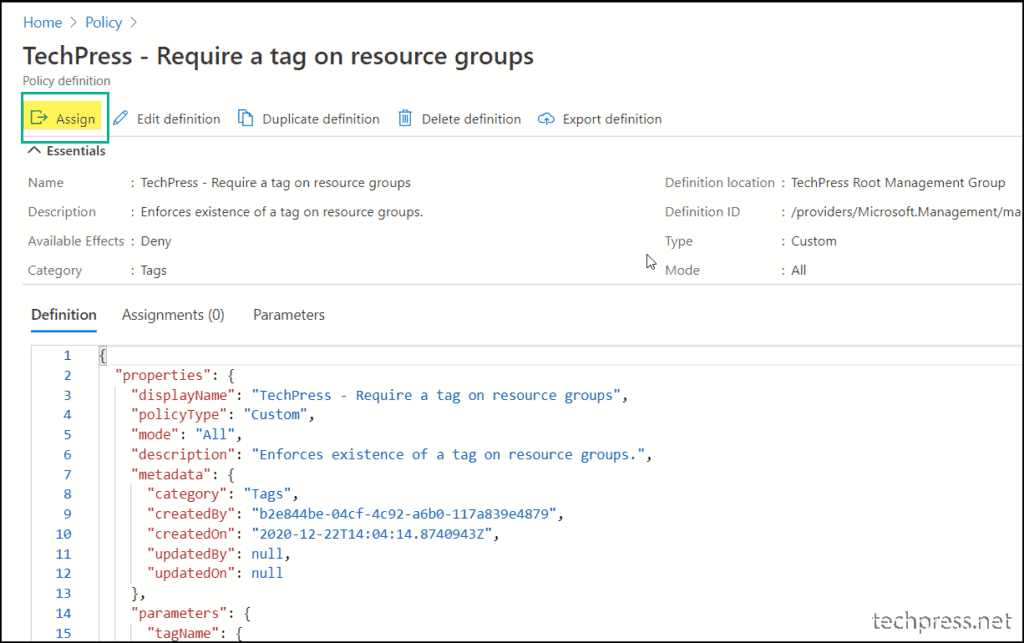
- Return to the Policy page > Definitions and Search for the cloned policy.

- Select Assign to specify the tag names that you want administrators/users to add during the creation of any resource under the root management group
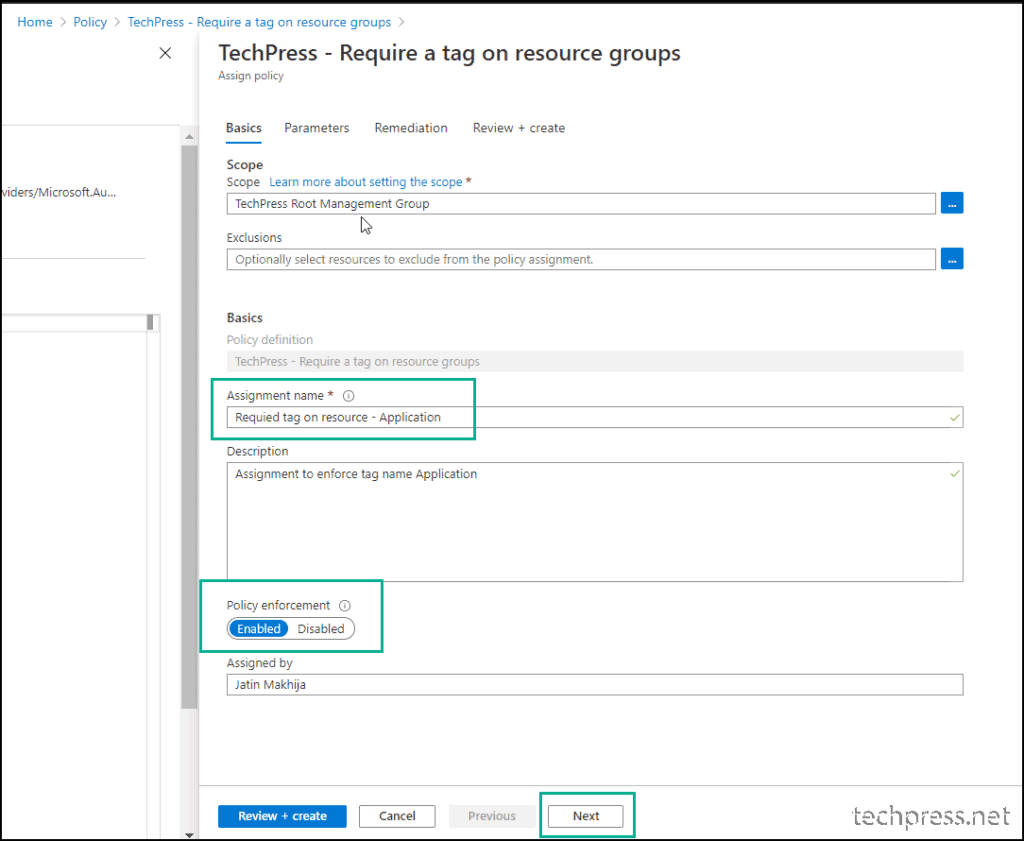
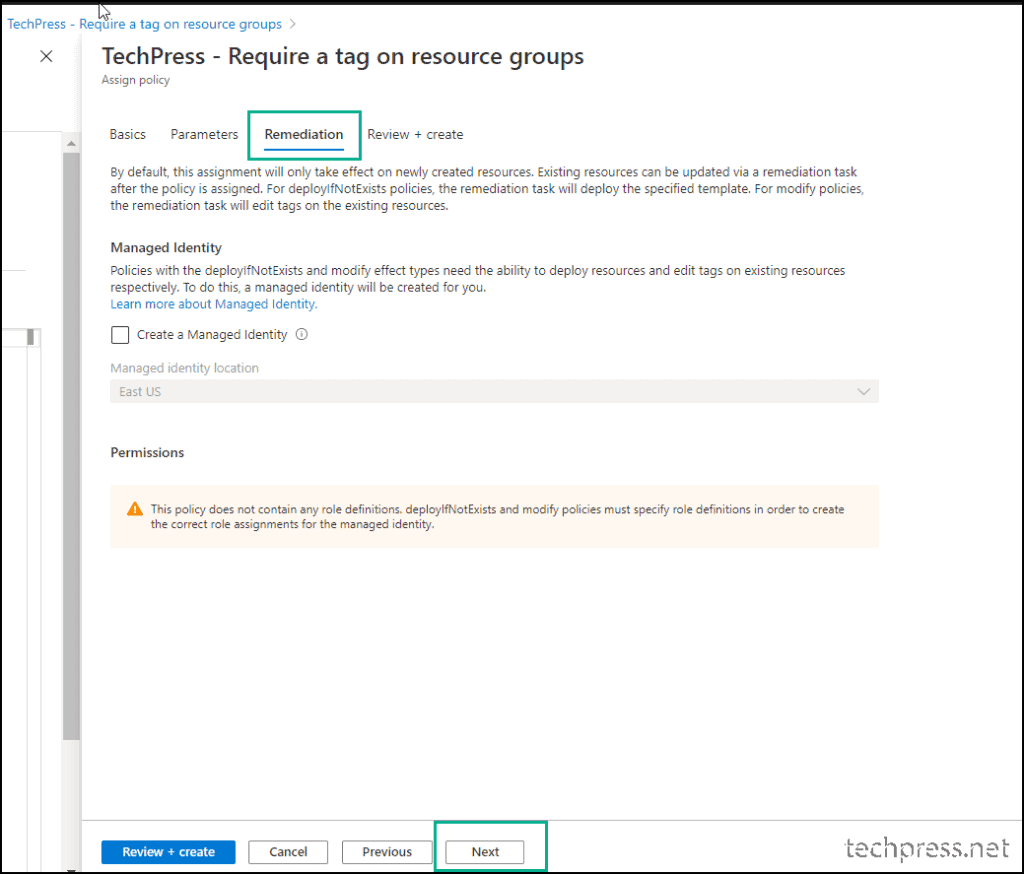
- Change the Assignment name, or you can keep it the same. You can enable or disable the Policy enforcement. Click Next to Proceed.
- On the Parameters page, input the tag name (e.g., Application). This tag must be included with the resource; otherwise, the validation will fail, and the resource creation will not proceed.
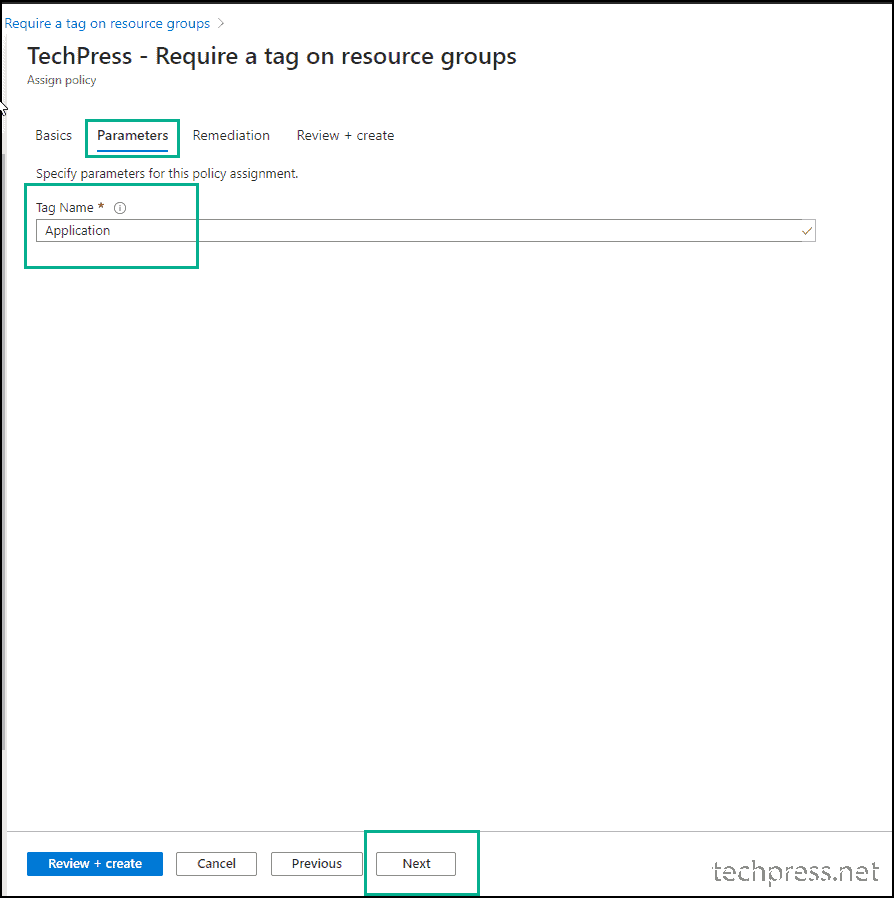
- Click Next.
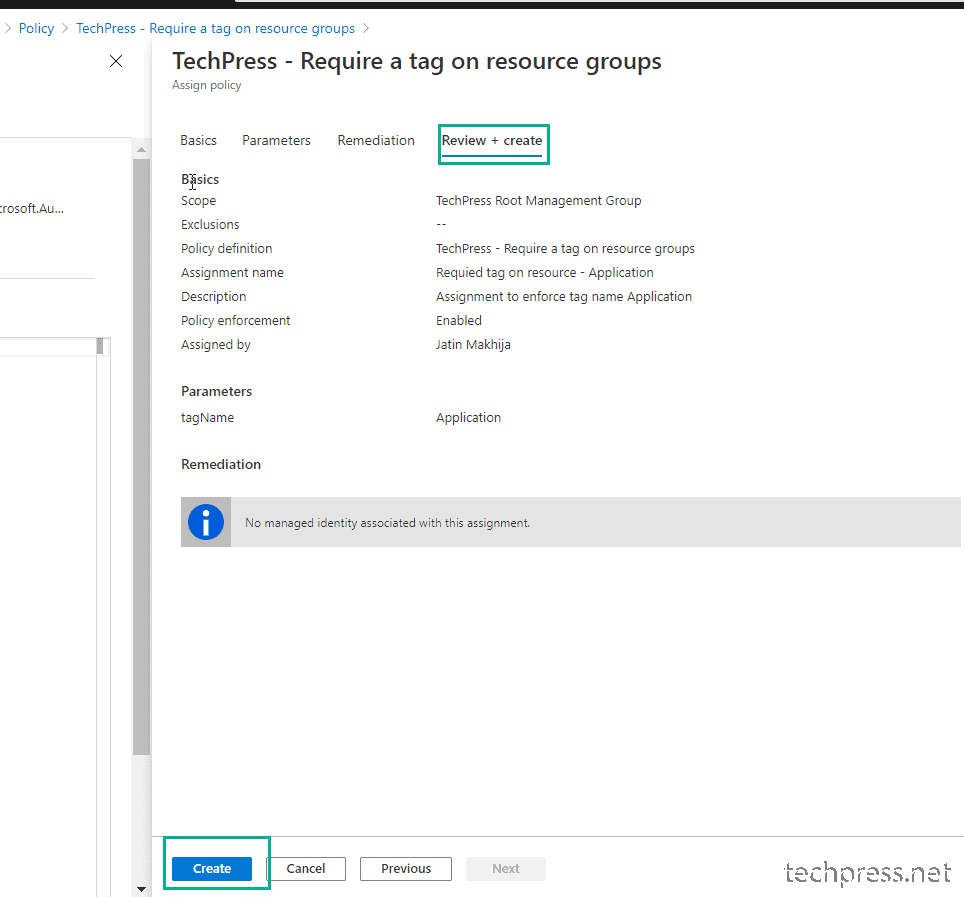
- Click Create to Create the Assignment.
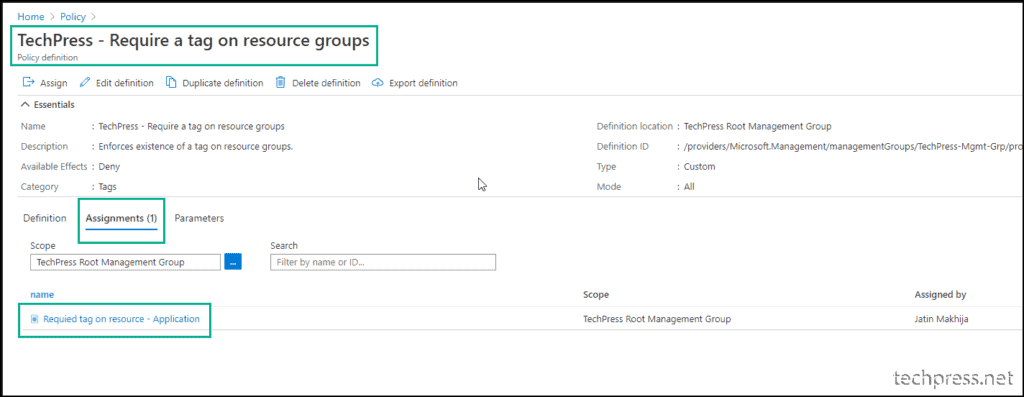
- You can check the assignment by clicking on the Assignments tab in the Policy Definition.
- You can repeat the process to add additional Tags which you want to make sure are included when a resource is created in that subscription.

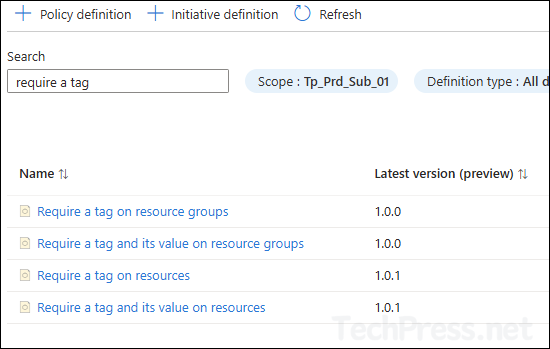
Other Azure Policies on Resource Tagging
There are other azure policies which can be used to enforce tagging. You can explore these policies on azure portal and in addition to the policy we created and create it according to your business requirements.
- Require a tag on resource groups
- Require a tag and its value on resource groups
- Require a tag and its value on resources
- Inherit a tag from the resource group if missing
- Inherit a tag from the resource group
- Inherit a tag from the subscription
- Inherit a tag from the subscription if missing