This blog post will walk you through the process to install and configure Microsoft Entra Connect sync tool. It is used to synchronize on-premises Active Directory objects with Microsoft Entra ID. It enables the seamless integration of on-premises user accounts, groups, and other directory objects into the cloud, allowing users to sign in with a single identity across both on-premises and cloud-based resources. Entra Connect sync is also a prerequisite for Microsoft Entra hybrid join scenario.
Contents
Download Microsoft Entra Connect Sync
You can download Microsoft Entra Connect sync from Entra admin center. This tool is no longer available to download from Microsoft download center. Download instructions: Download Microsoft Entra Connect Sync.
Microsoft Entra Connect Prerequisites
I have listed a few of the key Entra Connect sync prerequisites. For complete details, refer to the link: Prerequisites for Microsoft Entra Connect.
- PowerShell execution policy set to RemoteSigned.
- A domain-joined Windows Server 2022 or later (recommended). Standard version OS only.
- .NET version 4.8 or later (recommended).
- A Global administrator and Enterprise administrator accounts.
- TLS 1.2 and Memory at least 4 GB.
Install and configure Microsoft Entra Connect Sync
Once you have downloaded Entra Connect Sync, you can install it on a domain-joined Active Directory server. It is not recommended to install it on a domain controller. For best performance, install it on a dedicated server without any other roles or services.
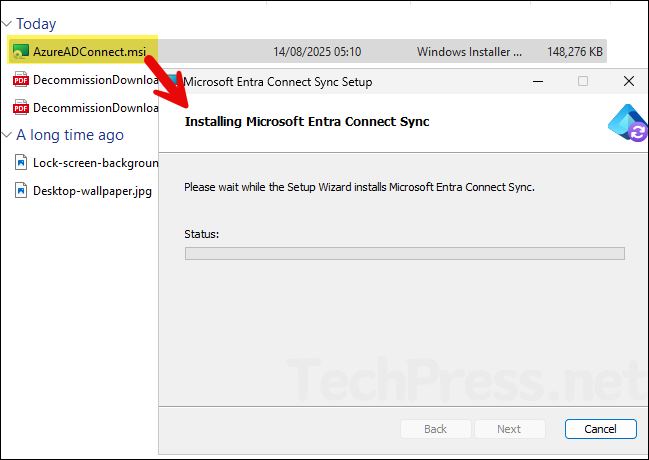
- Download Entra Connect Sync file AzureADConnect.msi.
- Double-click on the installer to start the installation process.
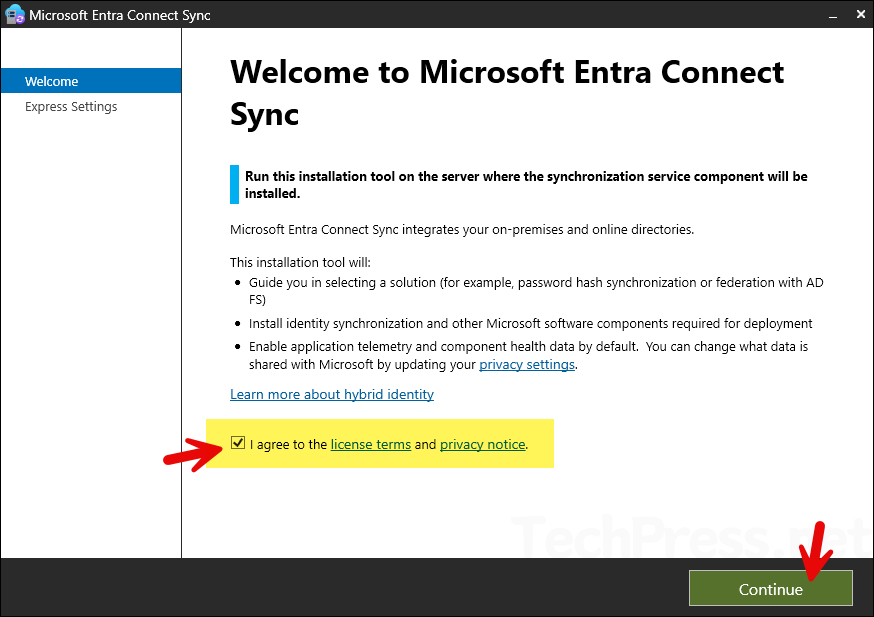
- Select I agree to the license terms and privacy notice checkbox and click Continue.
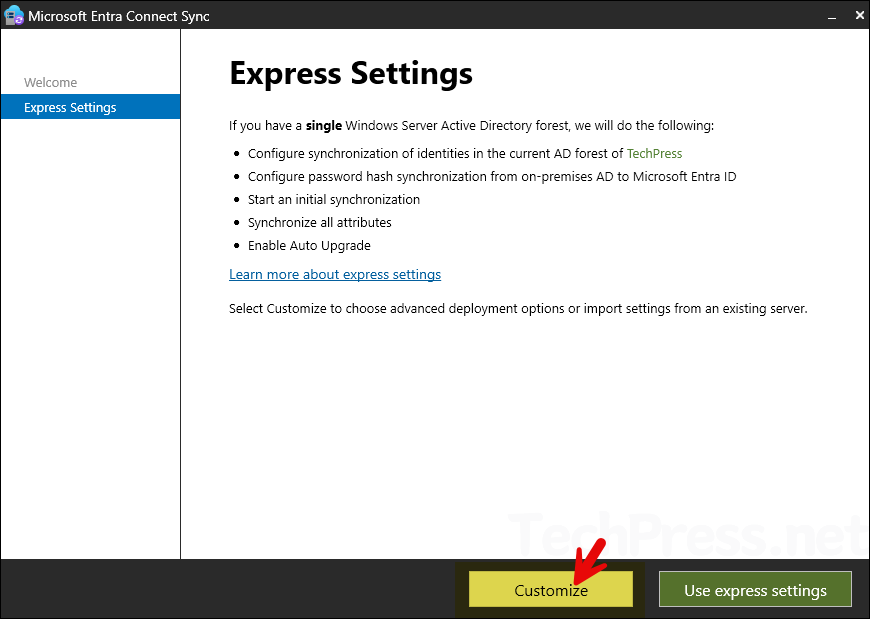
- Click on Customize.
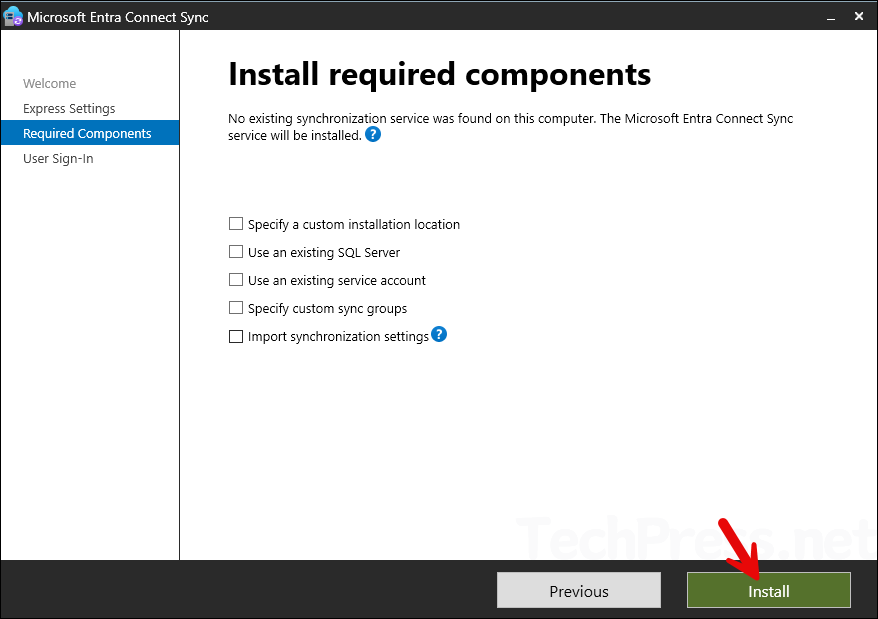
- Required Components: Select the checkboxes according to your environment. For example, I do not have any existing SQL server, or I don’t want to use an existing service account. Therefore, I will click Install to proceed to the next step.
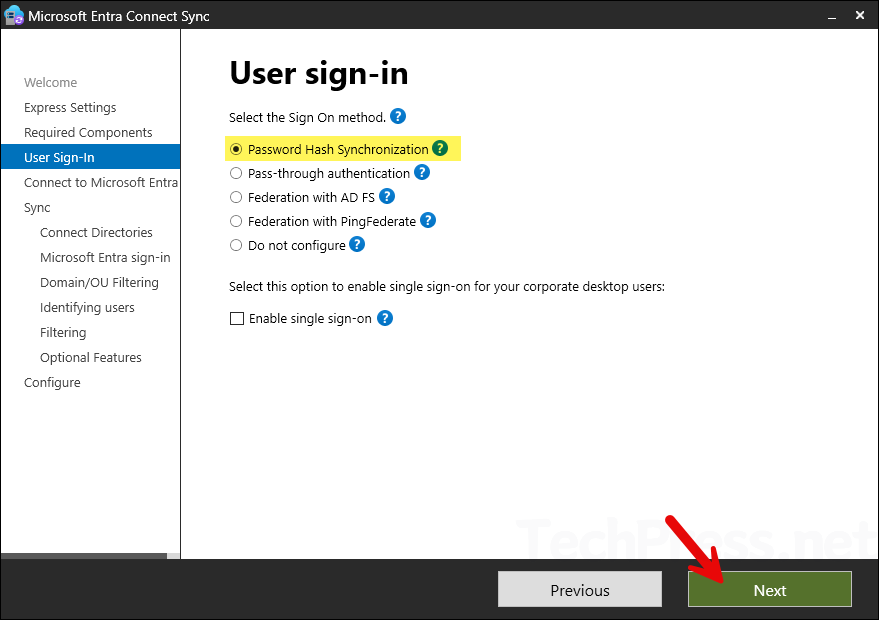
- User Sign-in: Keep the default option Password Hash Synchronization selected and click Next.
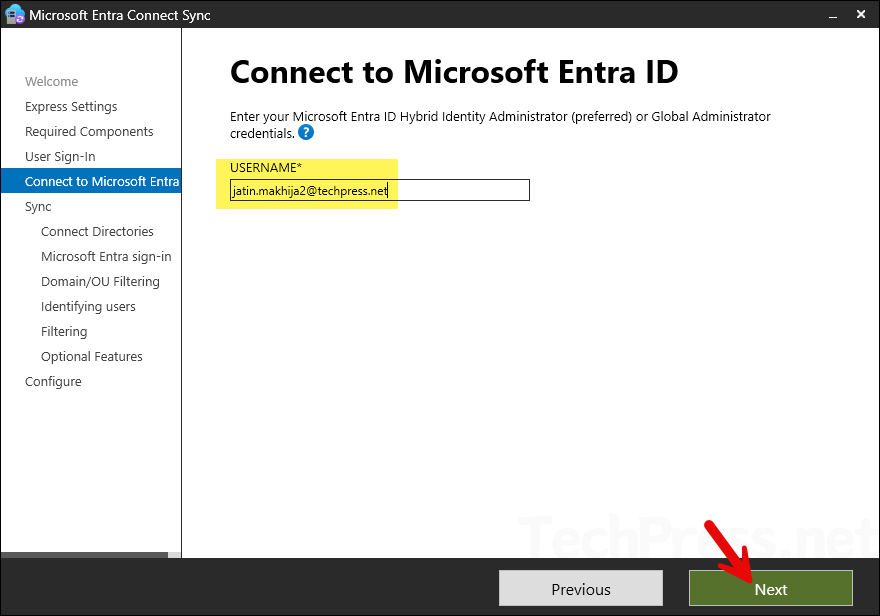
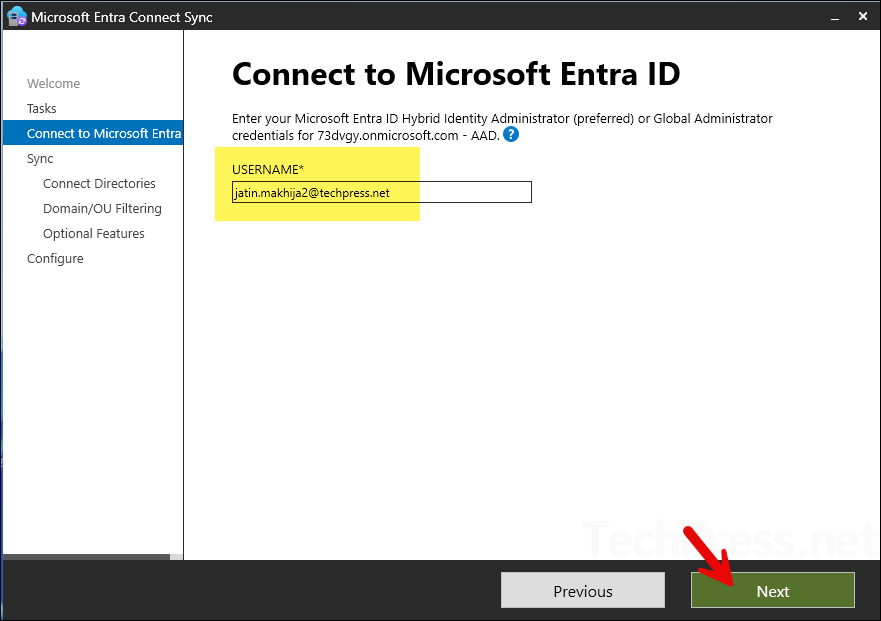
- Connect to Microsoft Entra: Provide the Username of either Microsoft Entra ID Hybrid Identity Administrator or a Global administrator. Click Next. You may get prompted for authentication, provide your credentials and complete MFA. Click Next.
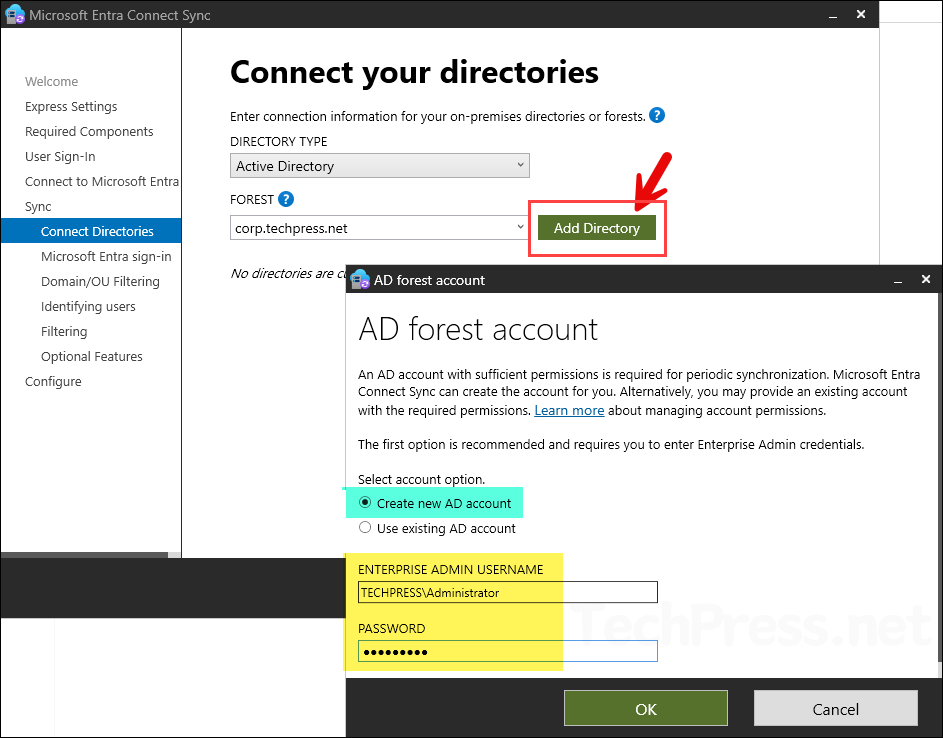
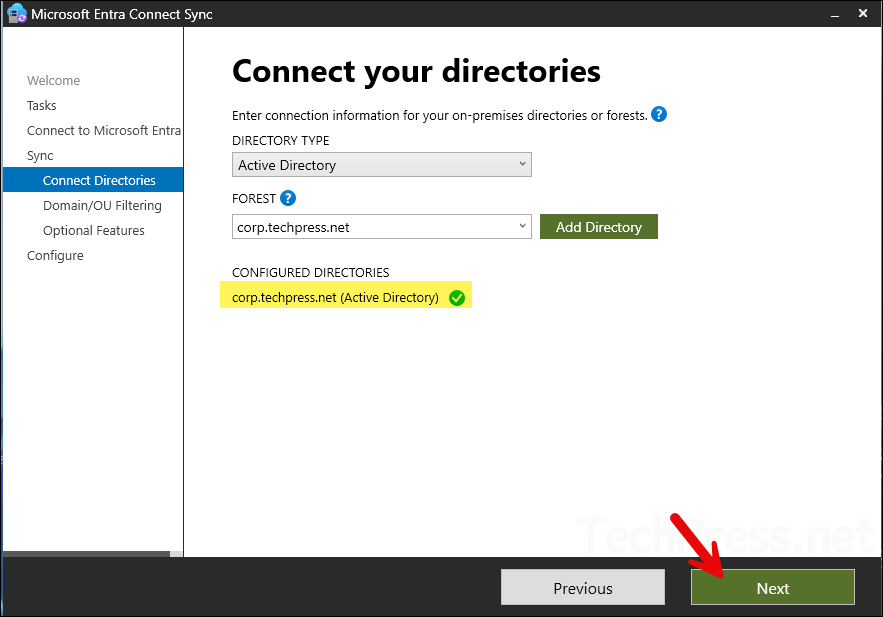
- Connect Directories: Click Add Directory button. Select Create new AD account to create an Entra Connect Synchronization service account. Provide the credentials for Enterprise administrator. Click OK.
You can also go with the option to use an existing AD account with required permissions. But, you will have to ensure that all necessary permissions are provided to the account for the sync service. Microsoft recommends selecting Create new AD account option. Refer to the link: Microsoft Entra Connect: Accounts and permissions – Microsoft Entra ID | Microsoft Learn for more details.
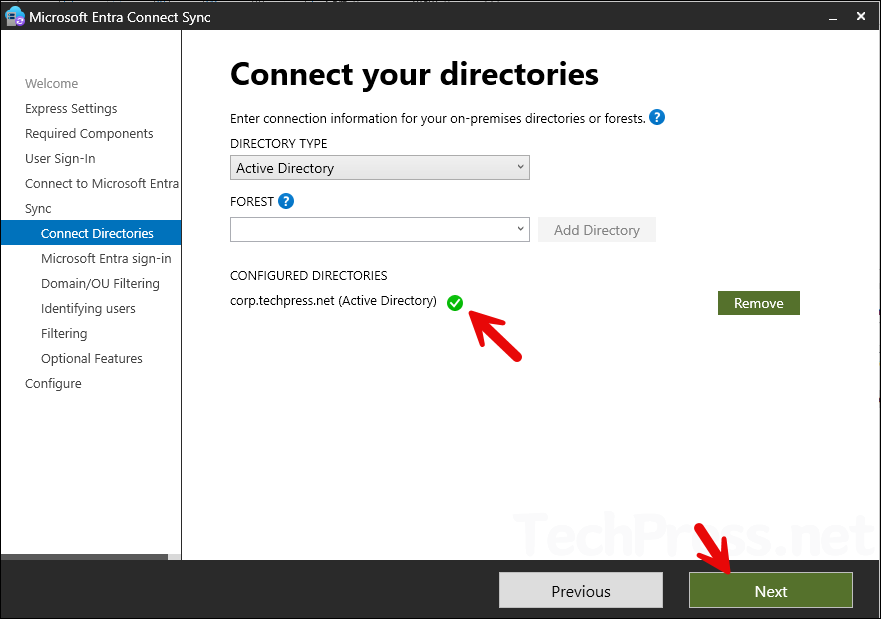
- Connect Directories: Active directory forest as selected will be configured. Notice the green tick next to it. Click on Next.
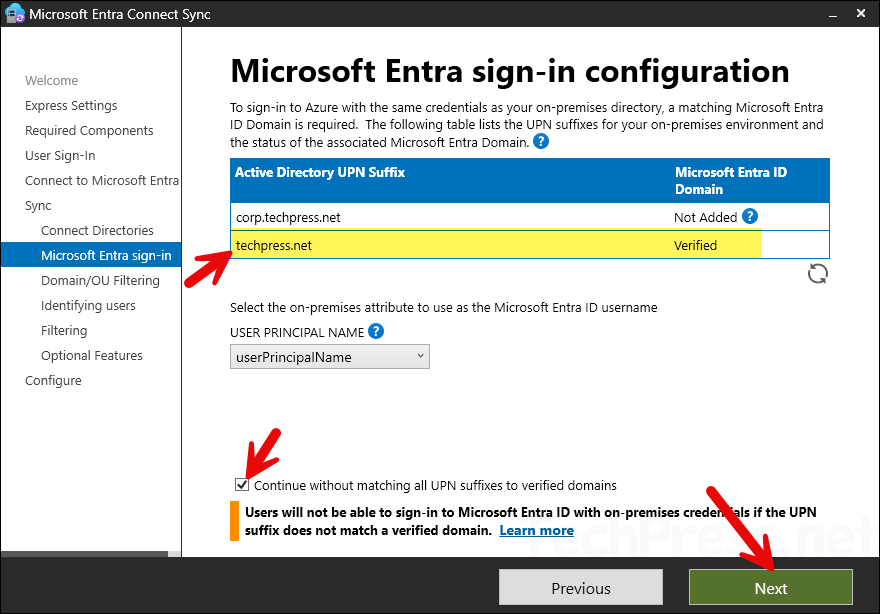
- Microsoft Entra sign-in: Verify the list of domain UPN suffixes. Click Continue without matching all UPN suffixes to verified domains, then click Next.
If your custom external domain is not listed, and you proceed using only the internal domain UPN suffix (for example, corp.techpress.net), the accounts will be added to the cloud with the .onmicrosoft.com UPN suffix.
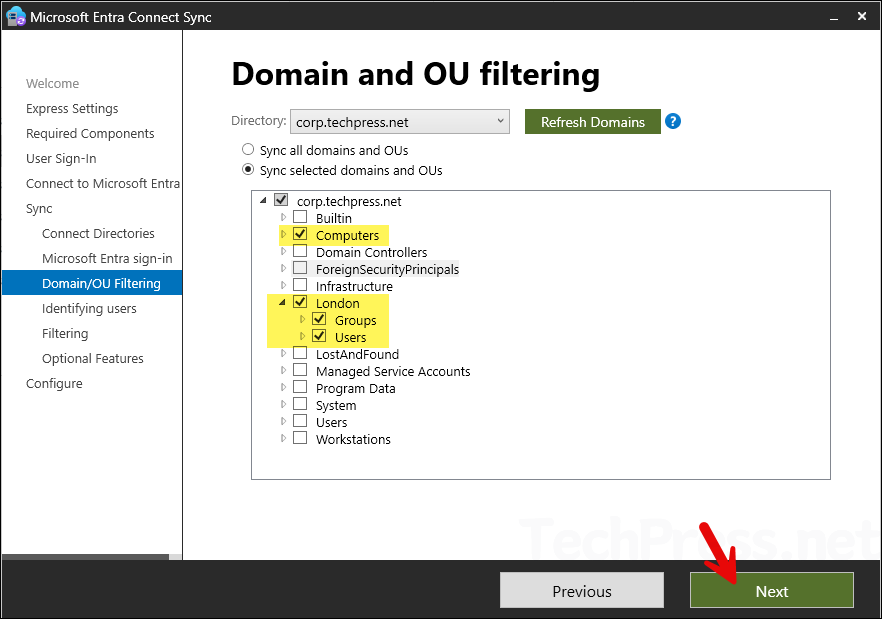
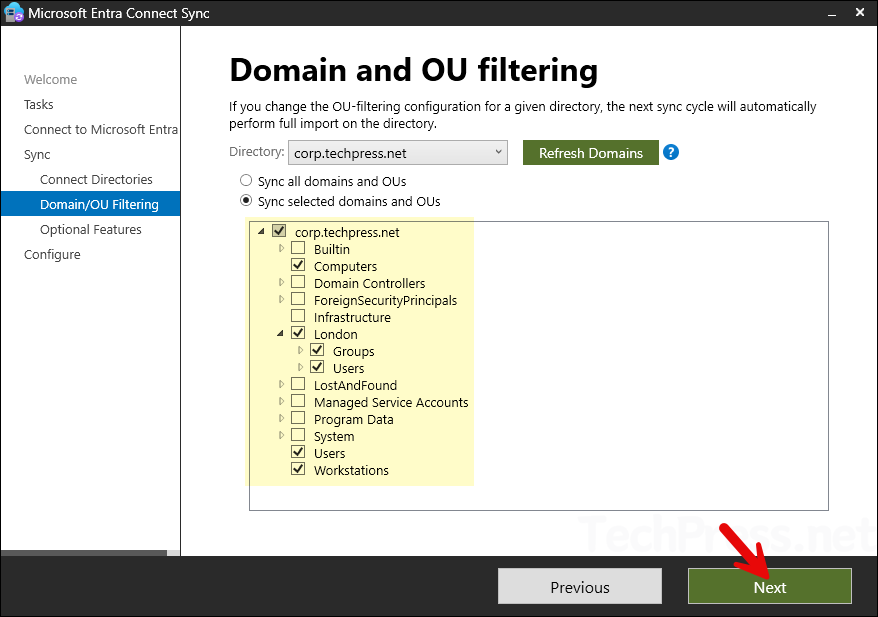
- Domain/OU filtering:In the next screen for Domain/OU filtering, you have the option to sync all domains and OUs or only the selected ones. I recommend selecting only the OUs you want to sync, such as Workstations, Users, and Groups. Syncing all domains and OUs is usually unnecessary.
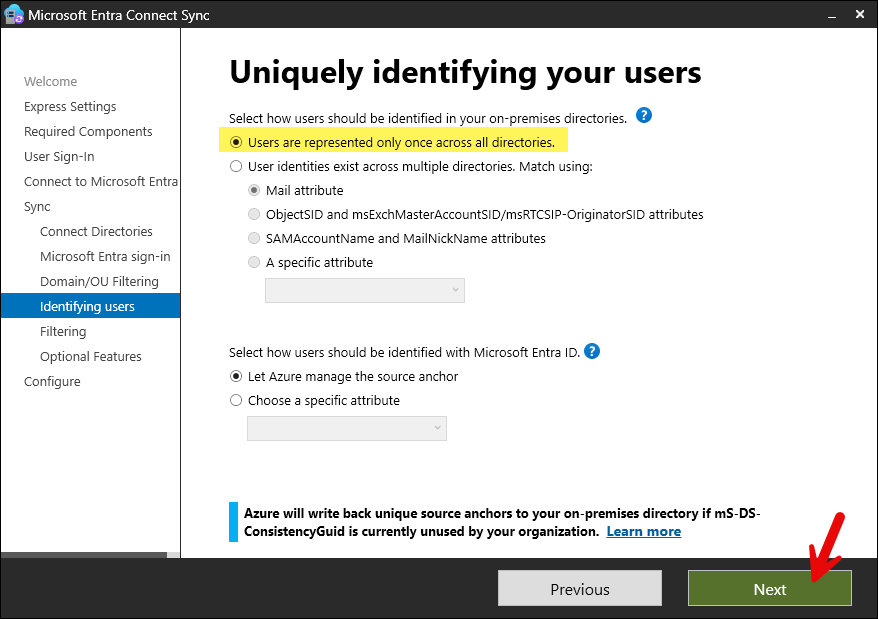
- Identifying users: Keep the default options selected on how users should be identified in your on-premises directories. Click Next.
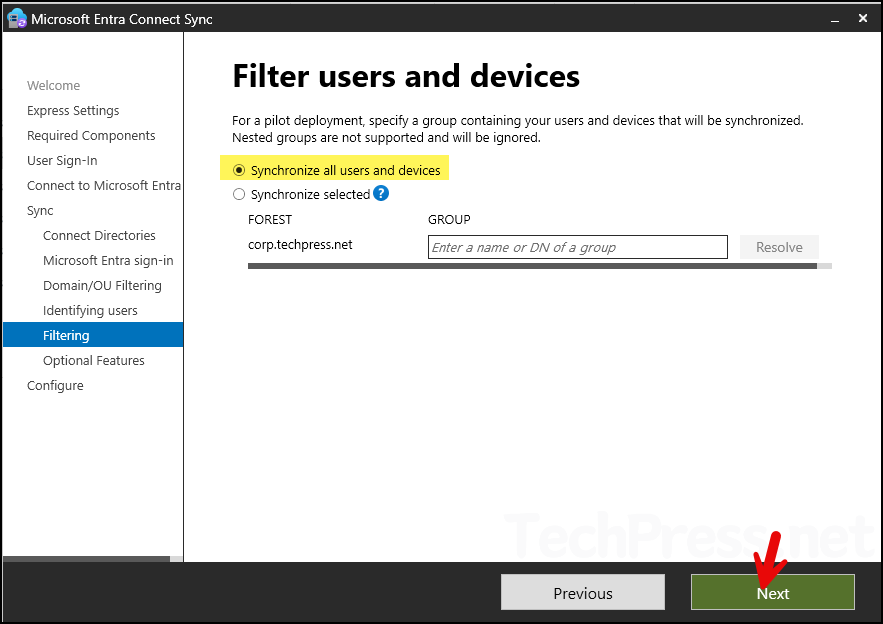
- Filtering: Select Synchronize all users and devices. Click Next.
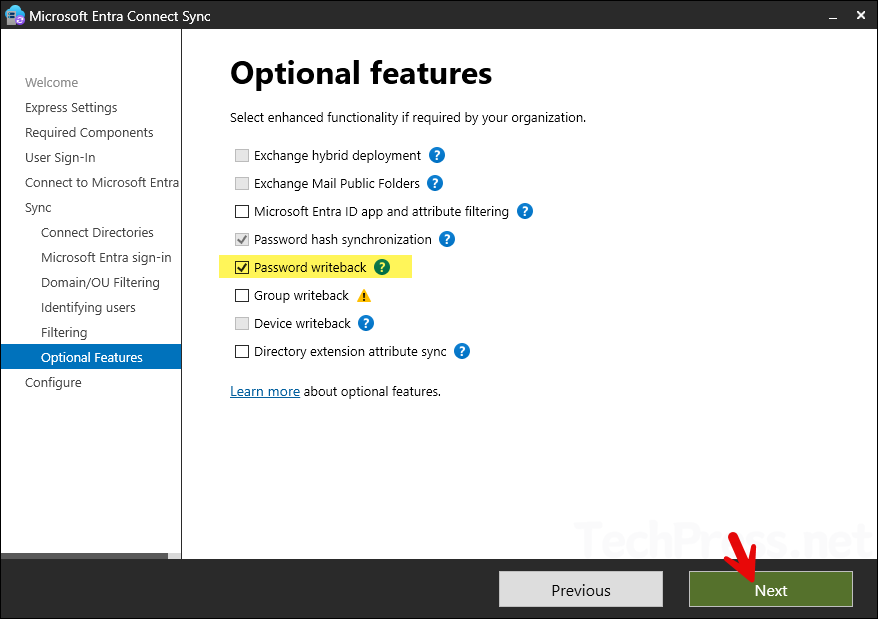
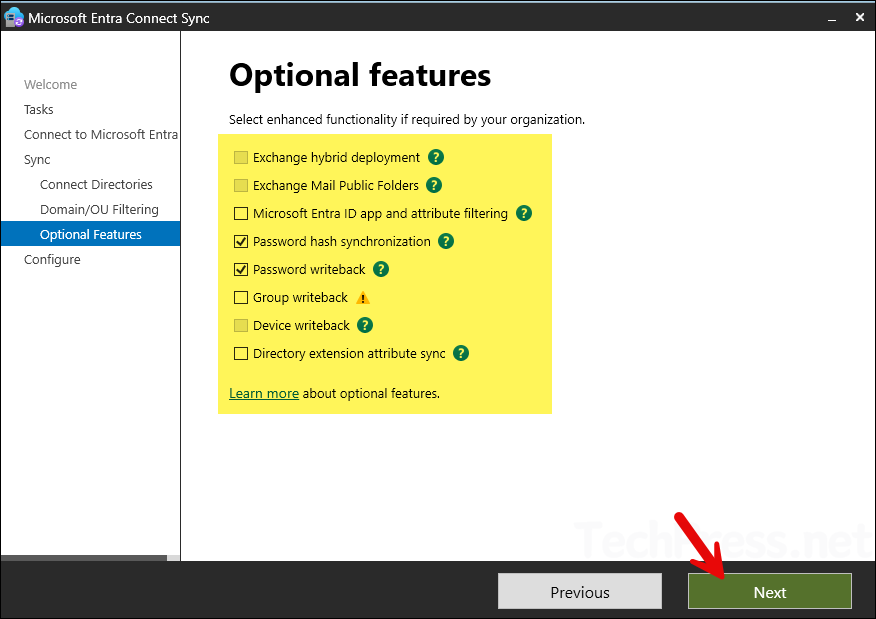
- Optional Features: Here you can select the optional features. The selected features will be installed on this device by the Entra Connect Sync app. By default, Password Hash Synchronization is selected. A useful feature to enable is Password Writeback, which synchronizes any password changes from Entra ID back to Active Directory. Click Next.
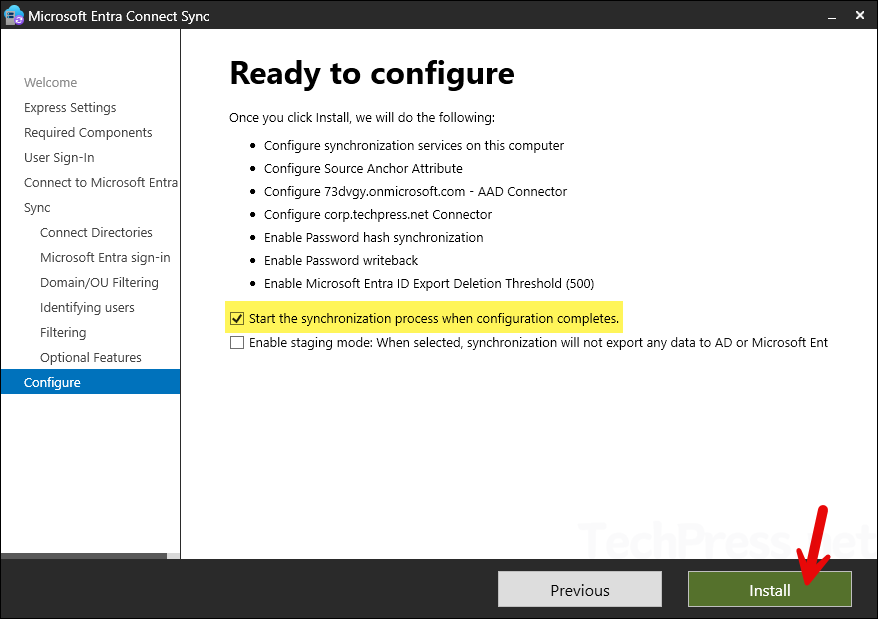
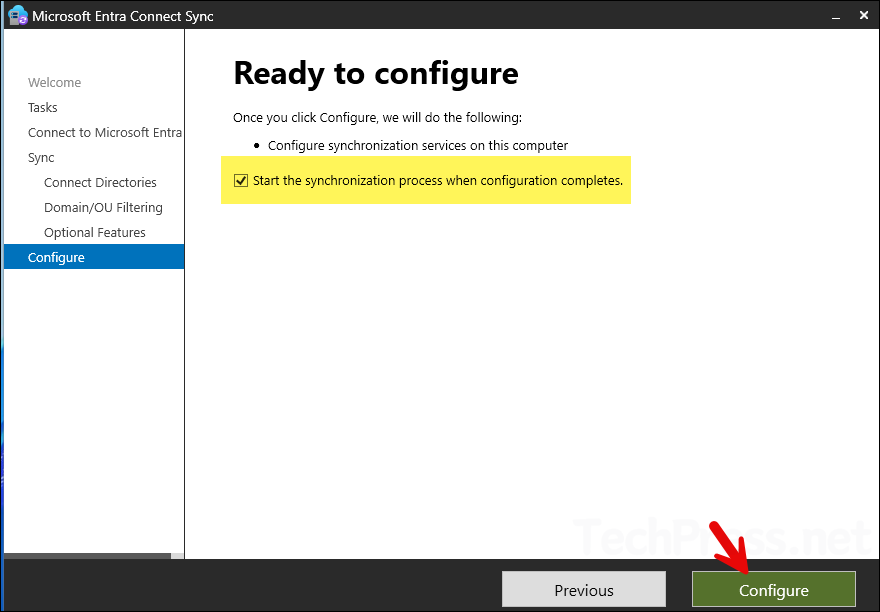
- Configure: Select Start the synchronization process when configuration completes and click Install.
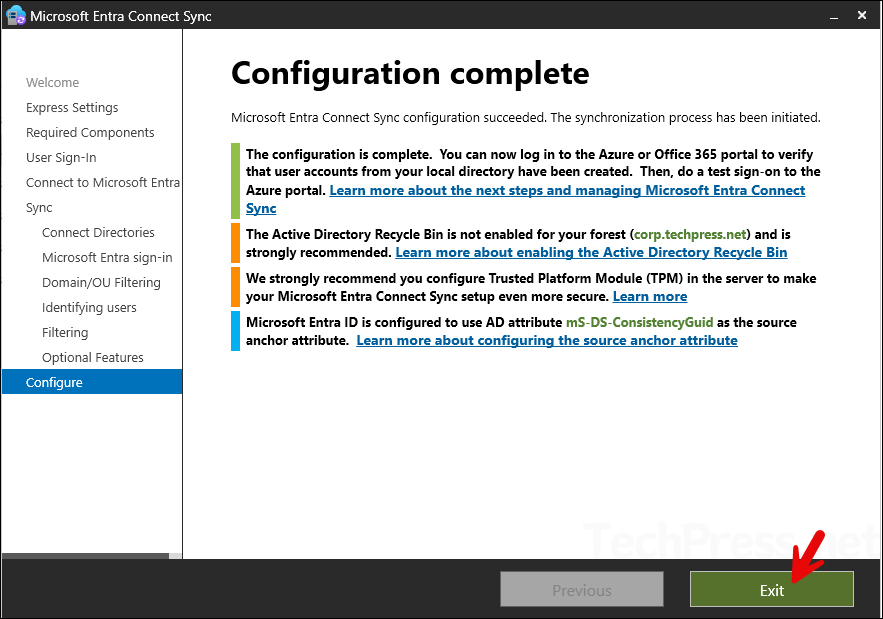
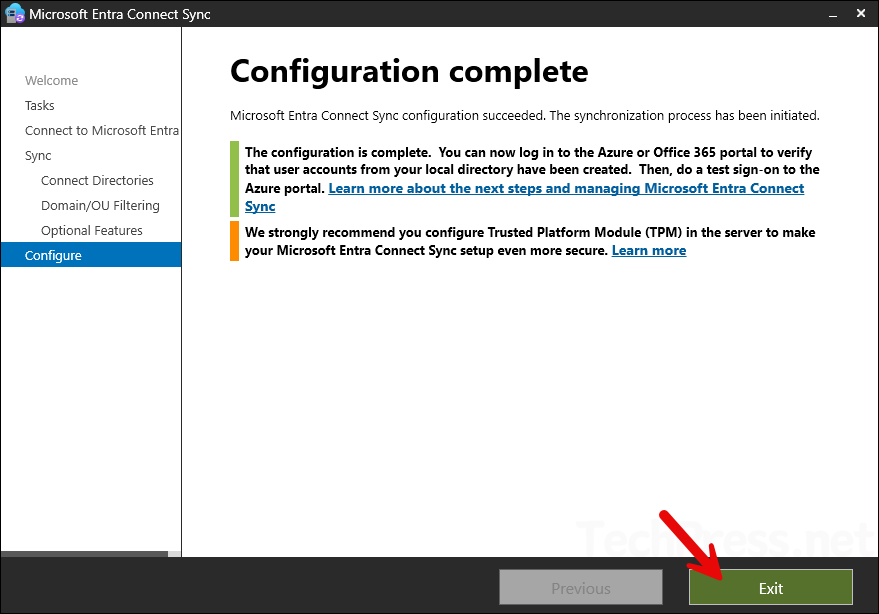
- Configuration for Entra Connect sync is now complete. Click on Exit button.
Confirm Entra Connect Sync Progress
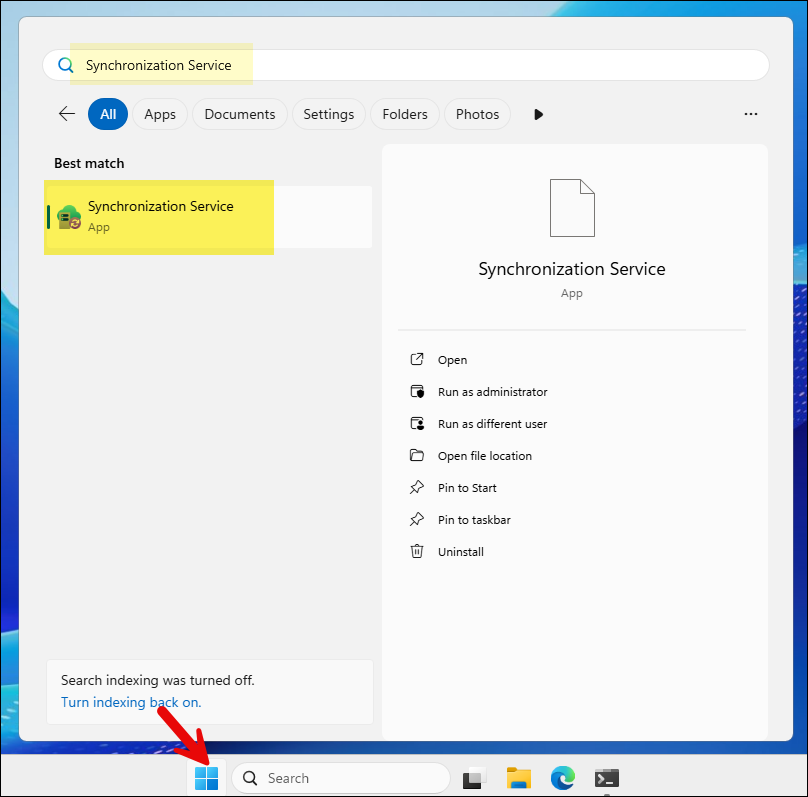
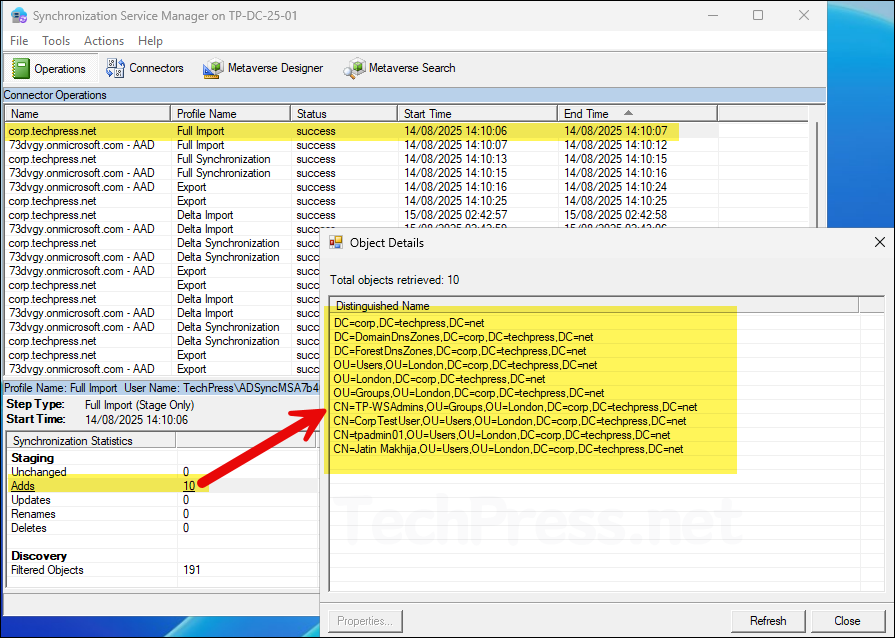
In the last step of the Entra Connect Sync installation, we selected to start the synchronization process with Entra ID. Let’s check the progress of the sync, including the number of users and their common name information.
- From the Start menu, Search for Synchronization service app and click on it to open.
- It will list all the Connector Operations. Check the initial log with the profile name Full Export. Click on the log to view details about users who were added, updated, renamed, or deleted. Click on the count link to see detailed information about the objects.
Reconfigure Entra Connect Sync
In the previous steps, we installed and configured Entra Connect Sync, and a sync between Entra ID and the on-premises Active Directory was completed successfully. Now, what if you want to change some configuration options in Entra Connect Sync, such as adding or removing an OU from sync, adding another directory, or managing federation? To update the Entra Connect configuration, follow the steps below:
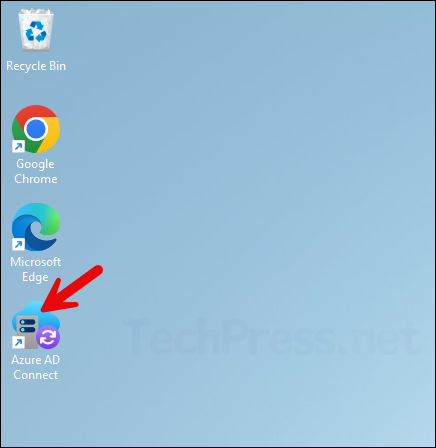
- Launch Entra Connect sync using a desktop shortcut, Azure AD Connect.
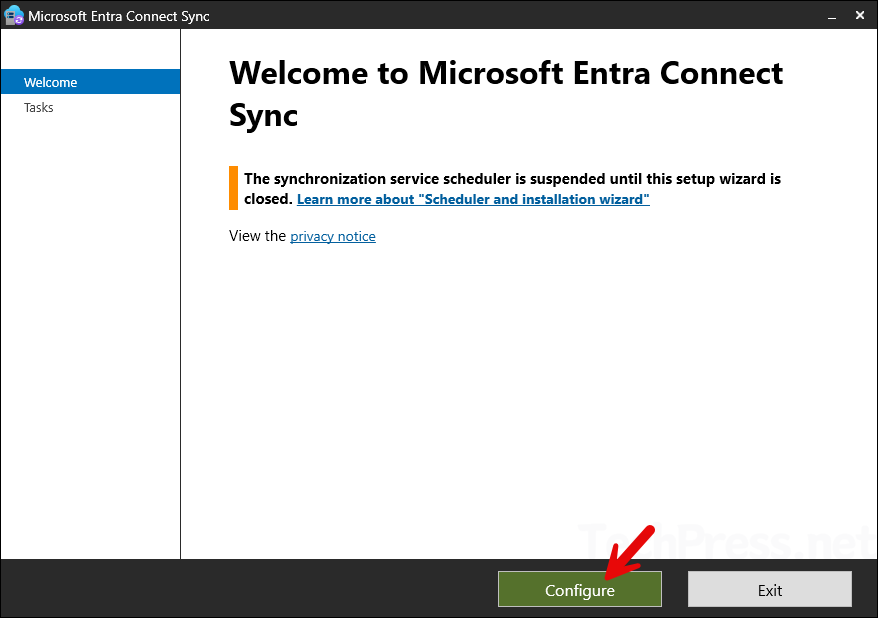
- Welcome: On the welcome page, click Configure.
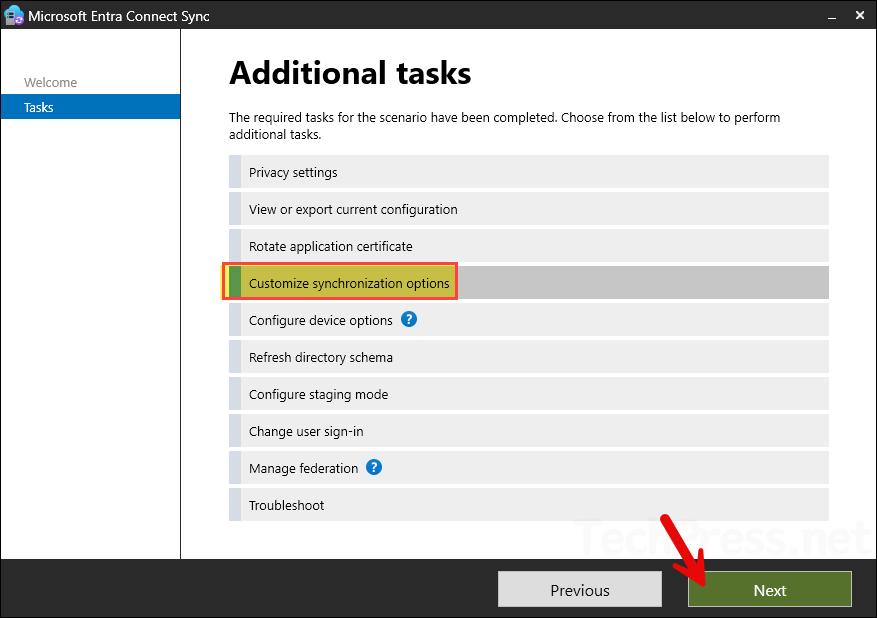
- Tasks: Select the configuration changes you want to perform from the available options. For example, if you want to customize synchronization options, select that option and click Next.
- Connect to Microsoft Entra: Provide the Username of either Microsoft Entra ID Hybrid Identity Administrator or a Global administrator. Click Next. You may get prompted to authentication, provide your credentials and complete MFA. Click Next.
- Any existing configured directories will be listed here. If you want to add any more Active directory forest, you can click on Add Directory. I will click on Next as I do not have any additional directories to add.
- Domain/OU Filtering: Here, you can add or remove the OUs to sync with Entra ID. I have added a couple of more OUs which I want to sync. Click Next.
- Optional Features: You can add or remove optional features on this screen. For example, If you want to Group writeback or Exchange hybrid deployment etc.
- Configure: Select Start the synchronization process when configuration completes. Click Configure.
- Configure: Configuration changes are now complete. Click on Exit.
Conclusion
We have successfully installed and configured the Entra Connect Sync app on a domain-joined Windows computer. Additionally, we reviewed how to verify the AD sync process and how to reconfigure Entra Connect Sync if needed. Entra Connect Sync performs a sync every 30 minutes. If there are any issues with the installation or configuration process, refer to the Microsoft Learn article: Microsoft Entra Connect: Troubleshoot object synchronization – Microsoft Entra ID.