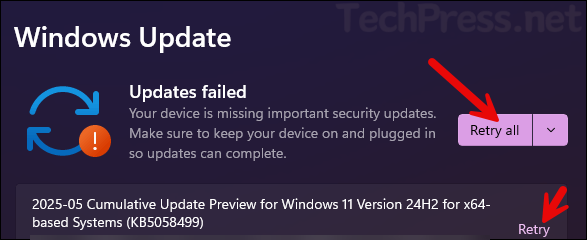
In this post, I’ll show you how to fix Windows Update error 0x800f0983. You may encounter this error when installing the latest security updates on Windows 11 or Windows Server OS. It can occur on both stable and Insider builds. In some cases, the issue can be easily resolved by clicking Retry all or clicking the Retry link next to the failed update.
Contents
Root Cause of Error code 0x800f0983
The most common cause of 0x800f0983 is a damaged or incomplete component store (WinSxS). The update cannot find the required “matching component directory,” which corresponds to the servicing error PSFX_E_MATCHING_COMPONENT_DIRECTORY_MISSING.
This error is typically caused by a corrupted update cache, damaged components, or a conflicting package that the cumulative update is trying to patch. In simple terms, Windows cannot find the files it expects to update.
The following sections provide several methods to resolve this issue, starting with the quickest fixes and progressing to more advanced steps that may require resetting Windows Update components.
Fix 1: Retry Windows Updates
The quickest way to fix the error code 0x800f0983 is to retry the installation of updates by going to Settings App > Windows update and click on Retry All button or Retry link next to the failed update. If it does not fix your issue, reboot your system once and try again.
Fix 2: Check Internet Connection/Firewall/Services
If your device cannot reach the Windows Update service, you may see error 0x800f0983 when installing updates. Running the Windows Update Troubleshooter (next fix) will also highlight these network connectivity issues. However, It’s good to also manually check and confirm these.
Check if there are any block rules for Windows update in your Windows firewall or external third party firewall (if there is one). Along with firewall checks, ensure that the necessary Windows update services such as Windows Update (wuauserv), Background Intelligent Transfer Service (BITS), and Cryptographic Services which are required for downloading and installing updates on your device are running. Open PowerShell console as an admin and run below command to verify the status of these services.
Get Windows Update Service Status
Get-Service wuauserv,bits,dosvc | Select-Object Name,Status,StartTypeFix 3: Use Windows Update Troubleshooter
Another way to fix the error 0x800f0983 is to reboot your device once and then run Windows update troubleshooter by using below steps:
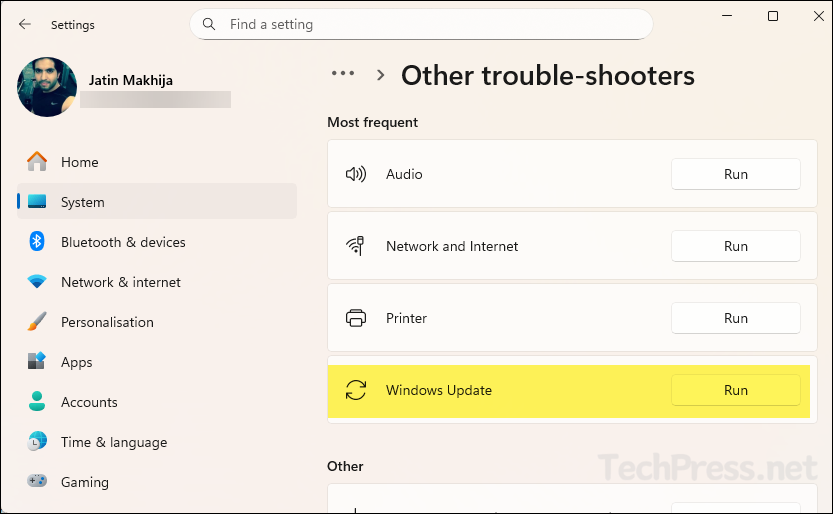
- Open the Settings App > System > Troubleshoot > other trouble-shooters and run the Windows Update troubleshooter. After running the troubleshooter, retry the Windows updates installation.
Fix 4: Repair System files (DISM + SFC)
Another option to fix error 0x800f0983 is to run the DISM command to repair the servicing stack/component store, then run SFC to fix OS file corruption. After running these commands, reboot your device. Open an elevated Command Prompt window and run the following commands:
Repair system files (DISM + SFC)
1. DISM /Online /Cleanup-Image /RestoreHealth

2. sfc /scannow

# DISM says “source files not found,” mount the same-build ISO and use:
3. DISM /Online /Cleanup-Image /RestoreHealth /Source:X:\Sources\install.wim /LimitAccess
Fix 5: Manually Reset Windows Components
If the issue persists, and you still see error 0x800f0983, reset the Windows Update components. Open Command Prompt as an administrator and run the commands below to reset them, then try Windows Update again. You can also use PowerShell commands to reset Windows update components, I have posted a script for this in my other blog post, refer to the link: Fix RSAT Installation Errors On Windows 11 for more details.
You can also download and use the scripts from my GitHub repo: Reset-WU.cmd and Repair-Health.cmd to reset the Windows update components and repair system health.
Reset Windows Components
:: 1) Stop services
net stop wuauserv
net stop bits
net stop cryptsvc
net stop msiserver
net stop usosvc
net stop dosvc

:: 2) Clear BITS queue
del /q /f "%ALLUSERSPROFILE%\Microsoft\Network\Downloader\qmgr*.dat" 2>nul

:: 3) Rename WU caches
ren %systemroot%\SoftwareDistribution SoftwareDistribution.old
ren %systemroot%\System32\catroot2 catroot2.old

:: 4) Reset proxy and Winsock
netsh winhttp reset proxy
netsh winsock reset

:: 5) Start services
net start bits
net start wuauserv
net start cryptsvc
net start msiserver
net start usosvc
net start dosvc