This post is about demonstrating the steps to enable/disable telnet on Windows 11. Telnet is a network protocol used to open a text-based session to a remote device over TCP port 23 (default port). It sends everything in clear text, including credentials. This makes it useful only for legacy components and quick connectivity tests in lab or isolated networks. For modern administration and secure shells, use SSH instead.
Contents
Important Points About Telnet
- Telnet is not encrypted. Avoid using it on production networks.
- Prefer SSH for device administration.
- If you enable Telnet temporarily for testing, remove it after use.
Before you start
- You need local administrator rights.
- Telnet Client is an optional Windows feature. There is no Telnet Server in Windows 11.
- If your device is managed by WSUS or does not have access to Windows Update, enabling optional features might be blocked by policy.
Method 1: Enable or Disable Telnet via Settings
Follow below steps to enable or disable telnet on Windows 11 using the Settings app.
- Sign in to a Windows 11 computer.
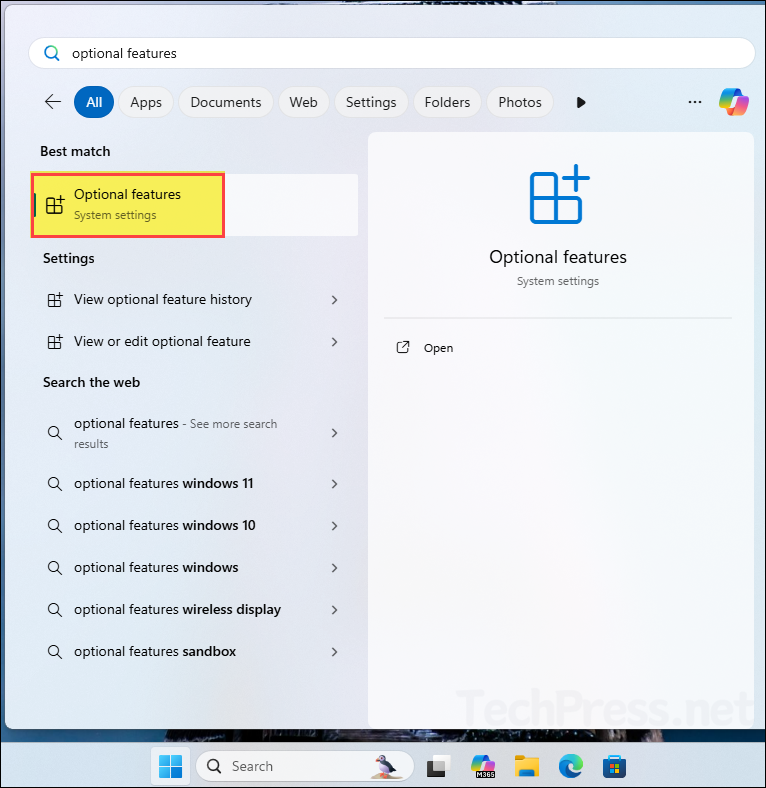
- Press Start and search for Optional features. Open Optional features.
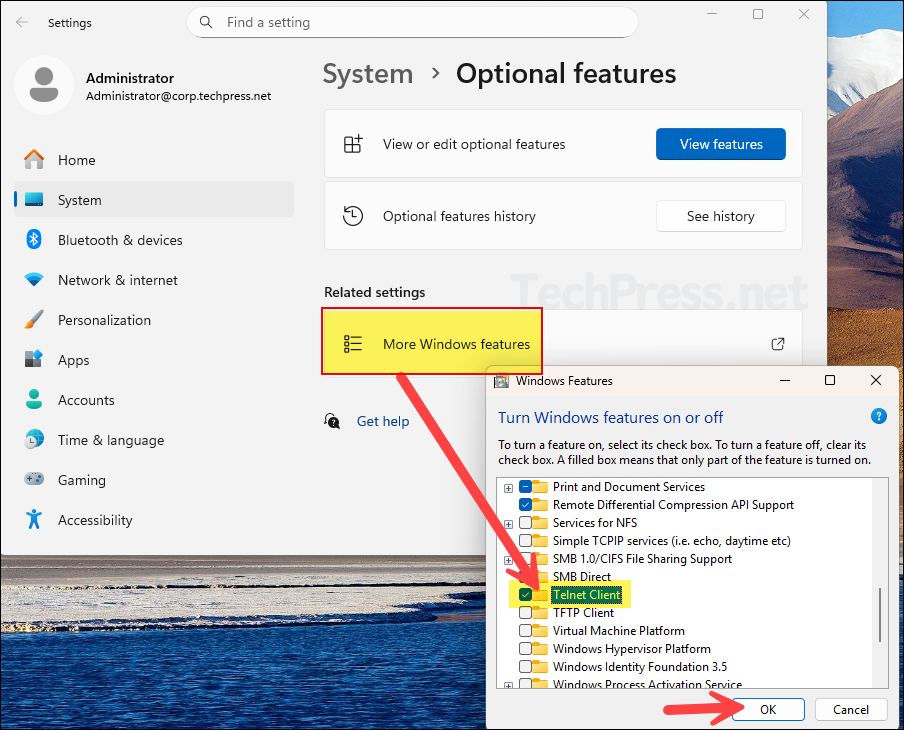
- Click on More Windows features and the select Telnet client checkbox. Click OK to install. If Telnet client option is already checked, unchecking it will disable or uninstall it from the device.
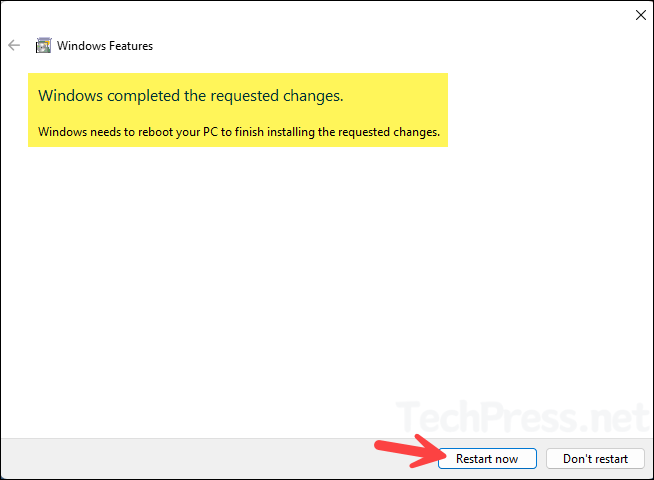
- It takes only a few minutes to install the Telnet Client on your Windows 11 device. Once the installation is complete, click Restart now to restart your computer immediately, or select Don’t restart if you prefer to restart later.
Method 2: Enable or Disable Telnet via Control Panel
You can also enable or disable Telnet client on Windows 11 computers via Control Panel. Let’s look at the steps:
- Press Win + R, type
control, press Enter. - Select Programs > Turn Windows features on or off. (This is the same screen as we saw above).
- Tick Telnet Client and click OK. (If it’s already ticked, it means it’s already installed. To uninstall it, you can uncheck it and click on ok).
Method 3: Enable or Disable Telnet with PowerShell
Another option to enable or disable Telnet on Windows 11 devices is by using PowerShell. Let’s look at the PowerShell command to enable or disable telnet.
Enable Telnet Client
Enable-WindowsOptionalFeature -Online -FeatureName TelnetClient -All -NoRestart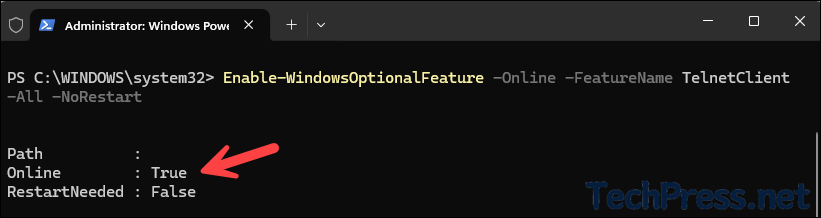
Disable Telnet Client
Disable-WindowsOptionalFeature -Online -FeatureName TelnetClient -NoRestartCheck Status
Get-WindowsOptionalFeature -Online -FeatureName TelnetClientMethod 4: Enable or Disable Telnet using Command Prompt
If you prefer command prompt rather than PowerShell, then you can use DISM command and install Telnet via Command prompt. Let’s look at the command to install telnet on Windows 11 using DISM.
Enable Telnet
dism /online /Enable-Feature /FeatureName:TelnetClient /All /NoRestartDisable Telnet
dism /online /Disable-Feature /FeatureName:TelnetClient /NoRestartCheck Status
dism /online /Get-Features /Format:Table | findstr /i TelnetClientVerify if Telnet is Working
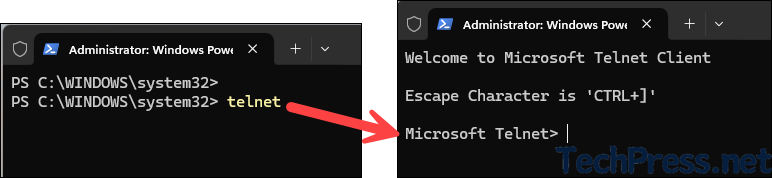
Once you install telnet on your device, verify it if it’s working fine. Type telnet and press Enter on command prompt or PowerShell console. The prompt will change to Microsoft Telnet>, which confirms that it’s working fine. If you want to exit out of telnet, simply type quit and press Enter.
Quick test to check if tcp port 23 is open on a remote computer with IP 192.168.1.33.
telnet <hostname or IP> <port number>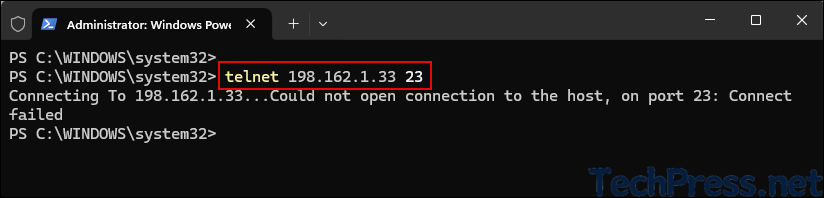
Common Issues and Tips
- No restart requested: Telnet Client usually installs or removes without a reboot. If scripts depend on it immediately, check the feature state first.
- Feature enable fails with policy errors or error 0x800F0954: Your device may be using WSUS or a policy that blocks optional features. Enable from an elevated PowerShell or DISM session on a network that can reach Windows Update, or ask your admin to allow Download repair content and optional features directly from Windows Update. Refer to the post for more details: Fix RSAT Installation Errors On Windows 11.
FAQs
- Does Windows 11 include a Telnet Server: No. Only the Telnet Client is available.
- Do I need to open firewall ports: No. The Telnet Client initiates outbound connections. You only need outbound access from the device you are testing from.
- Is there a modern alternative: Yes. Use
sshwhich ships with Windows 11 as an optional feature named OpenSSH Client.