In this post, I will show you how to remove default Microsoft Store apps using Group Policy on Windows 11 devices. This is a new feature, introduced in the Windows 11 25H2 update, allows administrators to easily remove pre-installed Microsoft Store apps such as Xbox, Microsoft Photos, Microsoft News, and Microsoft 365 Copilot from client devices. For the complete list of removable apps and the official Microsoft announcement, refer to the page: Policy-based removal of pre-installed Microsoft Store apps – Windows IT Pro Blog.
If you are managing devices with Intune, you can use Settings Catalog policies to remove default Microsoft store inbox apps. For more details, refer to the guide Remove Pre-Installed Microsoft Store Apps via Intune.
Contents
Important Points
- This policy only applied to Windows 11 25H2 Enterprise and Education systems. It will not work on Windows 11 Pro. See: How To Upgrade Windows 11 Pro To Enterprise.
- The policy will apply to domain-joined devices managed by Active Directory Group Policy.
- You may need to import the latest Windows 11 25H2 ADMX templates for creating this policy.
Create a GPO to Remove Default Microsoft Store Packages
Follow below steps to create a group policy object (GPO) for removing default or pre-installed Microsoft store packages:
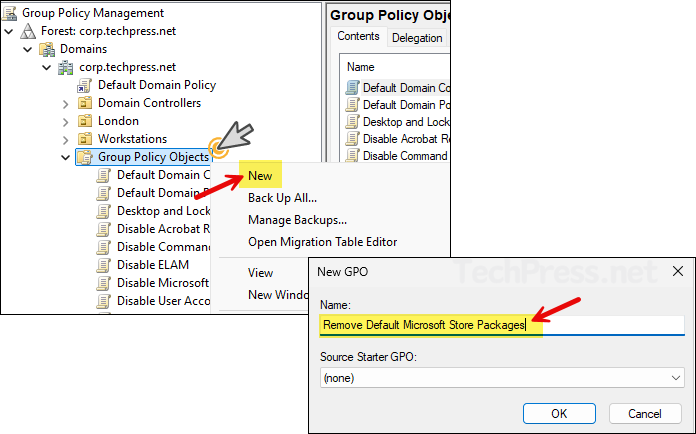
- Login to a domain controller and open Group policy management console (gpmc.msc). Right-click on Group Policy Objects > Select New and provide a name of the New GPO, For example: Remove Default Microsoft Store Packages.
You can also remotely manage the group policies by installing RSAT tools on Windows 11.
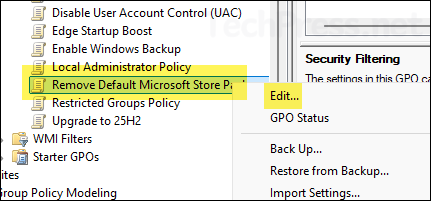
- Right-click on the newly created GPO and click on Edit.
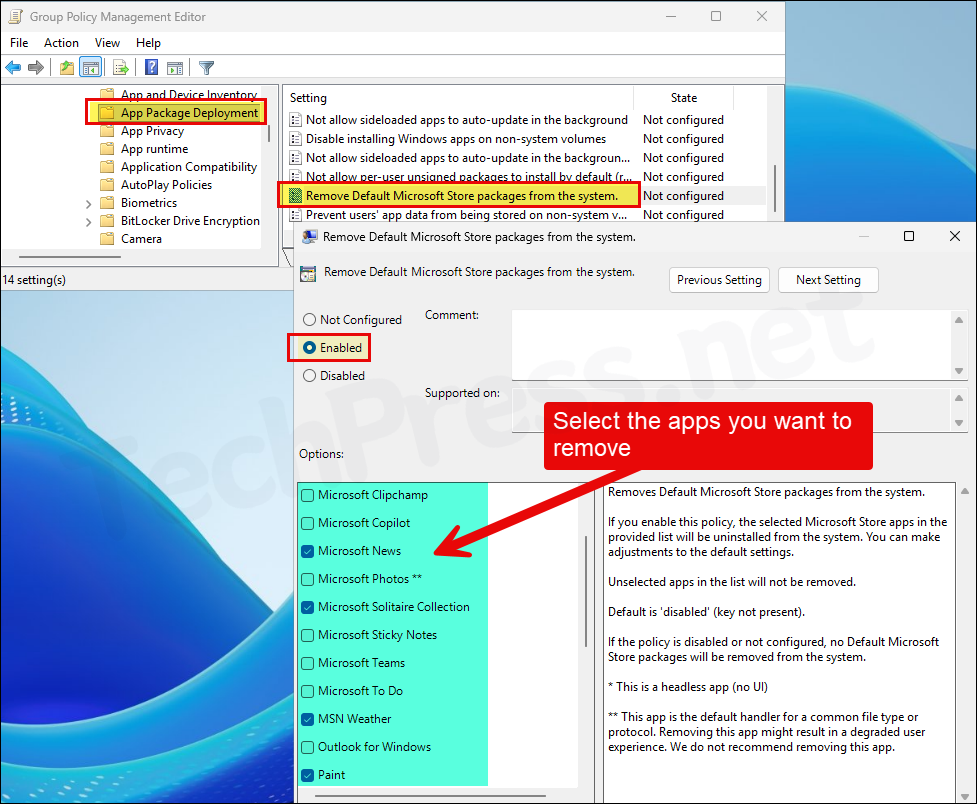
- Navigate to Computer Configuration\Policies\Administrative Templates\Windows Components\App Package Deployment and on the right-hand side find Remove Default Microsoft Store Packages from the system setting.
- Double-click on the setting and select Enabled. Select the default store apps you want to remove. Click OK to save.
Link the GPO to Workstations OU
Once the GPO is created, it will only take effect after you link it to an OU. Because this GPO contains settings under Computer Configuration node, it’s best to apply it to an OU that contains computers. I have a Workstations OU where all my computers reside, so I’ll link the GPO to it.
I recommend to start by linking it to an OU that contains test computers. Once testing is successful, and you’re satisfied with the results, expand the policy to other users by linking it to an OU that contains the remaining workstations in your organization.
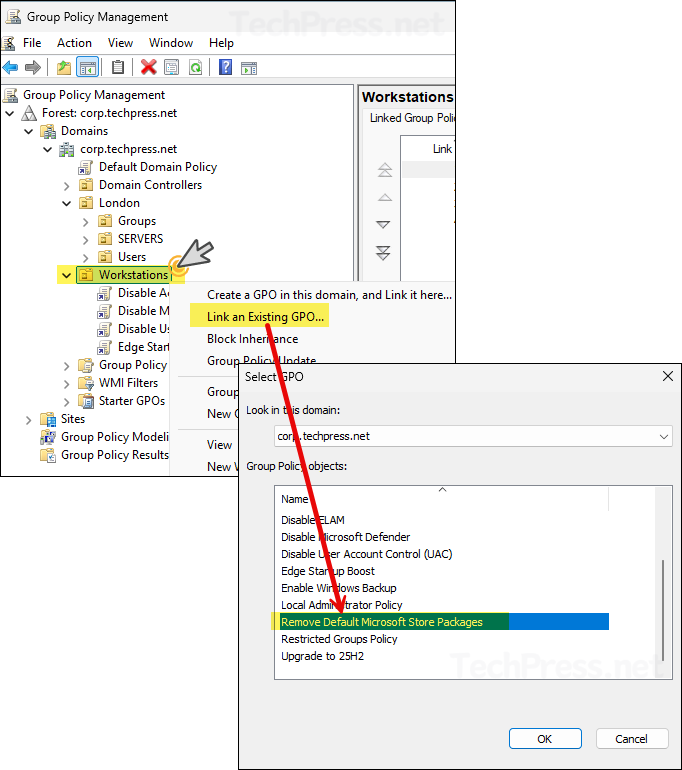
- Right-click the Workstations OU and select Link an Existing GPO.
- Select the GPO we created (Remove Default Microsoft Store Packages).
- Once linked, the GPO will appear under the Workstations OU.
- Under the Workstations OU, you will find that the GPO has been linked.

End User Experience
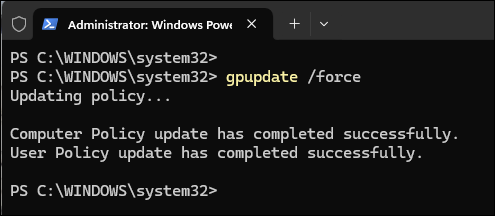
By default, Group Policy refreshes every 90 minutes, with a random offset of up to 30 minutes. This interval applies to both computer and user configuration settings. To speed this up, open Command Prompt or PowerShell as an administrator and run gpupdate /force. This forces the device to retrieve and apply any new or updated GPOs immediately.
If the apps are not removed after you have run gpupdae /force, restart the device once and check again.
You can easily modify group policy default refresh interval by using a setting called Set Group Policy refresh interval for computers. Similarly, for user configuration settings, utilize the Set Group Policy refresh interval for users setting. For more Information on modifying GPO refresh interval, refer to the link: How to Modify Group Policy Refresh Interval.
Confirm Store Apps Removal
Once the GPO is applied successfully, verify if the selected apps are removed from the devices.
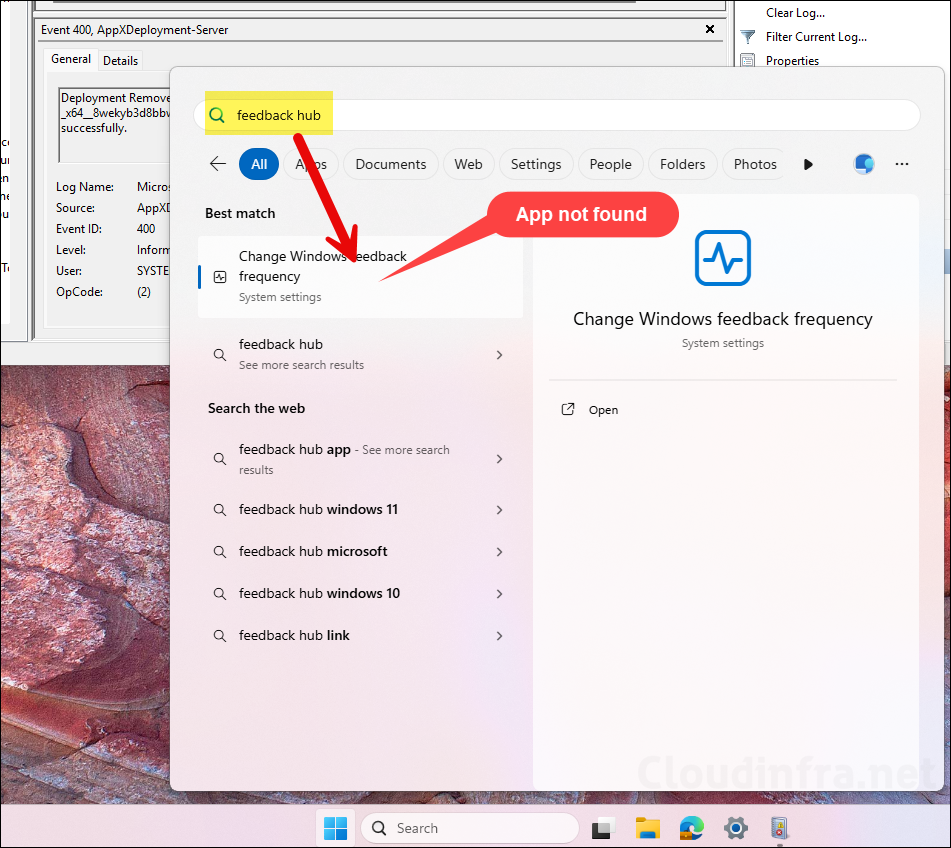
- Sign in to one of the target Windows 11 device.
- Click Start and search for the name of the app which you have removed via the policy. You should not be able to find the app.
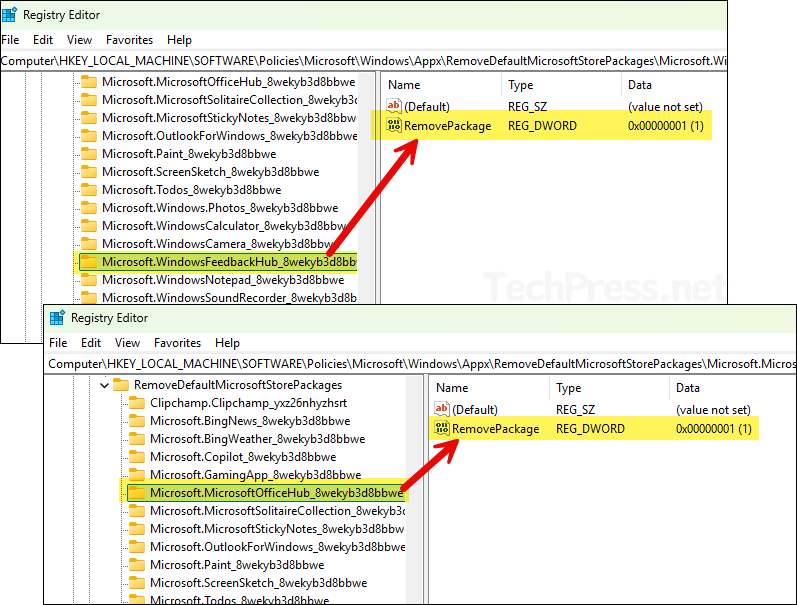
Another way to verify if the apps have been removed is through Windows Registry. Sign in to one of the target devices and open the Registry Editor. Navigate to the following path:
Verify app removal
HKEY_LOCAL_MACHINE\SOFTWARE\Policies\Microsoft\Windows\Appx\RemoveDefaultMicrosoftStorePackagesUnder this registry key, you’ll find a subfolder for each Microsoft Store app. Select the folder of the app you targeted for removal, and on the right pane, check if the RemovePackage (REG_DWORD) value is set to 1. This confirms that the app has been removed.
The screenshot below shows that the Feedback Hub and Microsoft 365 (Office) apps have been removed from the device. If you check other app folders and find the RemovePackage value set to 0, it means those apps are still installed and have not been removed.
Remove Default Microsoft Store Packages from the system Setting Missing
If the Remove Default Microsoft Store Packages from the system setting is missing while creating a GPO, it’s likely due to missing Windows 11 25H2 ADMX templates. This policy setting is introduced with 25H2 feature update, so you must first download and install the latest ADMX templates for Windows 11 25H2 before the setting appears in the Group Policy Management Console (GPMC).
1. Download Windows 11 25H2 Administrative Templates
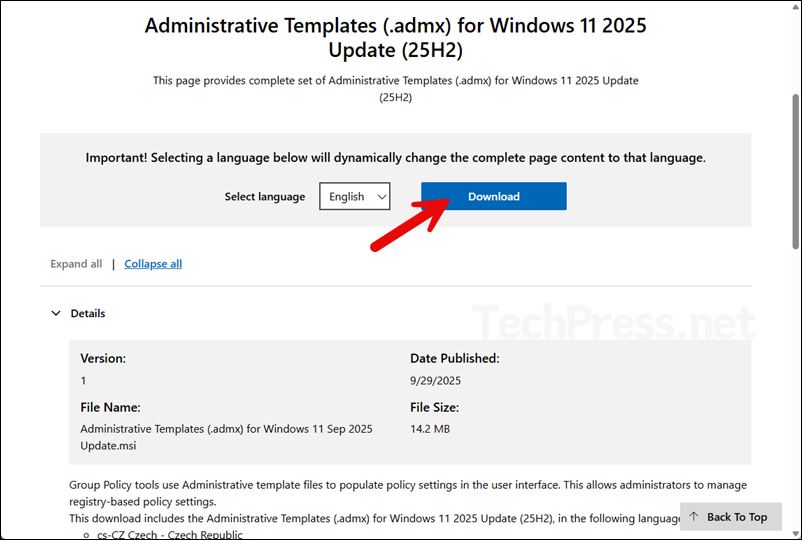
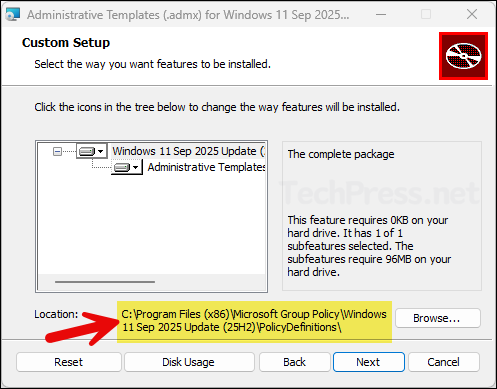
To download Windows 11 25H2 administrative templates, visit the link: Download Administrative Templates (.admx) for Windows 11 2025 Update (25H2) from Official Microsoft Download Center and click on the Download button.
2. Install Windows 11 25H2 Administrative Templates
After downloading the administrative templates, it will be provided as an MSI installer. Install the administrative templates on any Windows 11 device, and note the installation path where the template files are stored. You’ll need to navigate to this location later to copy the required ADMX templates.
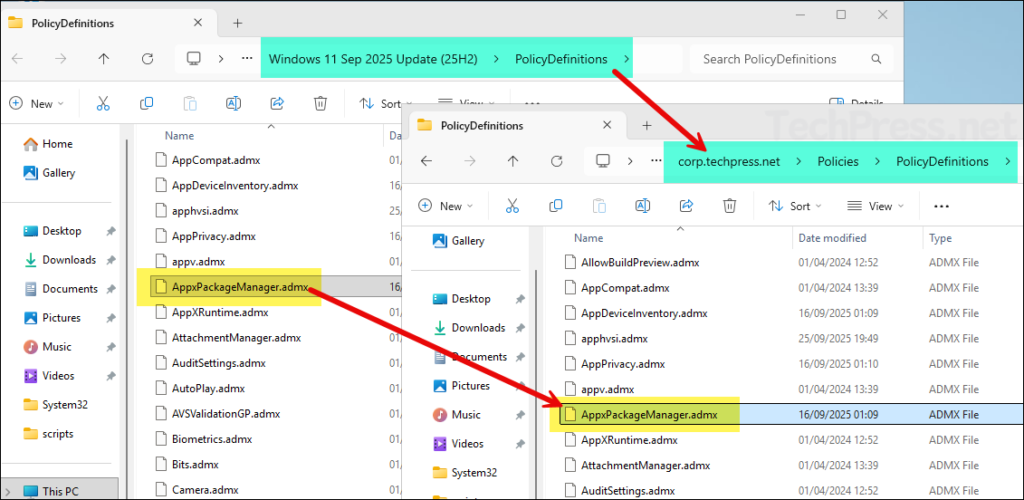
The appxpackagemanager.admx template file contains the GPO setting Remove Default Microsoft Store Packages from the system. You can copy this file to your domain controller’s Central Policy Store. The screenshot below shows that I copied the appxpackagemanager.admx file from the local machine to the Central Store. If a file with the same name already exists, replace it.
Make sure to also copy its corresponding .adml file from the language folder. For English, open the en-US folder, locate the matching .adml file, and paste it into the corresponding folder in the Central Store on the domain controller.
If you haven’t yet created a Central Store on your domain controller, follow the step-by-step guide on how to create one. The guide also explains how to copy and use all Windows 11 25H2 ADMX templates in the Central Store, not just appxpackagemanager.admx. Refer to the post for more details: #copy-administrative-templates-to-the-central-store.
After copying the required 25H2 ADMX template files, open the Group Policy Management Console (GPMC) and navigate to Computer Configuration > Policies > Administrative Templates > Windows Components > App Package Deployment. On the right-hand side, you will now be able to find the setting named Remove Default Microsoft Store Packages from the system.