In this blog post, I’ll walk you through the steps on how to create custom RBAC role in Intune. There are situations where assigning a built-in role might grant more permissions than necessary. In such cases, creating a custom role allows you to enforce the principle of least privilege by giving users only the permissions they need to perform specific tasks.
In the following sections of this post, I will demonstrate how to create a custom role that grants the Rotate local administrator password permission to the Helpdesk Managers group in Entra ID.
Contents
Prerequisites
- Global administrator role or Intune Service administrator role.
- A group to assign the custom role.
Steps to Create a Custom RBAC role in Intune
- Sign in to the Intune admin center.
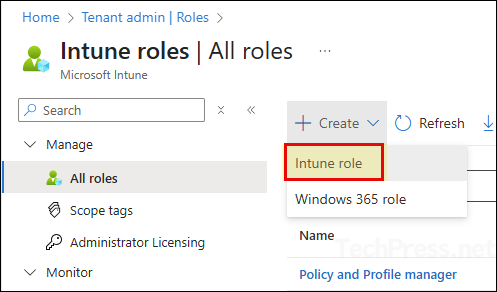
- Navigate to Tenant administration > Roles > Create > Intune role.
- Basics tab: Provide the name and description of the custom role.
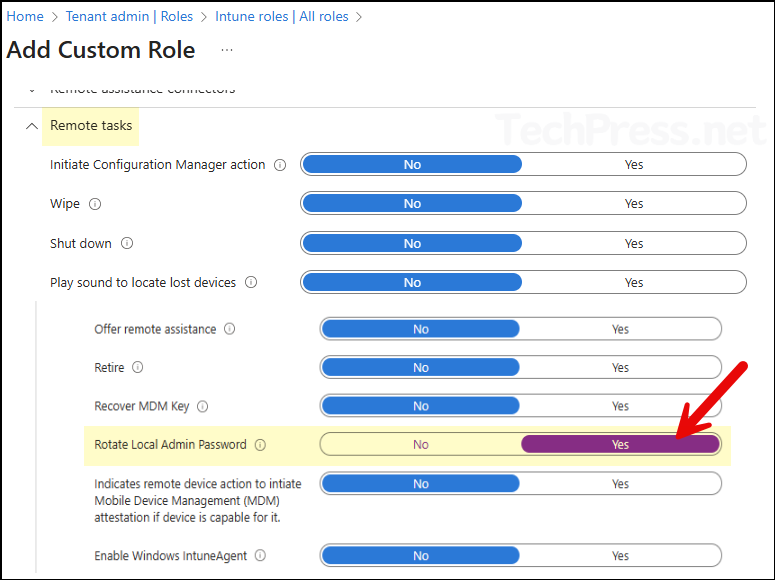
- Permissions tab: On the permissions tab, you will find that the similar permissions are grouped together for easy selection. Expand the relevant group of permission and configure all the permissions you want to assign to this custom role.
- To take an example, I will create a custom RBAC role which will have the permission to rotate local administrator passwords, which is under Remote tasks category. Click Next.
- Scope tags: To control which administrators can see and manage specific resources, policies, apps etc in Intune, you can create and use the scope tags. For now, I will not configure anything on this tab and click on Next.
- Review + create: Click on Create button to create the custom role.
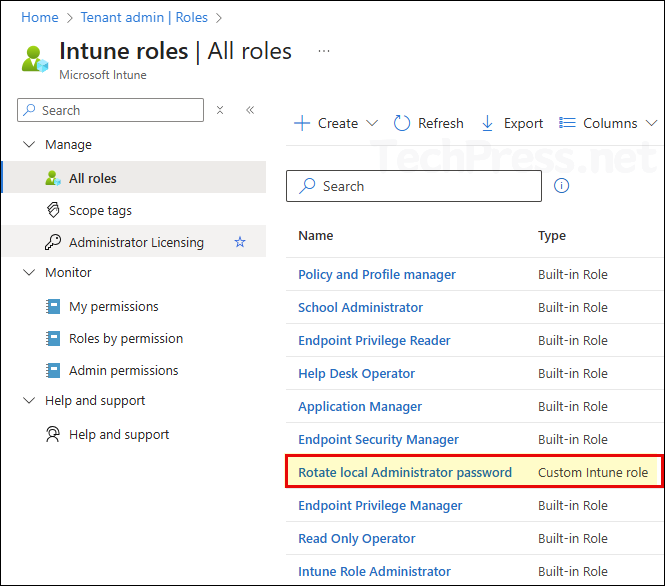
The new custom role will be created and listed under Tenant administration > Roles > All roles.
Assign the Custom Role to an Entra ID Group
Now that we have our new custom role (Rotate local Administrator password) created in Intune, we are ready to assign it to the users or IT administrators who will perform the job of rotating the passwords.
- Sign in to the Intune admin center.
- Navigate to Tenant administration > Roles > All roles.
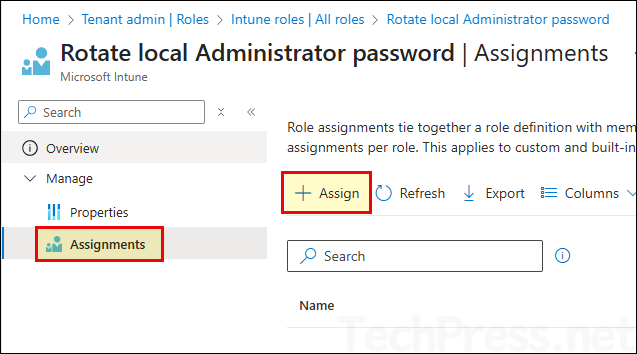
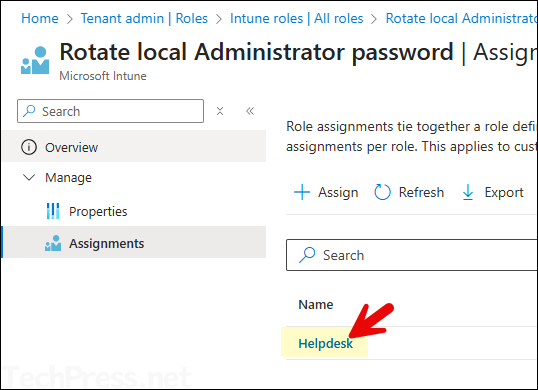
- Click on the newly created Custom role.
- Go to Assignments > Click on Assign.
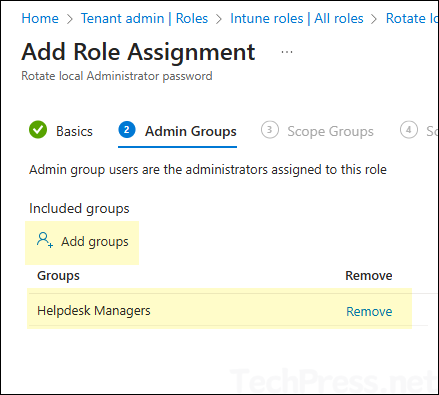
- Basics tab: Provide a name and description of the assignment.
- Admin Groups: Click on Add groups and select an Entra ID group containing admin users. For example: I have added Helpdesk managers group here. Members of Helpdesk Managers group will get Rotate local administrator password permission via this Intune Custom role.
- Scope groups: Select the groups containing the users/devices that you want to manage. All users/devices in the selected groups are managed by the users in the Admin Groups.
- Scope tags: Click Next.
- Review + create: Click Create.
Duplicating Existing Role to Create a New Custom Role
You can also duplicate an existing role to copy all its permissions into a new custom role. You can then modify the copied permissions as per your requirements and create the custom role. To copy an existing role, follow below steps:
- Sign in to the Intune admin center.
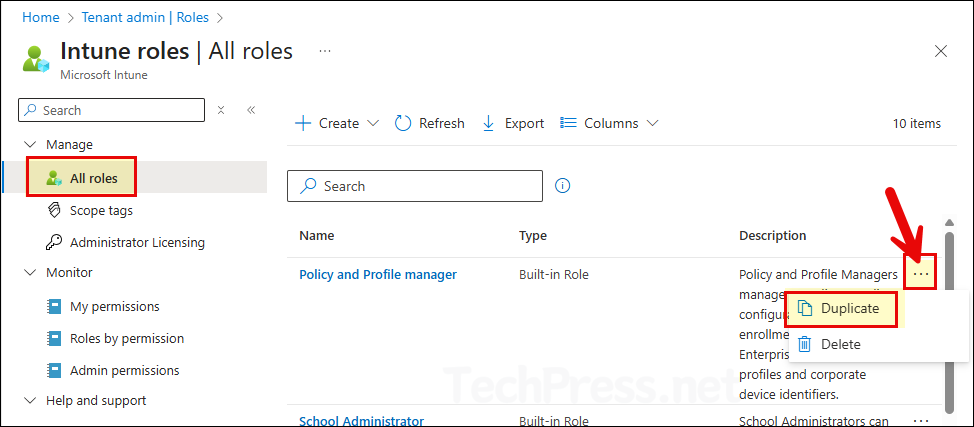
- Navigate to Tenant administration > Roles > All roles.
- Click on three dots next to the role and select Duplicate.
- Basics tab: Provide the name of the new Custom role and edit the description according to the role.
- Permissions: Edit the permissions and configure it as per your requirement.
- Scope tags: Click Next.
- Review + create: Click Create.